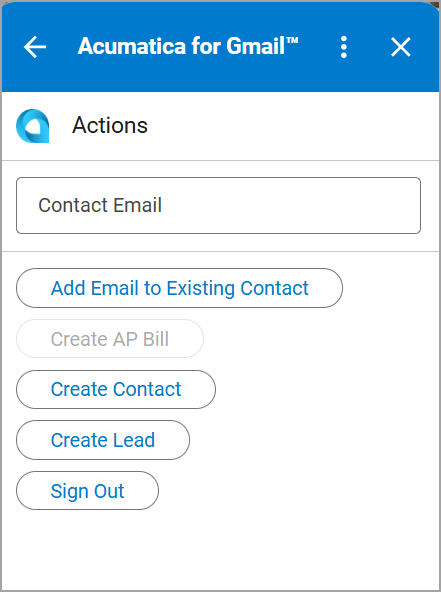
MYOB Acumatica Integration with Gmail: Getting Started with the Add-On
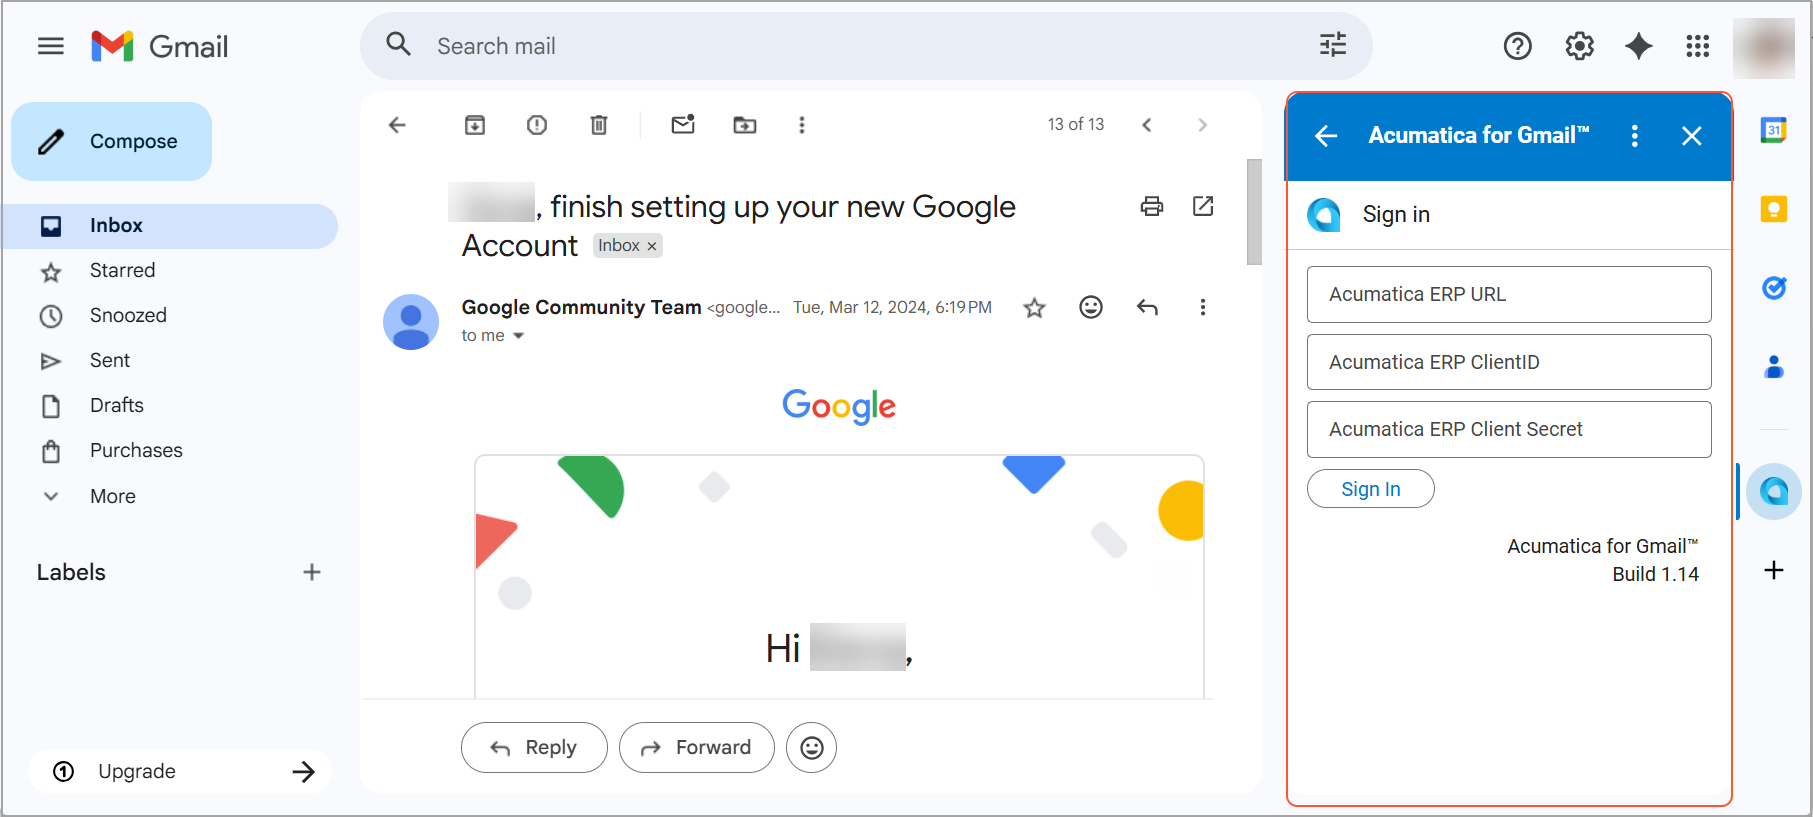
The Acumatica for Gmail add-on lets you access and manage MYOB Acumatica records directly from Gmail. To start using the add-on, open an email or conversation in Gmail. Then click the Acumatica for Gmail icon in the side panel. The Acumatica for Gmail panel opens on the right side of the screen and displays the Sign In page.
Signing In
To connect the add-on to your Acumatica instance, make sure you have already created a connected application on the Connected Applications (SM303010) form. Then enter the following information on the Sign In page:
- The URL of your MYOB Acumatica site (HTTPS)
- The client ID
- The client secret
After you click Sign In, you are prompted to grant authorization.
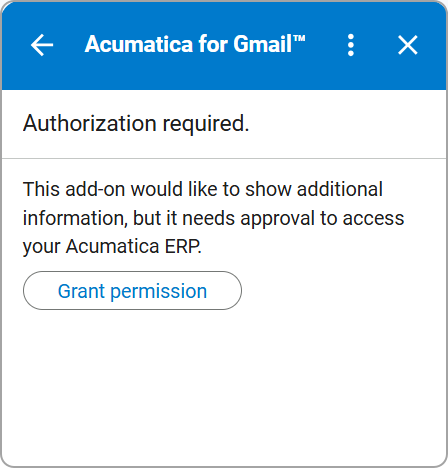
Click Grant permission. You are then redirected to the Sign-In page of MYOB Acumatica.
Sign in to your MYOB Acumatica instance:
- In the Select a tenant box, select the company to which you want
to sign in.Tip:This box is available only if multiple companies are registered in your MYOB Acumatica instance.
- In the Username and Password boxes, enter your credentials.
- Click Sign In.
Figure 3. The Sign-In page of MYOB Acumatica 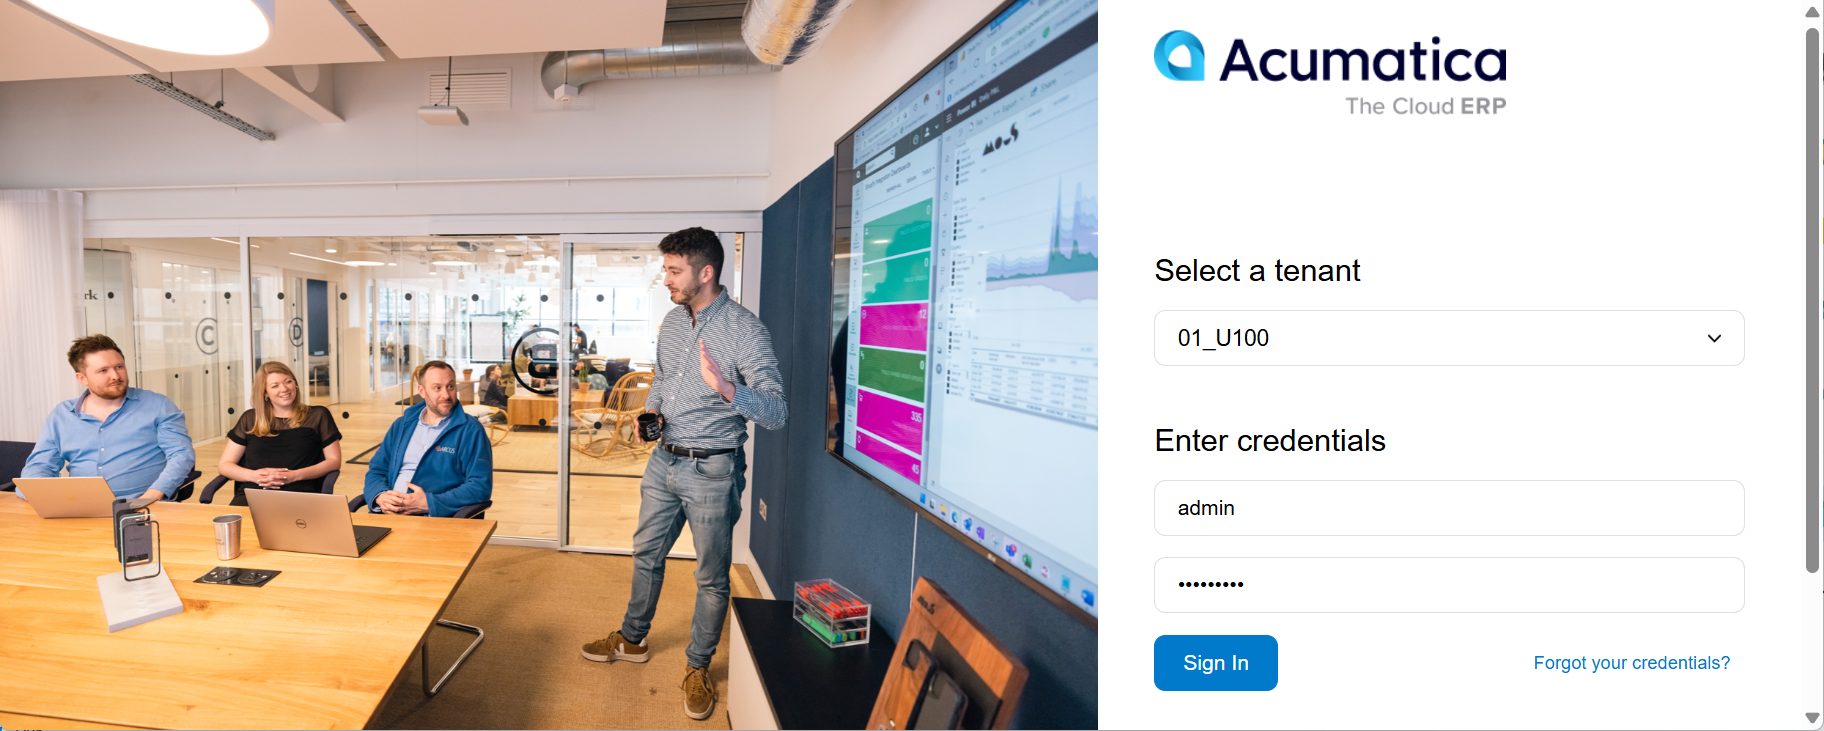
After you sign in, a confirmation pop-up window opens. This means that the add-on is connected to your MYOB Acumatica instance and ready to use.
Figure 4. The confirmation pop-up window 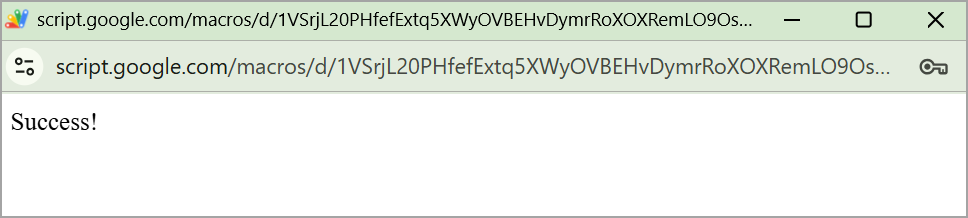
- Close the pop-up window and return to your Gmail mailbox.
You can now manage the email on the Acumatica for Gmail panel.