
Acumatica Add-In for Outlook: Add-In Installation
To install the Acumatica add-in for Outlook, you must use a manifest file that contains all deployment instructions. The system generates this file individually for each user.
Prerequisite Settings
The system generates a manifest file based on the interface of the Acumatica add-in, which is specified on the Site Preferences (SM200505) form. In the Outlook Add-In UI box, one of the following options is inserted by default (you can change it):
- Modern UI: Selected if the system has just been installed and Modern is selected in the Default UI box of the Site Preferences form.
- Classic UI:
Selected if one of the following conditions is met:
- The system has just been upgraded from MYOB Acumatica 2026.1.1 or an earlier version.
- The system has just been installed, and Classic is selected in the Default UI box of the Site Preferences form.
Downloading of the Manifest File
Before you begin installing the add-in, sign in to your MYOB Acumatica instance. Then on the Email Settings tab of the User Profile (SM203010) form, click the link (see below) to download the needed add-in manifest file:
- Get Outlook Add-In Manifest for Exchange Server On-Premises: Use this link if you use Exchange Server on-premises.
- Get Outlook Add-In Manifest for Microsoft 365: Use this link if you use a Microsoft 365 subscription. The Microsoft 365 manifest comes prefilled with all the necessary Microsoft Entra identifiers—no extra configuration needed.
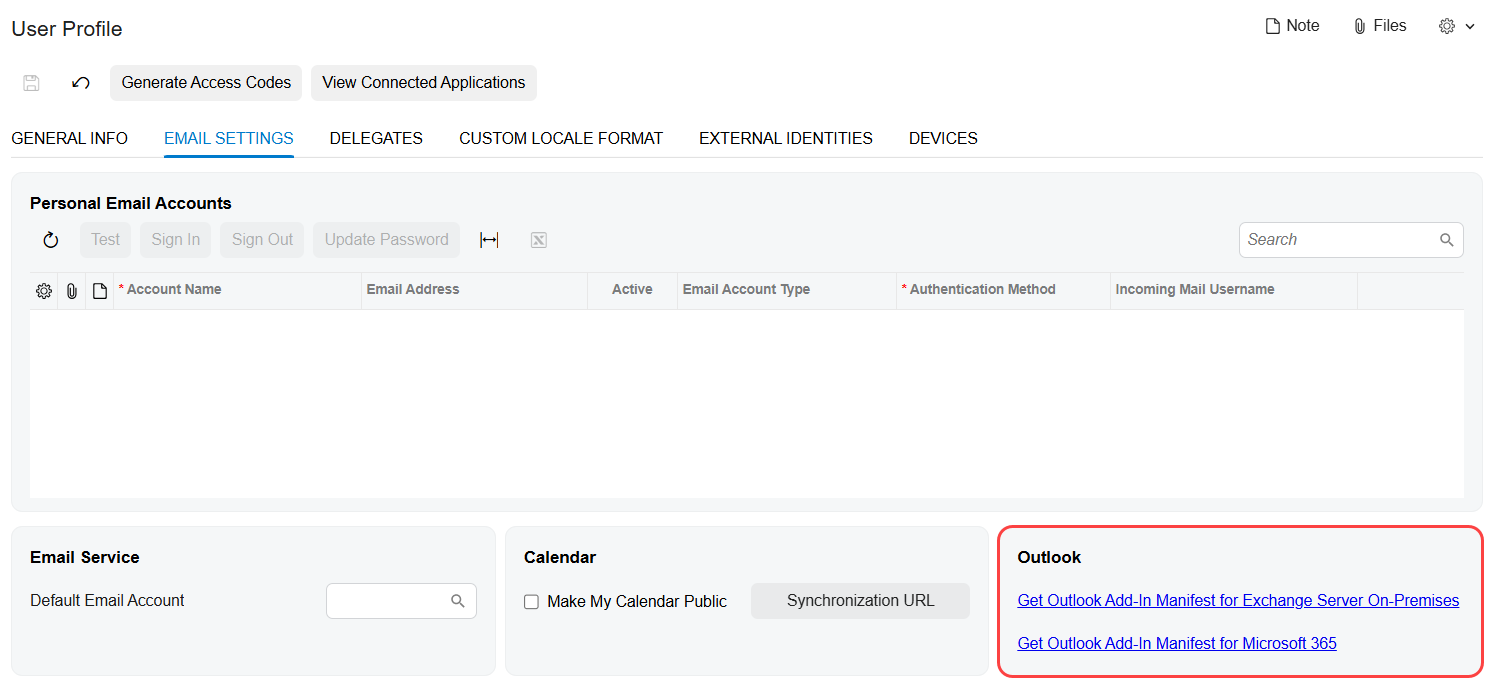
The Get Outlook Add-In Manifest for Exchange Server On-Premises link appears only if the Outlook Integration feature is enabled on the Enable/Disable Features (CS100000) form.
- The Outlook Integration and OpenID Connect features are enabled on the Enable/Disable Features form.
- The Use Provider for Sign-In to Acumatica Add-In for Outlook check box is selected for the OpenID provider on the OpenID Providers (SM303020) form.
The system names the downloaded manifest file based on the add-in interface specified on the Site Preferences (SM200505) form:
- If you click the Get Outlook Add-In Manifest for Exchange Server On-Premises link: OutlookAddinManifestModernUI or OutlookAddinManifest (for the Classic UI)
- If you click the Get Outlook Add-In Manifest for Microsoft 365 link: OutlookAddinManifestMicrosoft365ModernUI or OutlookAddinManifestMicrosoft365 (for the Classic UI)
Customization of the Manifest File
To customize the ribbon button that will appear on your Outlook client, you can edit the values of the following parameters in the downloaded manifest file:
DisplayName: The company name to be displayed. By default, Acumatica is displayed.Description: The description for the company to be displayed. By default, the following description is displayed.Figure 2. The description of the manifest file 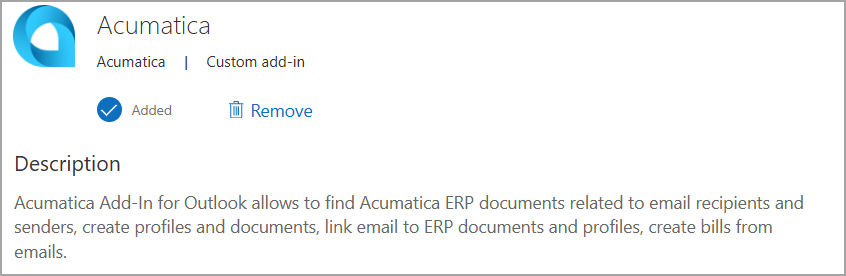
SupportUrl: An external link to an image file with the company logo. By default, the https://www.acumatica.com/support link is used.