
Acumatica Add-In for Outlook: Getting Started with the Add-In
When you run the Acumatica add-in for Outlook on your device for the first time, the Acumatica add-in panel opens on the right side of the screen and displays the introductory form (see below).
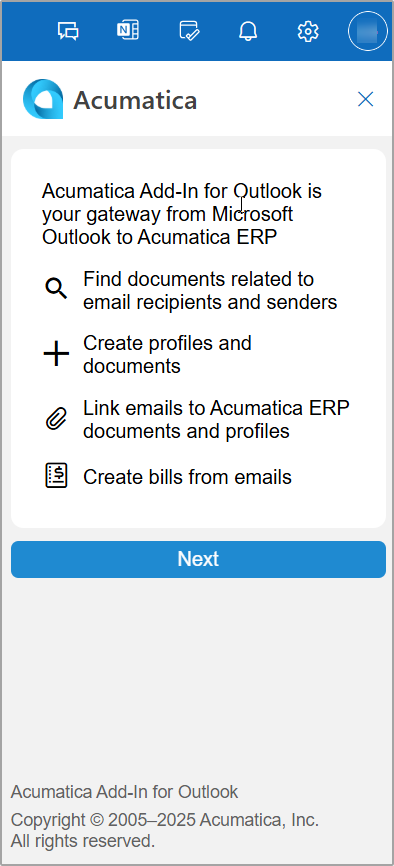
This introductory form provides a brief overview of the add-in’s functionality. Click Next to continue. On the sign-in form, which opens, you sign in by using your MYOB Acumatica credentials.
Signing In
To confirm your identity when using the Acumatica add-in, you provide your MYOB Acumatica credentials to sign in to your MYOB Acumatica instance. On the Sign-In page, which opens when you run the add-in, do the following:
- In the Select a tenant box, select the company to which you want
to sign in.
Note that this box is available only if multiple companies are registered in your MYOB Acumatica instance.
- In the Username and Password boxes, type your credentials, respectively.
- Click Sign In.This grants the add-in access to your MYOB Acumatica instance. You don’t have to enter your credentials during each subsequent run of the add-in unless you previously signed out.Note:The incorrect configuration of Exchange Server may cause an error during your sign-in attempt if the system receives an empty identity token from Exchange. If this happens, your system administrator should update the Exchange Server OAuth configuration so that a valid certificate is used in the process.