
To Add a Graphic
At times, you might want to illustrate the concepts or ideas in an article. To do this, you can import graphics to add them to articles. In the process, you can specify a variety of display options.
To Import a Graphic File
Before you import your file, make sure that the size of your file does not exceed the maximum file size allowed and that the type of file is allowed. You can check the maximum allowable file size and the valid file extensions on the File Upload Preferences (SM202550) form.
To import a graphic file for an article, do the following:
- Open the article to which you want to add the graphic.
- Open the article for editing. Do one of the following:
- Click Edit to the right of the section to which you want to add the graphic.
- On the wiki toolbar, click Edit Current Article to open the entire article in the Wiki Editor form.
- On the formatting toolbar, click Attach File.Note:Alternatively, if you opened the Wiki Editor form, you can click Attach on the Wiki Editor form toolbar. This opens the File Upload dialog box.
- In the File Upload dialog box, click Browse to find the file, select the file, and then click Upload. This opens the File Link Editor dialog box.
- In the File Link Editor dialog box, specify the following options:
Figure 1. File Link Editor Dialog Box 
- In the Type box, select one of the following display options: Not Set, Thumb, Frame, or Border.
- In the Alignment box, select one of the following alignment options: Not Set, Right, Left, or Center.
- In the Caption box, enter the caption for the graphic.
- In the Size box, enter the display size (in pixels) of the graphic to be displayed.
For more information, see the Customize a Graphic section of this article.
- Click anywhere in the Wiki text box to update the link, and then copy the link.
- Click OK to close the dialog box.
- Click on the position in the text where you want to insert the graphic, and paste the link.
- Click Save.
- Check the graphic displayed in the article, and correct the options if needed.
To Update a Graphic File
When you need to replace a graphic, do the following:
- Open the wiki article with the graphic you want to update.
- Click the Edit link next to the graphic you want to replace. The system redirects you to the File Maintenance (SM202510) form with the file name of the graphic specified in the File box. The form displays the list of versions of the file.
- Make sure the file name of the graphic begins with the correct article ID, separated from
the graphic file name by a backslash (\). CAUTION:If the article ID has changed, delete the old link and create a new one.
- On the form toolbar, click Check Out.
- On the form toolbar, click Upload New Version.
- In the File Upload dialog box, click Browse and select the graphic you want to upload.
- Make sure the Check In check box is selected to check in the updated version of the file.
- Click Upload.
The system uploads the file and adds it to the list of file versions under the original file name (regardless of the name of the uploaded file). By default, the new version of the file will be displayed in the article.
To Customize a Graphic
You may need to change how a graphic is justified in the text, scale it, or alter other display options. This section describes the wiki markup syntax you use to customize an graphic.
See below for the most basic syntax for adding a graphic to a wiki article:
[image:File name]where File name has the following format:
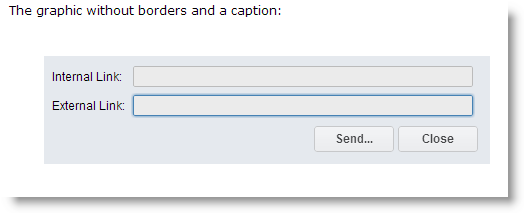
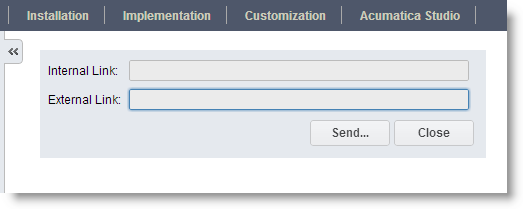
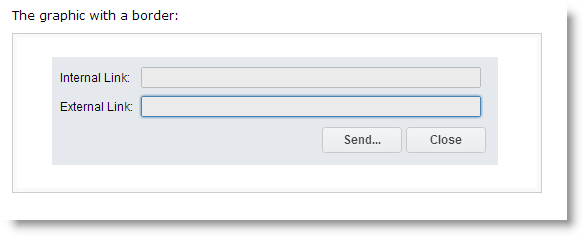
[Article ID\Image file name]For example, the following syntax displays the graphic without borders and a caption:
[image:Graphic\Links.png]The following graphic corresponds to the markup above:
You use the following complete syntax to add a graphic to a wiki article:
[Image:File name|Type|Location|Caption|Size|Noclick|]Follow these tips when you use these options, which the remainder of this article describes in detail:
- List the options in any order.
- Use no additional spaces before, between, or after any pipe sign (|) because spaces can cause errors when the system parses the link.
- Note that if the text between two pipe signs is not a valid option, the system interprets it as a caption.
| Option | Description |
|---|---|
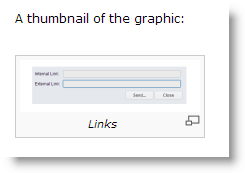
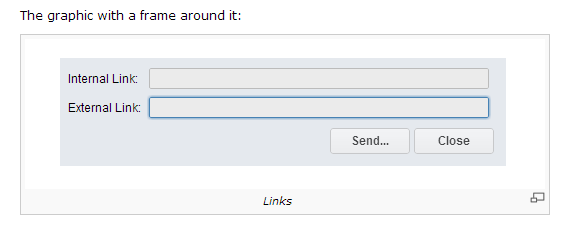
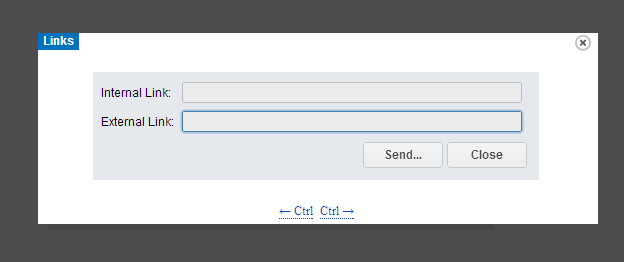
| Type | Specifies the type of the graphic. Use one of the following values: thumb,
frame, border, and popup.
|
| Location | Defines the horizontal placement of the graphic on the page. Use one of the following
values: right, left, or center. By default, the
system displays graphics left-aligned. This is an example of the syntax for a centered graphic: 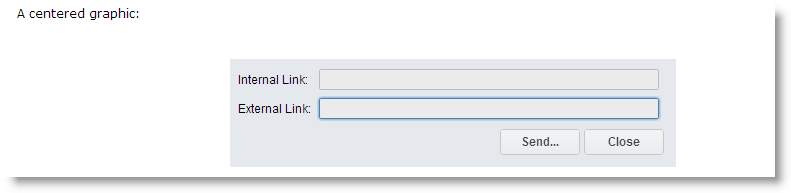 |
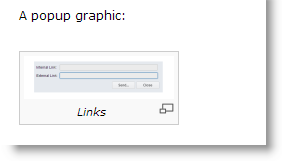
| Caption | Specifies the tooltip shown when a user points to the graphic. This is an example of
the syntax for a graphic with the caption option:
The corresponding image is shown in the screenshot below. The Links text, interpreted as a caption, is shown when you point to the image. 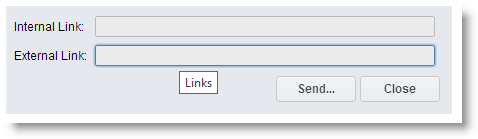 |
| Size |
Gives you the ability to scale the graphic in either of the following ways:
This is an example of the syntax for a graphic with the specified height and width: The graphic is scaled down to 100 pixels in width and 50 pixels in height, as shown in the screenshot below. 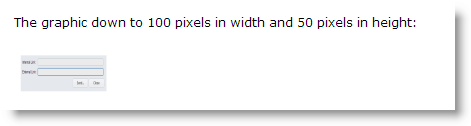 If you click the scaled graphic, the system opens the graphic in its actual size on a blank page. To return to the article, click the Back button of the browser. |
| NoClick |
Prohibits the user from displaying the graphic in its actual size. See the following example of the syntax for a graphic with the noclick option: The syntax above results in the graphic being scaled down proportionally to 100 pixels in width. When you click this graphic, the system does not open the graphic in its actual size.  |
To Attach Already Imported Files
You can easily attach one file to different articles.
To attach a file that is already imported into the system, do the following:
- Open the wiki article with the graphic you want to use.
- Open the article for editing. Do one of the following:
- Click Edit to the right of the section to where the graphic is located.
- On the wiki toolbar, click Edit Current Article to open the entire article in the Wiki Editor form.
- Select and copy the image link.
- Click Cancel.
- Open the wiki article where you want to insert the graphic.
- Open the article for editing. Do one of the following:
- Click Edit to the right of the section to which you want to add the graphic.
- On the wiki toolbar, click Edit Current Article to open the entire article in the Wiki Editor form.
- On the formatting toolbar, click Attach
File.Note:Alternatively, if you opened the Wiki Editor form, you can click Attach File on the Wiki Editor form toolbar. This opens the File Upload dialog box.
- In the File Upload dialog box, select Link to existing file option, paste the link into the Existing File dialog box, and then click Upload. This opens the File Link Editor dialog box.
- Follow Steps 5 through 10 of the Importing Graphic Files procedure.