
IMS Online Plus & Max – Importing Payments into IMS Payroll
Before you Start
Make sure that all Leave Requests & Timesheets have been entered into IMS
Online for the pay period date range before importing payments into IMS Payroll.
Remember that Leave Requests cannot be added after you’ve created Timesheets.
IMS Online Plus and Max create payment transactions for IMS Payroll for the Timesheets that are in the system for the pay period date range. These payments may include leave, worked hours, and other allowances employees may receive.
Note that if a Leave Request spans the pay period date range, payment transactions will only be included for dates within the current pay period (remaining days will be paid in the next pay period run).
Ensure that the following tasks have been completed before importing transactions into IMS Payroll from IMS Online:
-
Open the pay period in IMS Payroll (or at least determine the period date to be opened)
-
Ensure all employees have entered Leave Requests and Timesheets into IMS Online for the period
Note that all Leave Request transactions within the specified date range will be transferred to IMS Payroll. This includes Leave Requests that have not yet
been submitted; not yet approved; and approved.
-
Ensure IMS Online has been updated from IMS Payroll to ensure leave balances etc are up to date.
Task Overview
- Finalise timesheets
- Recalculate timesheets
- Lock timesheets
- Create import file
- Import into Payroll
- Close timesheet period
IMS Online tasks
The following tasks are carried out in IMS Online:
-
Finalise timesheets (ensure that all timesheets have been completed by employees and / or managers)
-
Recalculate timesheets
-
Lock timesheets
You will also log back into IMS Online to close the timesheet period after it has been successfully imported into IMS Payroll.
Recalculate timesheets
Processing timesheets ensures that payments calculated for the timesheet are 100% up to date.
For example, leave payments may change as leave balances get updated from
Payroll, and payments may also change depending on other employee field changes.
Processing occurs at different stages throughout the timesheet process:
-
After opening the timesheet period, and the ‘Create Timesheets’ action has been run, the timesheets are processed automatically as they get generated.
-
If employee timesheets are modified, payments are recalculated automatically (displayed underneath the timesheet).
It is recommended that you recalculate timesheets prior to importing the payments file into IMS Payroll. This will ensure:
-
Timesheet data is calculated using up-to-date leave balances and / or modified fields on the employee masterfile.
-
A chance to review warnings and alerts prior to finalising the timesheet period.
Process timesheets by following these steps:
-
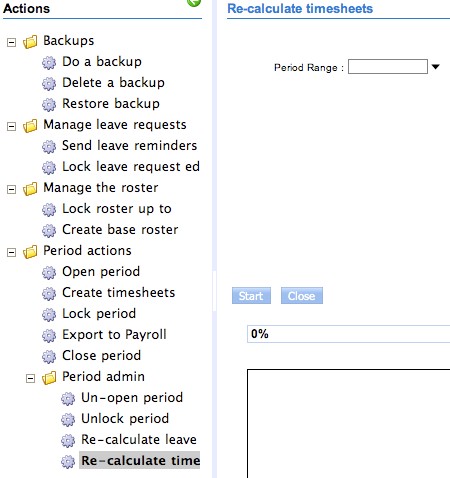
From the Actions page, select the ‘Recalculate timesheets’ menu item:
-
In the Period Range field, enter a ? and select the correct timesheet period to process (or use the drop down arrow to select the period).
-
Click Start to process timesheets for the selected period.
-
Review highlighted warnings that display in the information window. If necessary, make changes to timesheets before proceeding to the next step.
Lock timesheet period
At the completion of the timesheet period, the TimeFiler Administrator needs to lock the period so that no further changes can be made. Once the period has been locked, the Administrator is able to check data and make changes if necessary, before creating the export file.
Lock a timesheet period by following these steps:
-
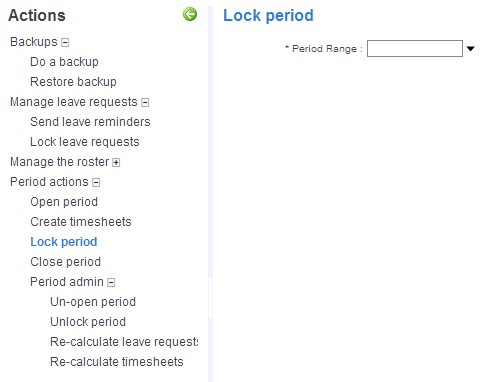
From the Actions page, select the ‘Lock period’ menu item:
-
In the Period Range field, enter a ? and select the correct timesheet period to lock (or use the drop down arrow to select the period).
-
Once the period has been selected, click Start. Check the audit log at the end of the process to ensure the period is locked successfully.
Fast facts about locking timesheet periods
|
Question |
Answer |
|---|---|
|
When do I lock the timesheet period? |
After employees have finished completing their timesheets for the period, and prior to checking data / creating an export payments file for Payroll. |
|
What happens when I lock a timesheet period? |
No further changes to the timesheet may be made by employee and managers (note that Administrators can still make changes). |
Log out of IMS Online.
IMS Online Synchronisation Tool tasks
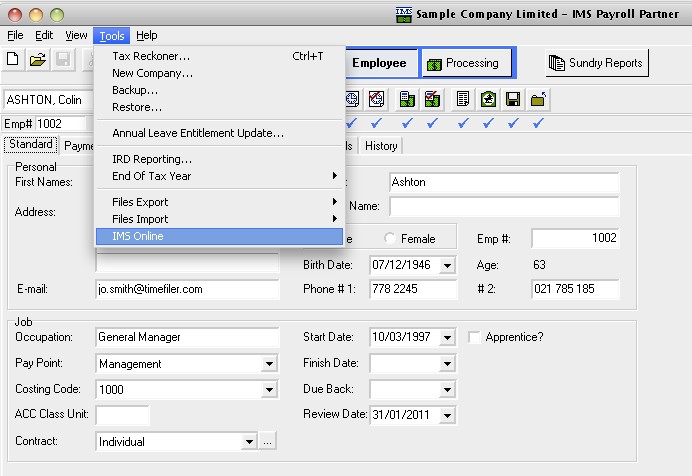
Log into the IMS Online Synchronisation Tool via the IMS Online menu item on the Tools toolbar within IMS Payroll:
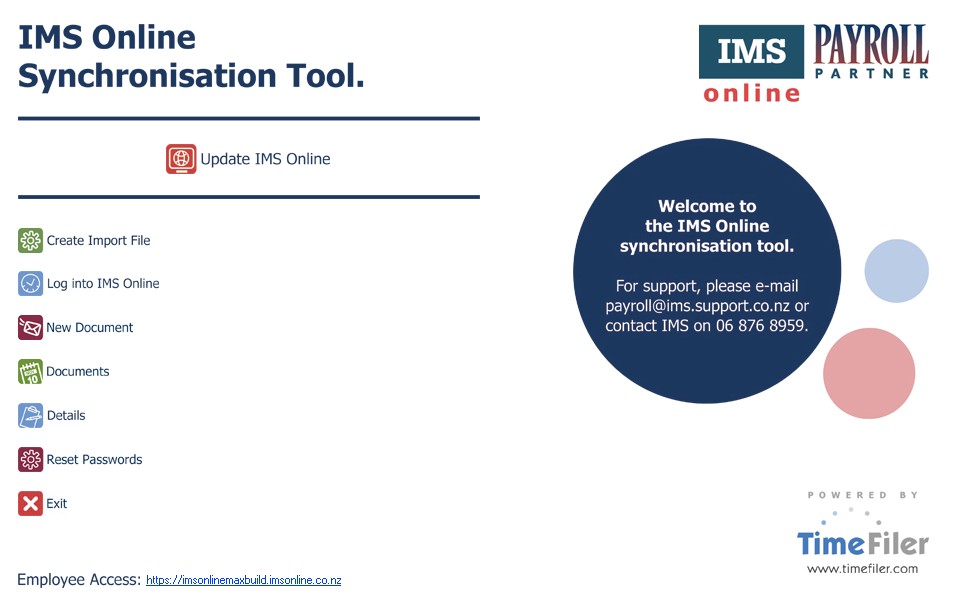
You will be presented with the following screen:
Create Import File
On the IMS Online Synchronisation Tool home screen, click Create Import File. The following screen will be displayed:
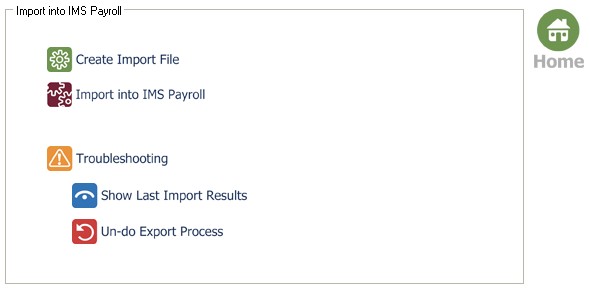
Click Create Import File. A dropdown box will be displayed:

Valid timesheet date ranges will be displayed:
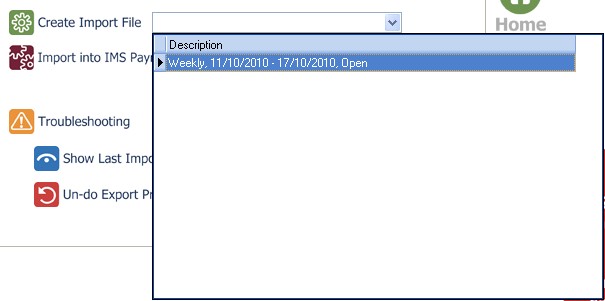
If there are no open timesheet periods, the following message will be displayed: “No period date ranges available to select”. It is only possible to create an import file for an open and locked timesheet period.
Double click the timesheet period range; you will be presented with the following confirmation box:
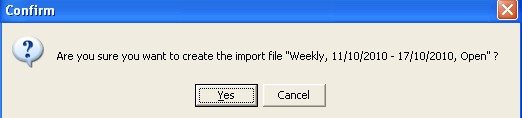
Click Yes to continue.
At the end of the process, a confirmation box will appear:
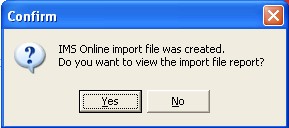
Click Yes to view the import file report.
Two pages are displayed on the report; transactions and validation messages:
Please check both pages of the import file report.
Import file log: transactions
The first page of the Import File Log displays the transactions that have been created ready for import into IMS Payroll:
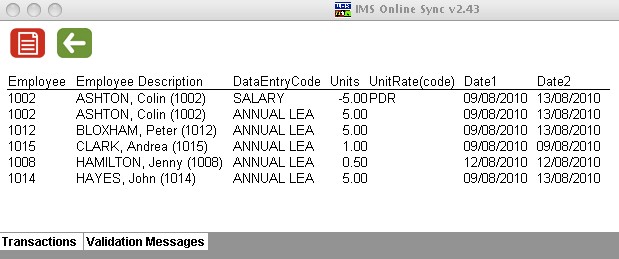
You can click on the red Print button to print the results to your local printer.
Now click on the Validation Messages tab at the bottom of the Import File log.
Import file log: validation messages
The second page of the Import File Log displays the system warnings that have been generated in the system for the Timesheets in the period date range:
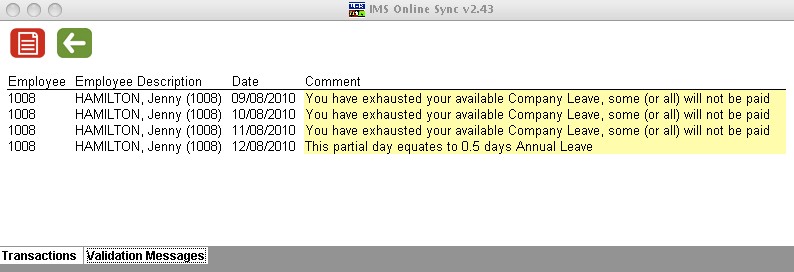
If you are not happy with the Transactions and/or Validation Messages, and need to go back into IMS Online to make changes, you will need to Undo the Export process (as detailed in the Troubleshooting section of this document).
Click the green arrow to go back to the main screen.
Import into IMS Payroll
Click Import into IMS Payroll. A dropdown box will be displayed:

Valid timesheet date ranges will be displayed:
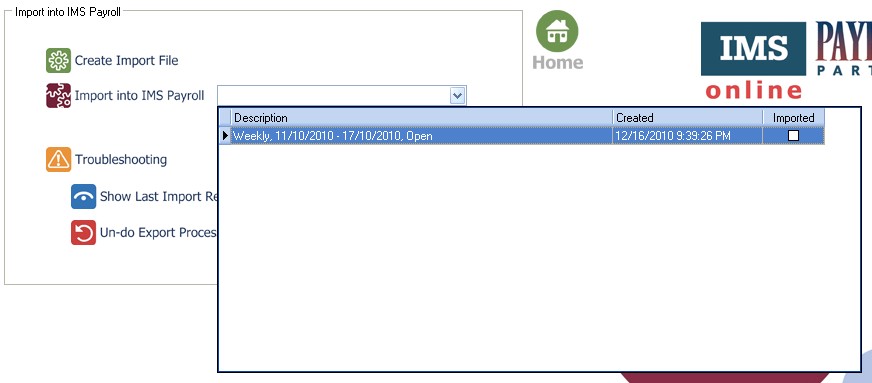
Double click the timesheet period range; you will be presented with the following confirmation box:
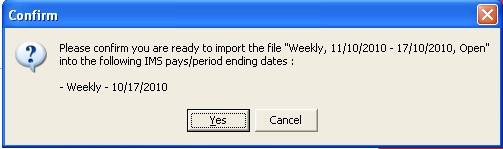
You must have the Time Import Module installed to complete this step. You must also have the pay period open in IMS Payroll.
Click Yes to continue. The Time Import window will display:
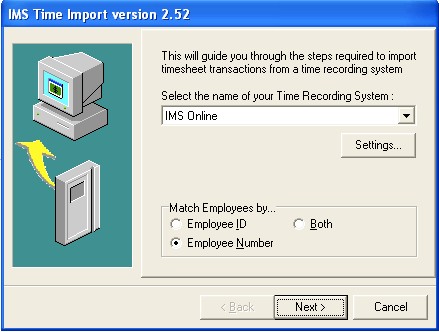
These settings should not be changed.
Click Next to continue.
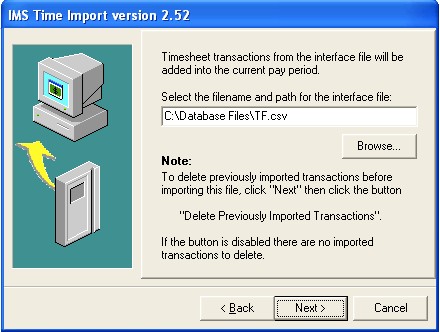
Click Next to continue.
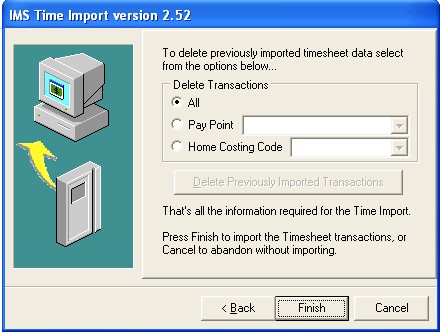
Click Finish to continue.
The IMS Online timesheet transactions will now be imported into the open IMS Payroll period.
Close timesheet period
Close the timesheet period in IMS Online by following these steps:
-
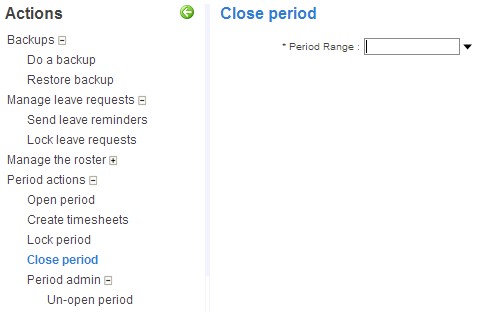
From the Actions page, select the ‘Close period’ menu item:
-
In the Period Range field, enter a ? and select the correct timesheet period to close (or use the drop down arrow to select the period).
-
Once the period has been selected, click Start. Check the audit log at the end of the process to ensure the period is closed successfully.
Fast facts about closing timesheet periods
|
Question |
Answer |
|---|---|
|
When do I close timesheet periods? |
It is recommended you close the timesheet period once the corresponding period has been closed in IMS Payroll. |
|
What happens when I close a timesheet period? |
Timesheet data can no longer be edited in Timesheets. It is not a straightforward task to take a timesheet period back to an ‘unopened’ state, so only close the period once it has been successfully imported into Payroll. |
Troubleshooting
The Troubleshooting area allows you to:
-
View the last Import File Log (in case you forgot to print it out, or need to take another look at it).
It is not possible to view historical Import File Logs beyond the previous one.
-
Undo the Export process (allows Timesheet data to be adjusted, and then recreated ready for import into IMS Payroll).
Show Last Import Results
Click Show Last Import Results. Import File Logs will be displayed for the last period range:
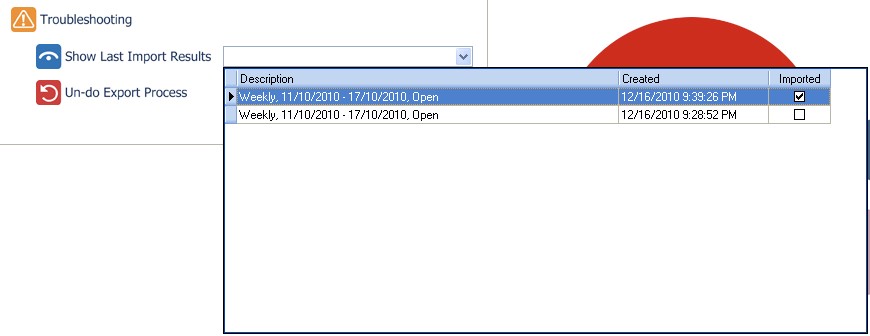
Double click the timesheet period range to view the Import File log.
All attempts at creating the import file are displayed for selection. A tickbox indicates which file was imported into IMS Payroll.
Note that information is displayed on the Transactions tab as well as the Validation Messages tab.
Un-do Export Process
If you discover that the Timesheets you have just created an import file for are not correct, or you have created the import file in error, it is possible to “un-do” the process so that it can be recreated again in the future.
Remember to make any changes in IMS Online if necessary before recreating the import file.
It is only possible to un-do the export process for the previous imported period.
Click Un-do Export Process. A period range drop-down box is displayed:
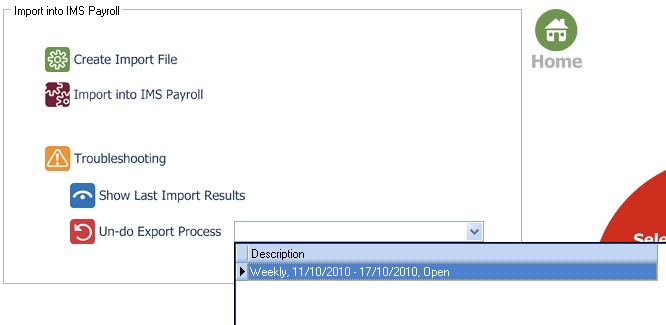
Make sure this is the period range you are planning to un-do the export process for, then click on the period date range.
You will then be asked to confirm whether you want to un-do the export for the selected period range:
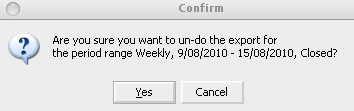
Click Yes to undo; otherwise press Cancel. If you clicked Yes, then IMS Online Sync will proceed to un-do the export process:
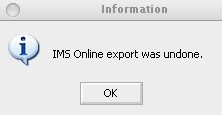
You may now run through the Create Import File process again after making any necessary changes that may be required in IMS Online.