Creating the User Signature
To add this functionality to your mobile app, you should update the corresponding page by adding the recordAction object with the behavior attribute set to SignReport. The container to which you add the recordAction object must support attachments.
For example, to add an area for adding a user signature to the Sales Orders (SO301000) screen, open the Update: SO301000 page (for details, see To Update a Screen of a Mobile App), and insert the following code in the Commands area.
update screen SO301000 {
update container "OrderSummary" {
...
add recordAction "SignReport" {
behavior = SignReport
displayName = "Sign"
}
...
}
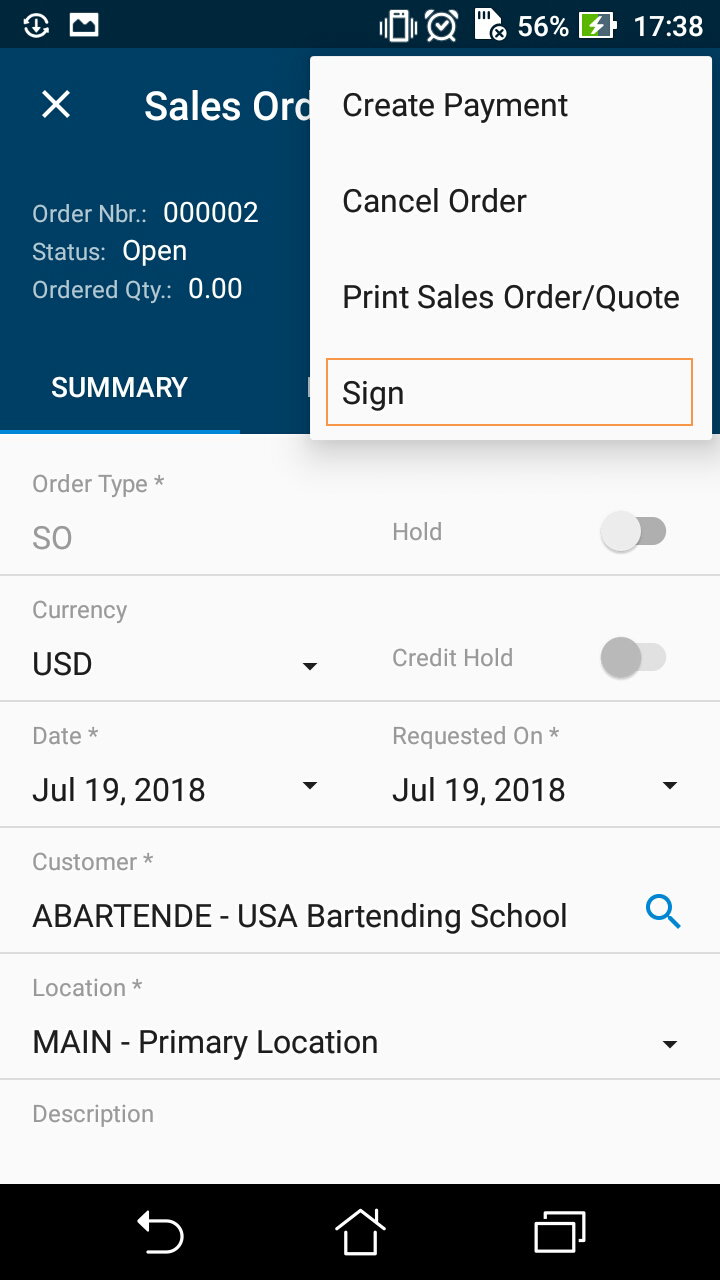
}As a result, the Sign action appears on the appropriate screen of the mobile app, as the following screenshot shows.
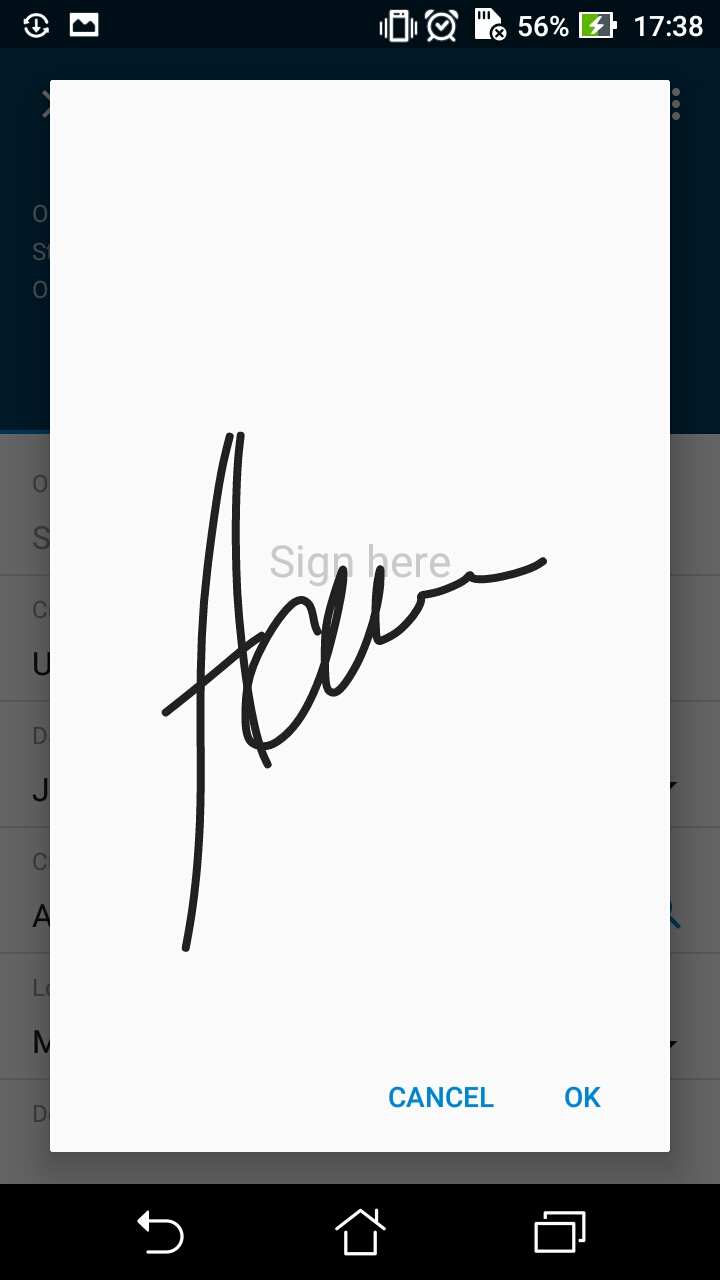
When the user clicks this action, the app displays a blank form with the Cancel and OK buttons and the words Sign here to instruct the user to add the signature, as shown in the following screenshot. A user can add multiple signatures to one record.
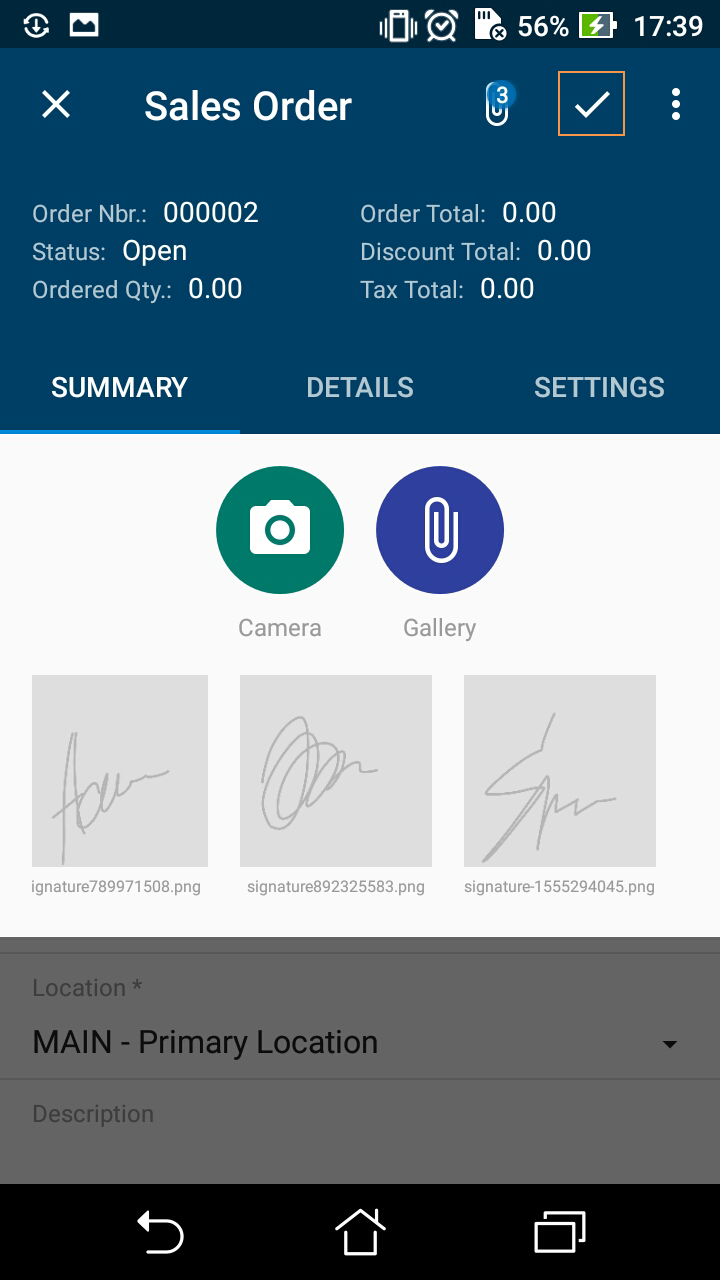
After the user clicks the Save (✓) button on the screen toolbar (shown in the following screenshot), the mobile app sends the signature file to the MYOB Acumatica server, which saves the file in the database as a file attached to the appropriate form. In the mobile app, the attachment is displayed as an image that is attached to the MYOB Acumatica form.