Configuring User-Defined Fields
You can configure the mapping of user-defined field to a mobile app screen by using the
add UDFields instruction.
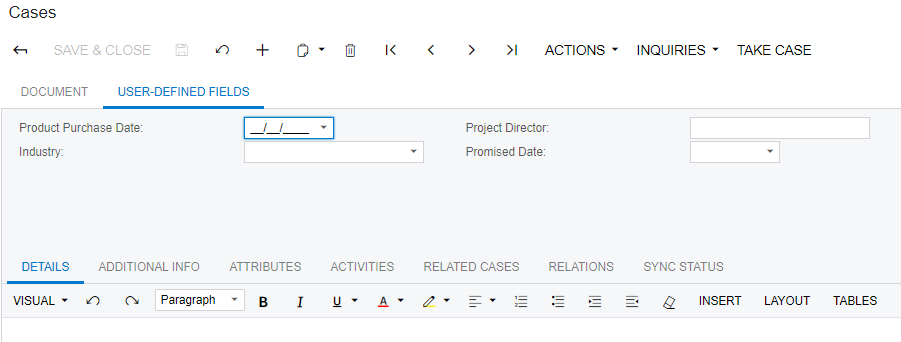
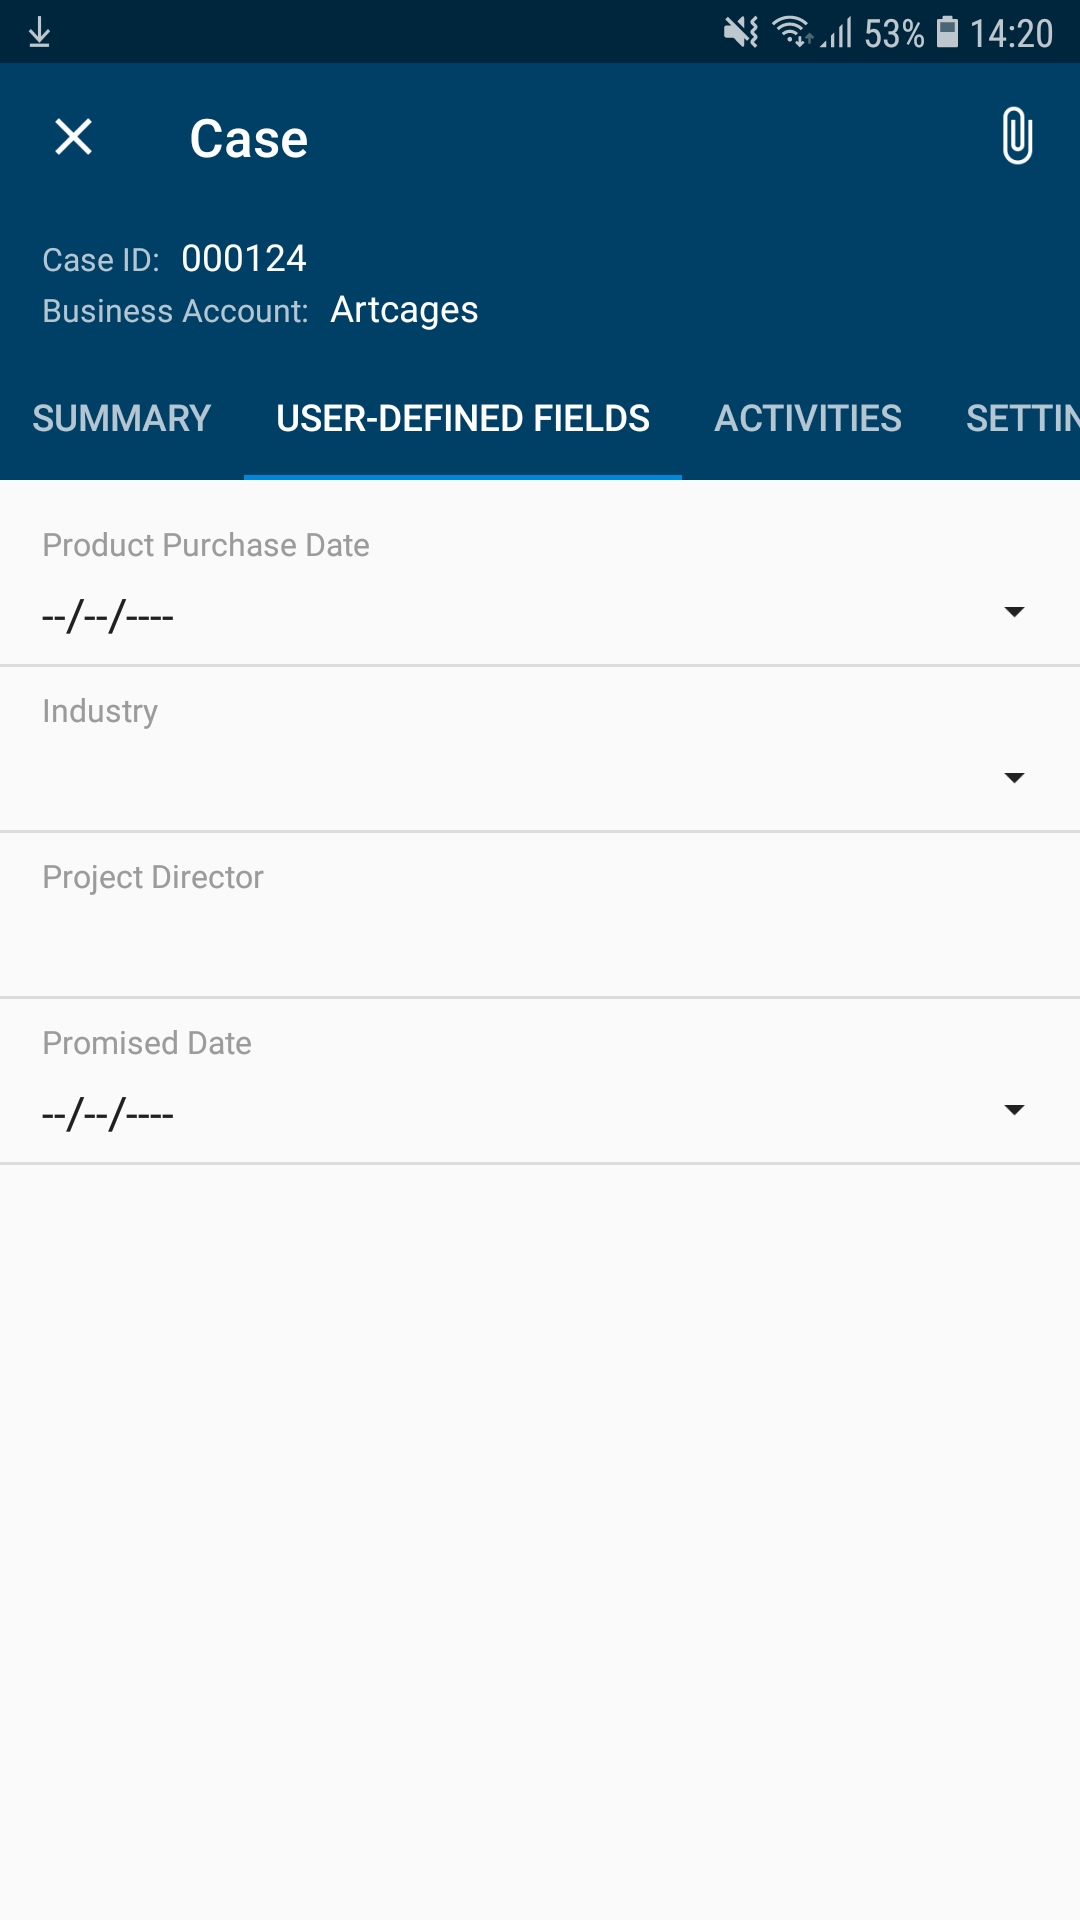
Because not all system entities have entity classes, attributes cannot always be added to data entry forms via classes. In these cases, user-defined fields can be added directly to the data entry forms where these entities are created. When these fields are defined for a form, they are specified on the User-Defined Fields tab. By default, the User-Defined Fields tab is displayed on a mobile screen if the associated form has user-defined fields. For example, the following screenshots show user-defined fields displayed on the Cases (CS306000) form and on the Cases screen of the mobile app.


Organizing the Layout of User-Defined Fields
You can organize the layout of user-defined fields by putting all user-defined fields into an object of the following types:
- layout
- container
- group
You do this by specifying the add UDFields instruction inside an object of
the listed types.
For example, if user-defined fields should be displayed as a group of fields alongside other fields (rather than on a separate tab), a developer can use the following code. The add instruction should be used with an object of the UDFields type, as you can see from the highlighted line in the example.
update screen CR306000 {
  update container "CaseSummary" {
    update layout "Settings" {
      add group "UDFGroup" {
        displayName = "User-Defined Fields"
        add UDFields "UDFInline"
        placeAt 0
      }
    }
  }
}
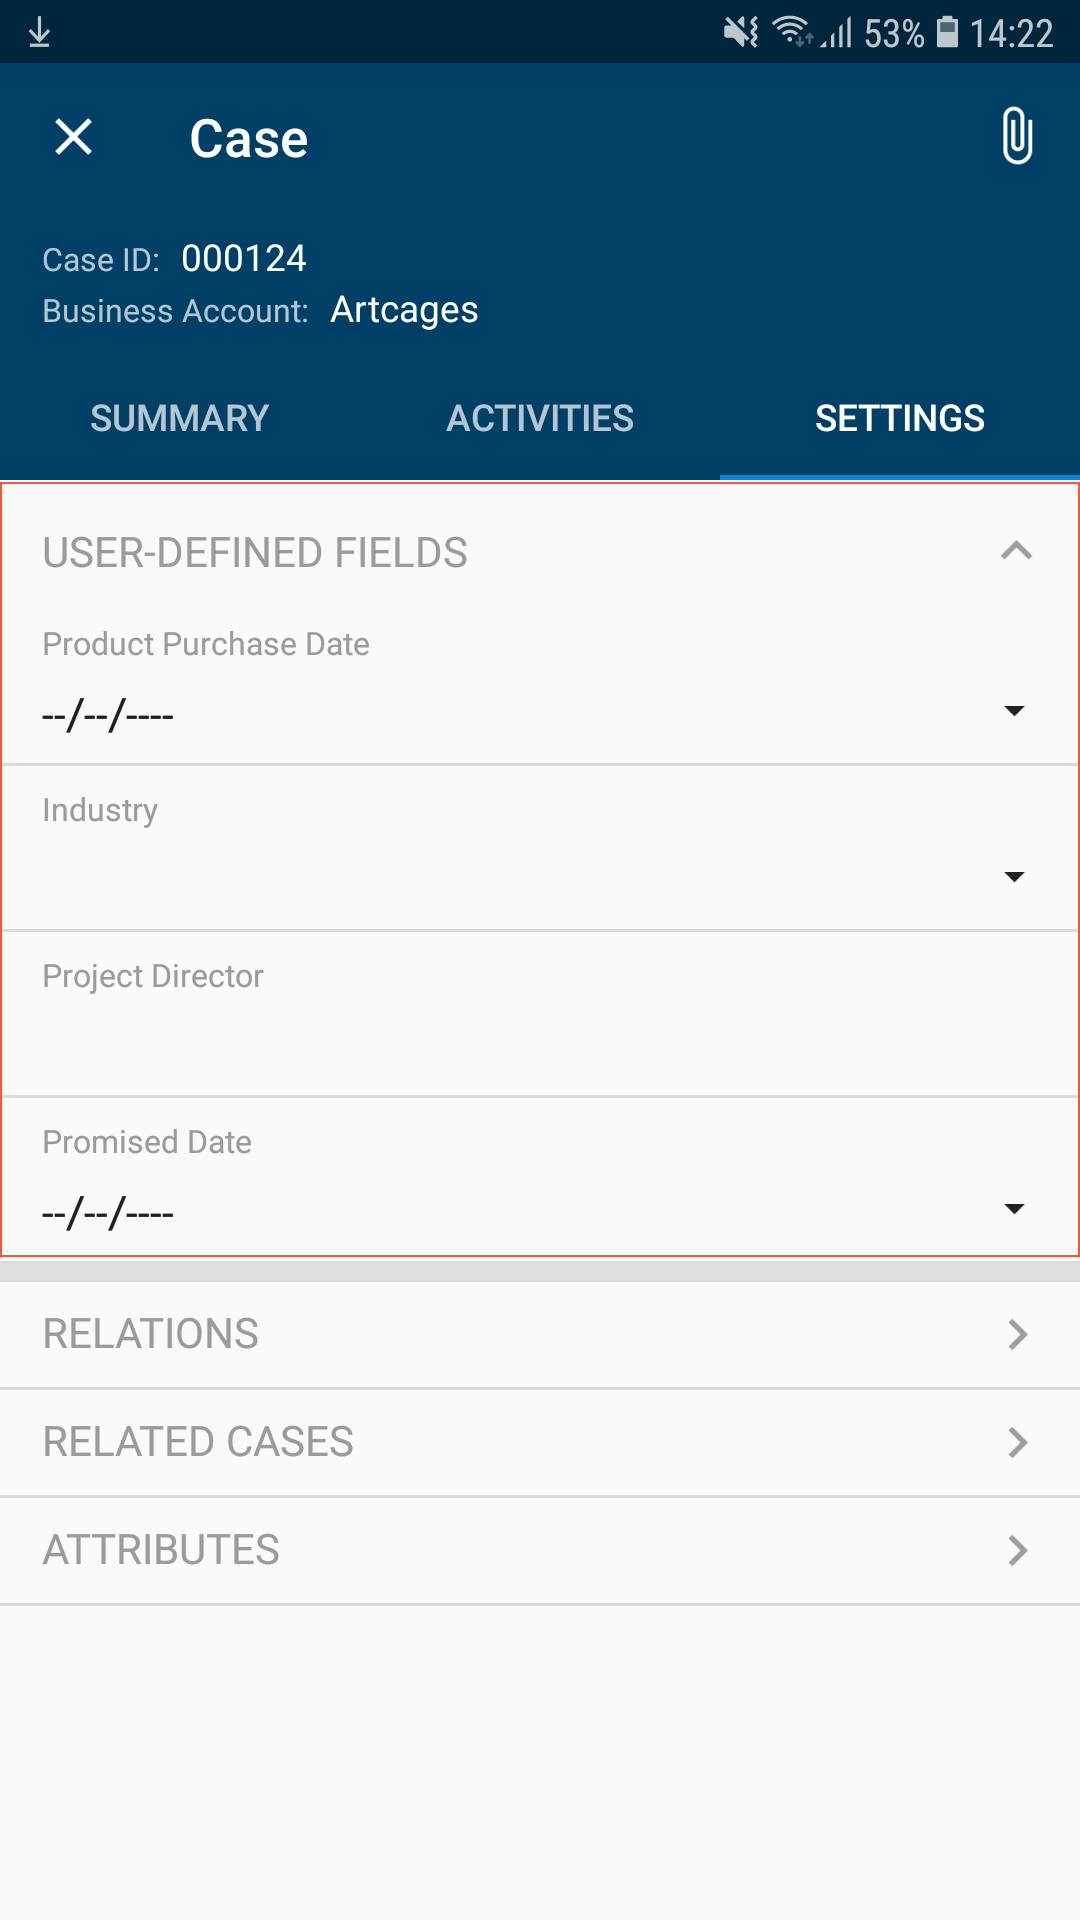
The code above puts all user-defined fields in a group on the Settings tab of the Cases screen, as shown in the screenshot below.

Hiding User-Defined Fields
You can cancel the display of user-defined fields on a screen by using the hideUDF attribute of the screen object, as the following code shows.
update screen CR306000 {
hideUDF = True
}add UDFields
instruction cannot be used in the same screen mapping.