
Configuring Attachments
Example: Configuring a Screen with Attachments
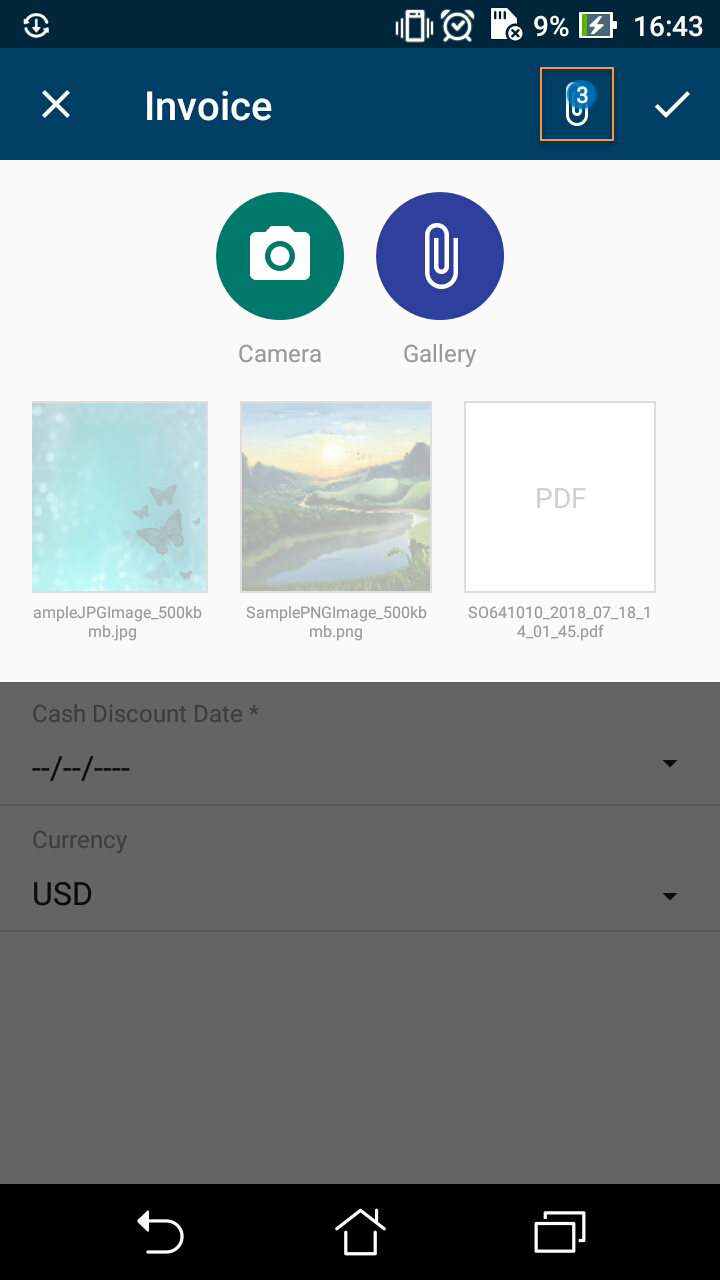
The following sample code gives the Invoices (SO303000) screen the ability to accept attachments of various formats. To see an example, add the Invoices (SO303000) screen to your customization project (as described in To Add a Screen to the Mobile Site Map (Example)), copy the code below to the Commands area of the Add: SO303000 page, and publish the project.
add screen SO303000 {
  add container "InvoiceSummary" {
    add field "Customer"
    add field "Location"
    add field "Terms"
    add field "DueDate"
    add field "CashDiscountDate"
     add field "Currency" {
      selector {
        add field "CurrencyID"
      }
      PickerType = Attached
    }
    add recordAction "Save" {
      behavior = Save
    }
    add recordAction "Cancel" {
      behavior = Cancel
    }
    attachments {
      add type "jpg" {
        extension = "jpg"
      }
      add type "png" {
        extension = "png"
      }
      add type "pdf" {
        extension = "pdf"
      }
    }
  }
}
To enable or disable attachments and configure the file types that are allowed, you use the attachments instruction inside the container object.
The screenshot below shows the resulting screen in the mobile application. To attach an item, the user taps the paper clip symbol in the top right corner of the screen. After at least one item has been attached, the number next to the paper clip indicates how many items have been attached.
The Enhancement of Images Taken from the Camera
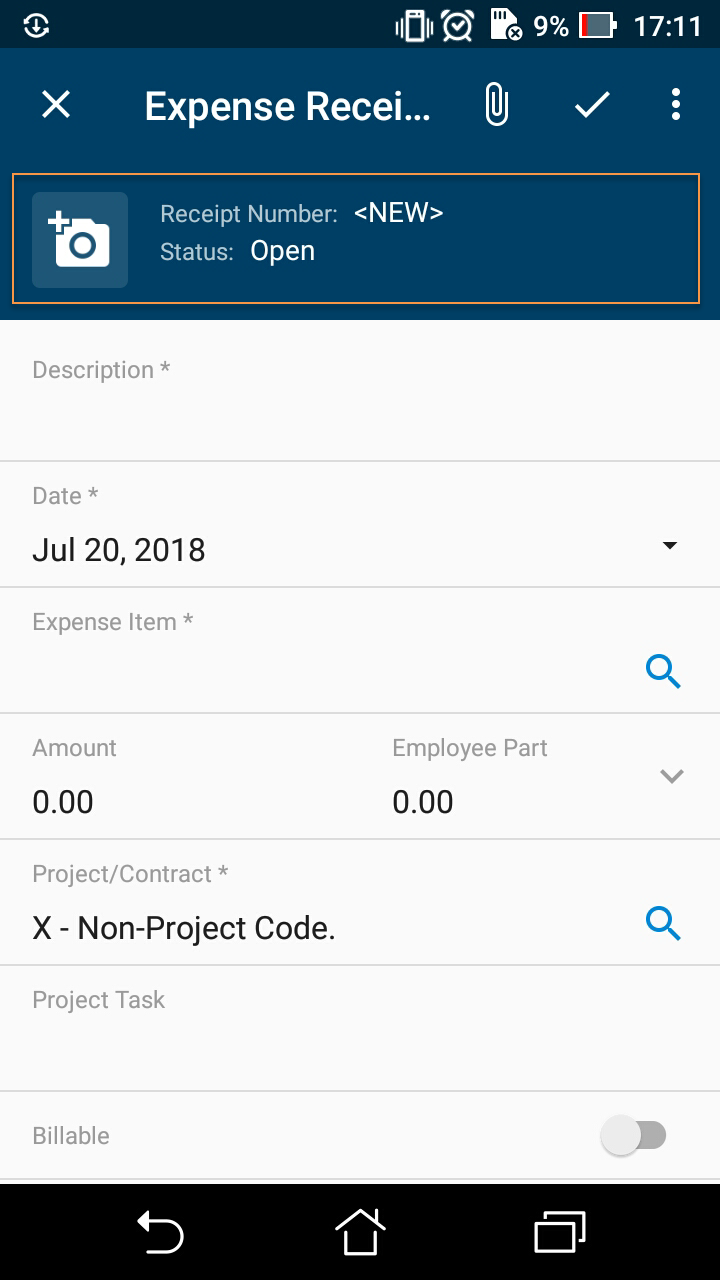
The functionality of enhancing images taken from the camera of a mobile device is implemented in the MYOB Acumatica mobile app. This image enhancement makes the image look better and more readable. This functionality is useful for any printed document, such as expense receipts that may be attached to documents in MYOB Acumatica.
attachments {
      imageAdjustmentPreset = Receipt
}- The image is cropped by the bounding box of the detected edges.
- Any image distortion is removed.
- The image is converted into black and white.
- The contrast of the image is maximized.
Each of these enhancements is first performed automatically and then the user can also add manual adjustments. The automatic changes cannot be undone.
If the imageAdjustmentPreset attribute is not specified or has
value other than Receipt, the MYOB Acumatica
mobile app attaches the original image taken from the camera.