Business Events: To Automate Updating of a Field Value on Data Change
This activity will walk you through the process of configuring a business event to monitor data changes using a generic inquiry as data source and an import scenario as a subscriber.
Story
Suppose that an accountant needs to have information when the last payment was done for a vendor, to plan future payments.
Acting as the system administrator, you need to configure a user-defined field to hold the date of the last payment to vendor and a business event to monitor payments to vendors and update the last payment date for a vendor by means of import scenario.
Process Overview
On the Attributes (CS205000) form, you will create an attribute to used as a basis for a user-defined field. Then, on the Vendors (AP303000) form, you will add the user-defined field to track the last payment date for a vendor.
You upload the ImS_UpdateVendorLastPymtDt import scenario that you will use as a subscriber and the BE_UpdateVendorLastPymtDt generic inquiry that you will use as a data source for the business event, using appropriate forms.
Using the uploaded inquiry form, you will create a business event that will track payments to vendors and update the last payment date for such vendors.
System Preparation
Launch the MYOB Acumatica website, and sign in to a tenant with the U100 dataset preloaded as system administrator Kimberly Gibbs. You should sign in by using the gibbs username and the 123 password.
Step 1: Creating a User-Defined Field
To create a user-defined field that will hold the last payment date for a vendor, do the following:
- On the Attributes (CS205000) form, add a new record.
- In the Attribute ID box, type LASTPAYDAT.
- In the Description box, type Last Payment Date.
- In the Control Type box, select Text.
- On the form toolbar, click Save.
- Open the Vendors (AP303000) form, and click on the form title bar.
- Do the following to add the user-defined field to the Vendors form:
- On the form toolbar, click Add User-Defined Field.
- In the User-Defined Field Parameters dialog box, which opens, in the Attribute ID box, select the LASTPAYDAT attribute that you have created. In the Column and Row boxes, type 1.
- Click OK to close the dialog box.
- Click Back on the form toolbar to return to the Vendors form. On the User-Defined Fields tab, notice the Last Payment Date box.
Step 2: Uploading the Needed Generic Inquiry and Import Scenario
To upload the ImS_UpdateVendorLastPymtDt import scenario that you will use as a subscriber and the BE_UpdateVendorLastPymtDt generic inquiry that you will use as a data source for the business event, do the following:
- Open the Import Scenarios (SM206025) form.
- On the form toolbar, click .
- In the Upload XML File dialog box, select ImS_UpdateVendorLastPymtDt.xml, and click Upload. You may need to wait a bit until the system uploads the scenario.
- Open the Generic Inquiry (SM208000) form.
- On the form toolbar, click .
- In the Upload XML File dialog box, select BE_UpdateVendorLastPymtDt.xml, and click Upload. You may need to wait a bit until the system uploads the inquiry.
- On the form toolbar, click View Inquiry. The systems opens the Update Last Payment Date (GI000194) generic inquiry form in a new browser tab.
Step 3: Creating a Business Event Triggered by a New Record
To create a business event that is triggered by a new record in the monitored generic inquiry, do the following:
- While you are viewing the Update Last Payment Date (GI000194) inquiry, click on the form title bar.
- In the Business Events dialog box, which opens, click
Create Business Event, type Update Last
Pay Date in the dialog box, and click OK.
The system opens the Business Events (SM302050) form with an active business event for which the Update Last Payment Date (GI000194) inquiry is selected as the data source in the Screen Name box and the event name you entered is specified in the Event ID box.
- In the Type box, select Trigger by Record Change.
- In the Raise Event box, select For Each Record.
- In the Description box, type Update the last payment date for a vendor.
- On the Trigger Conditions tab, add a row and in the Operation column, select Record Inserted.
- On the Fields to Track tab, select the Track All Fields check box.
- On the form toolbar, click Save.
- On the Subscribers tab, add a row with the following
values:
- Type: Import Scenario
- Subscriber ID: UpdateVendorLastPymtDt
- On the form toolbar, click Save.
Step 4: Verifying the Configuration of the Business Event
You have configured a business event that is triggered when the inquiry returns a new record, that is a paid bill. When the event occurs, the system execute the import scenario that updates the Last Payment Date user-defined field for a vendor of the paid bill.
To test the configuration, you pay a bill and verify that the Last Payment Date field is updated for the vendor of the bill. Do the following:
- Open the Bills and Adjustments (AP301000) form.
- In the Reference Nbr. box, select the 000043 bill of the Frontsource Ltd. vendor.
- Click Pay on the form toolbar and follow the workflow configured for payment of a bill.
- Open the Update Last Payment Date (GI000194) inquiry.
- Locate the record with the Frontsource Ltd. value in the Vendor Name column and current business date in the Payment Date column.
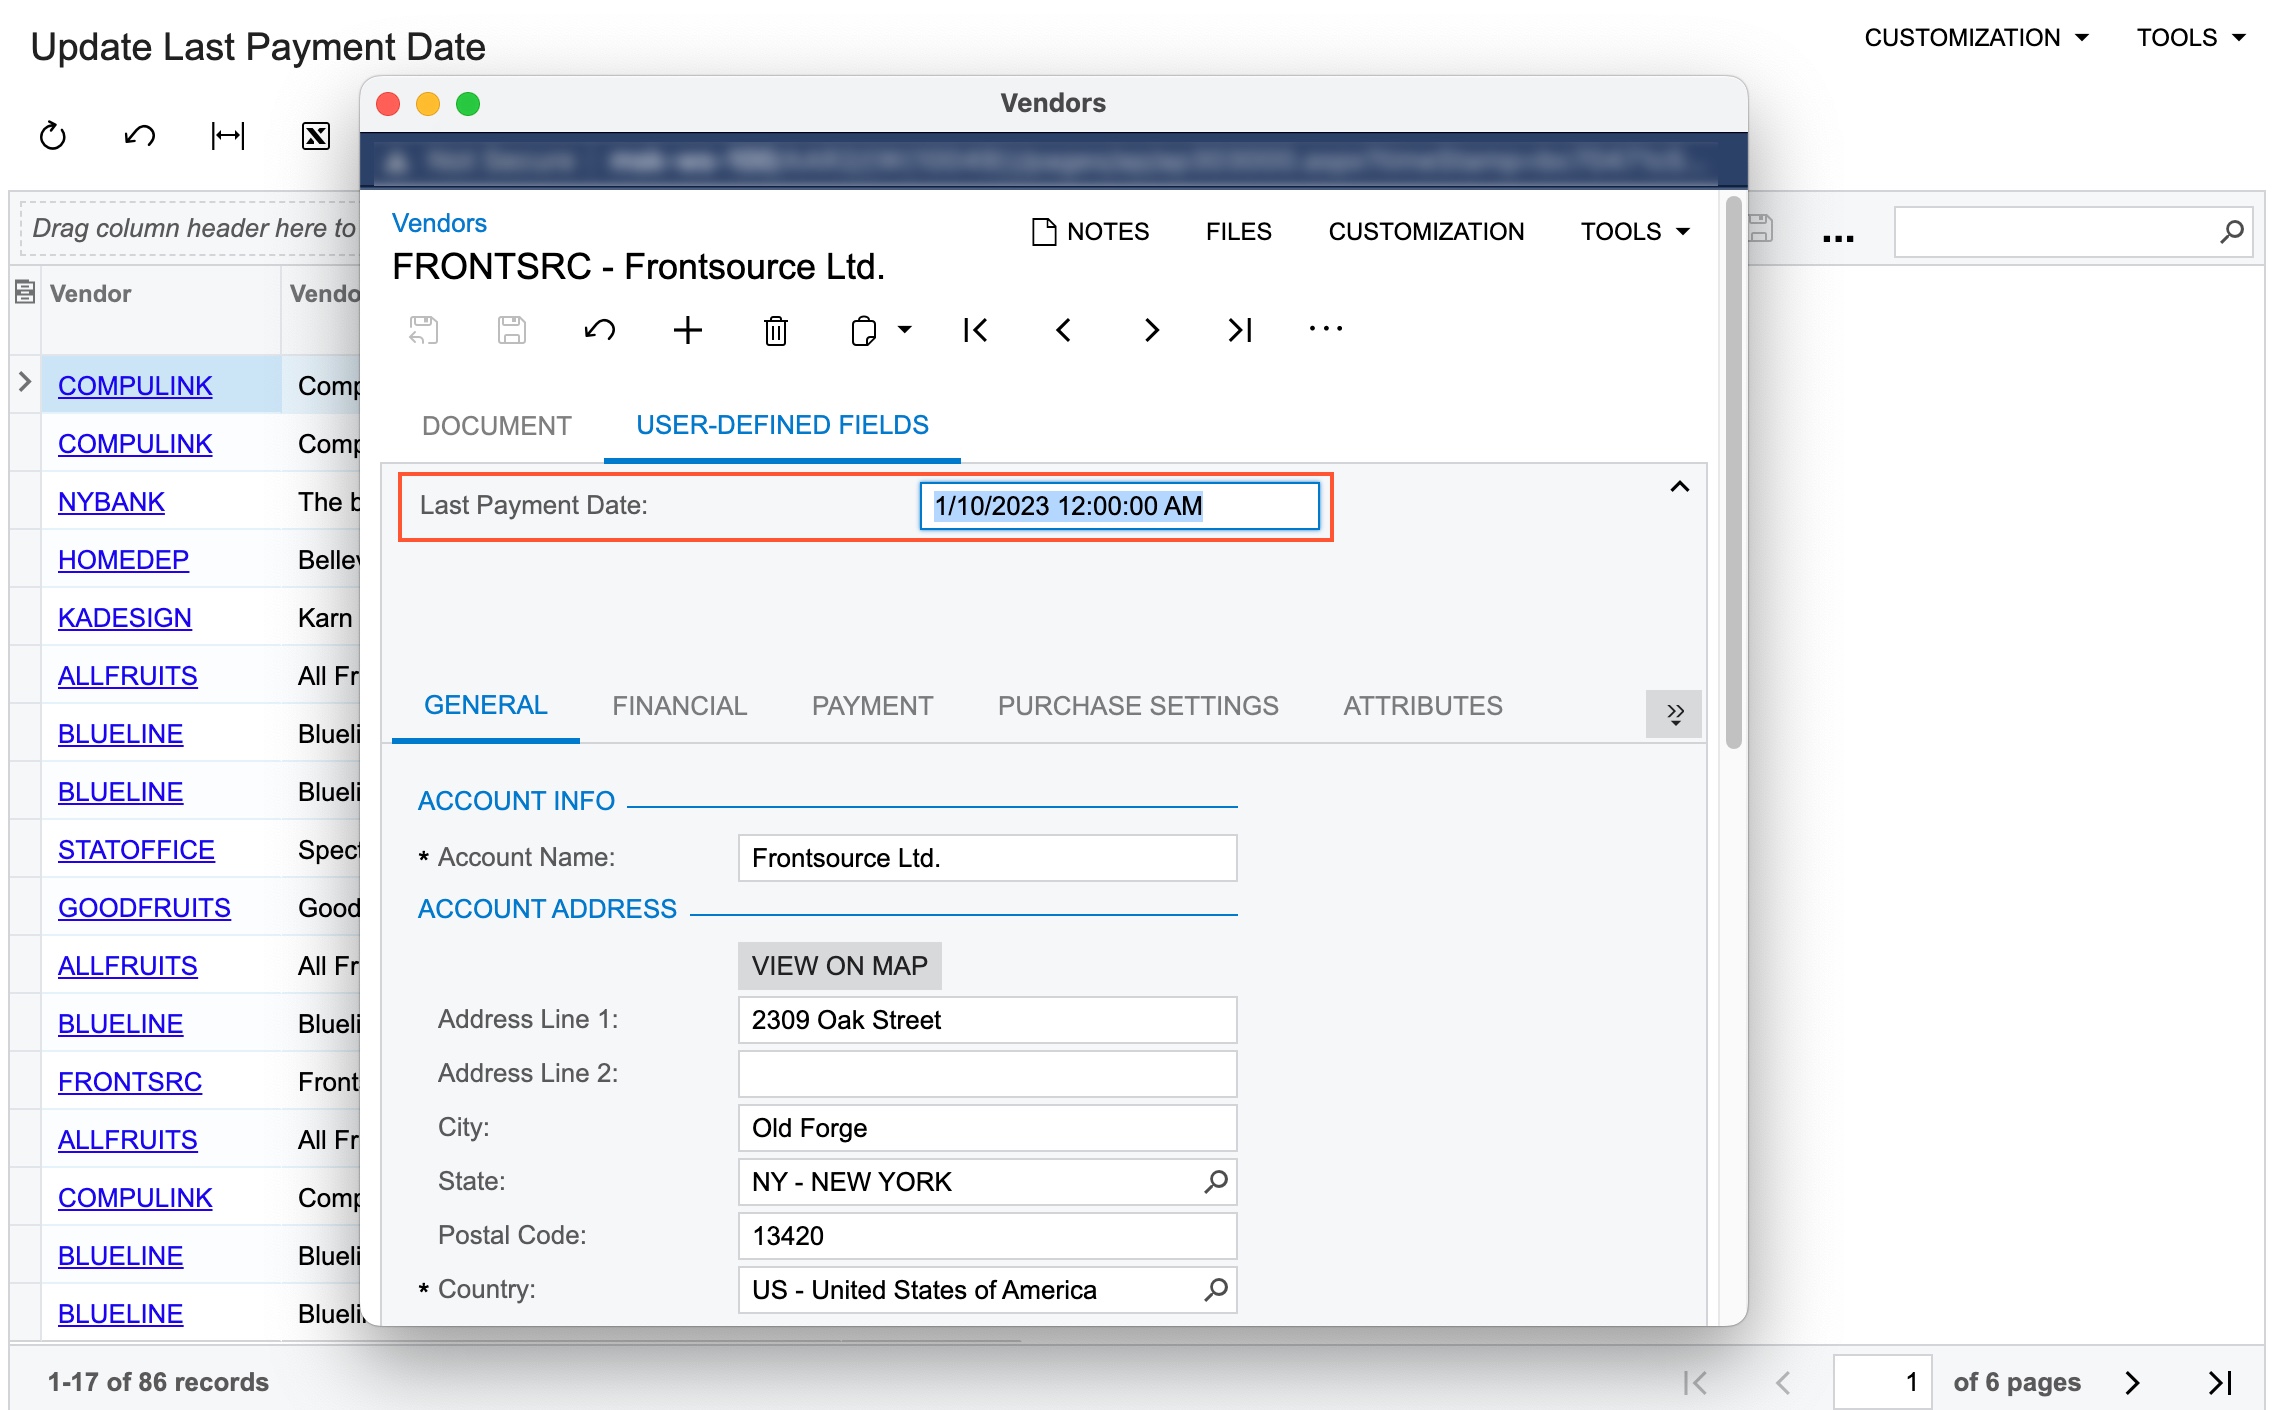
- For the located record, click the link in the Vendor column. The system opens the Vendors (AP303000) form in the pop-up window with the vendor details.
- On the User-Defined Fields tab, verify that the
Last Payment Date box is filled with the current
business date and time of the payment, as the following screenshot
demonstrates.
Figure 1. The Last Payment Date box is updated for the vendor