
Conditional Properties: To Disable an Action
The following activity will walk you through the process of conditionally disabling an action, which will cause the corresponding button (and the equivalent command on the More menu) on the form to be unavailable for clicking it.
Story
Suppose that the employees of your company often work with the Leads (CR301000) form. Further suppose that for a lead to be accepted, you want the email address to be required contact information. That is, if the Email box (which is on the Contact Info tab of the form) is empty, the Accept command should not be available on the More menu. You need to configure the condition for the Accept command.
Process Overview
By invoking the Element Properties dialog box on the Leads (CR301000) form, you will learn the internal name of the element that will be used in the condition. By using the Screens page of the Customization Project Editor, you will add the Leads form so that it can be customized. You will create a condition on the Conditions page. You will specify the created condition for the Disabled property of the action underlying the Accept command on the Actions page; you will then publish the project. Finally, you will test the condition on the Leads (CR301000) form.
System Preparation
Before you begin performing the steps of this activity, do the following:
- Prepare an MYOB Acumatica instance by performing the Customization Projects: To Deploy an Instance prerequisite activity.
- Create the Yogifon customization project by performing the Customization Projects: To Create a Customization Project prerequisite activity.
Step 1: Learning the Internal Name of the Element
First, you need to learn the internal name of the element that will be used in the condition; on the Leads (CR301000) form, this element is the Email box. Do the following:
- On the Tool menu of the Leads form, click Inspect Element.
- In the Contact section of the
General tab, click the Email
box.
The Element Properties dialog box opens, as shown in the following screenshot. The internal name of the field is displayed in the Data Field box.
Figure 1. The properties of the Email element 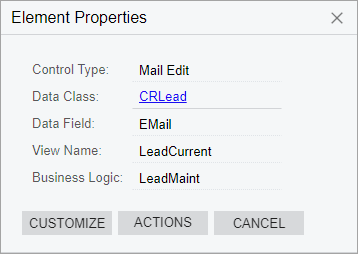
As you can see, the box contains EMail. Close the dialog box.
Step 2: Modifying the List of Customized Screens
To add a new tab on the Customers (AR303000) form, you first need to add the form to the list of customized screens. Do the following:
- On the Customization Projects (SM204505) form, click Yogifon to open the Customization Project Editor for this customization project.
- In the navigation pane of the Customization Project Editor,
click Screens.
The Screens page opens.
- On the page toolbar, click Customize Existing
Screen.
The Customize Existing Screen dialog box opens.
- In the Select Screen box of the dialog box, click the magnifier button. In the lookup table, type CR301000 in the Search box, and double-click the Leads form.
- Click OK to close the dialog box.
The Leads form is added to the list of forms on the Screens page, and the Screen Editor: CR301000 (Leads) page opens.
Step 3: Defining the Condition
Now that you have learned the name of the element that you plan to use in the condition and added the screen to the customization project, you can define the condition. In the Customization Project Editor, do the following:
- In the navigation pane, click .
The Conditions page opens, as shown in the following screenshot.
Tip:In the name that appears on the page, Conditions: CR301000 (Leads), Conditions is followed by the form ID and then the form name in parentheses.Figure 2. The Conditions page 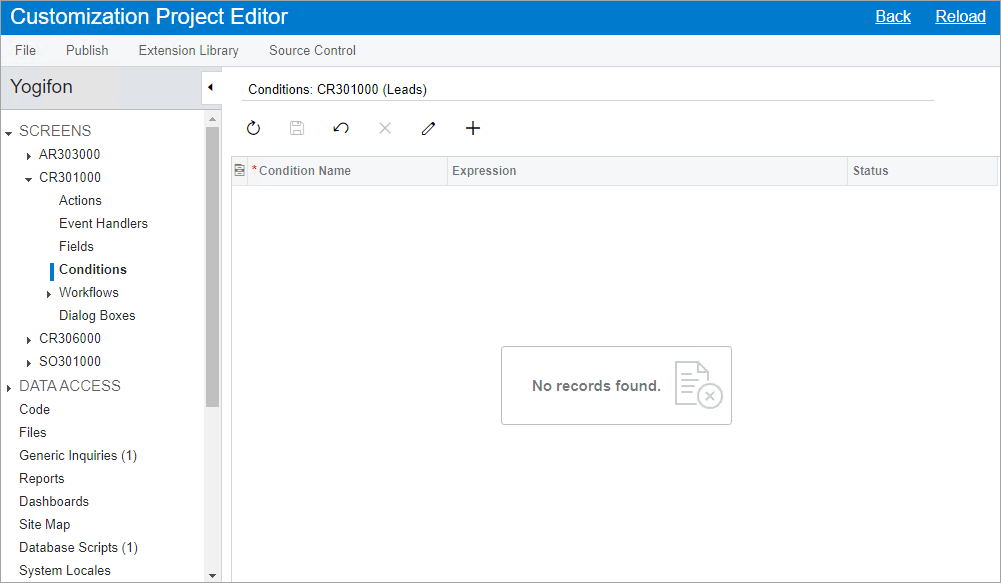
- On the page toolbar, click Add New Record.
- In the Condition Properties dialog box, which opens, enter the name of the condition: EmailEmpty.
- On the table toolbar, click Add Row.
- In the new row, specify the following settings:
- Field Name: Email
- Conditions: Is Empty
The resulting condition is shown in the following screenshot.
Figure 3. The Condition Properties dialog box 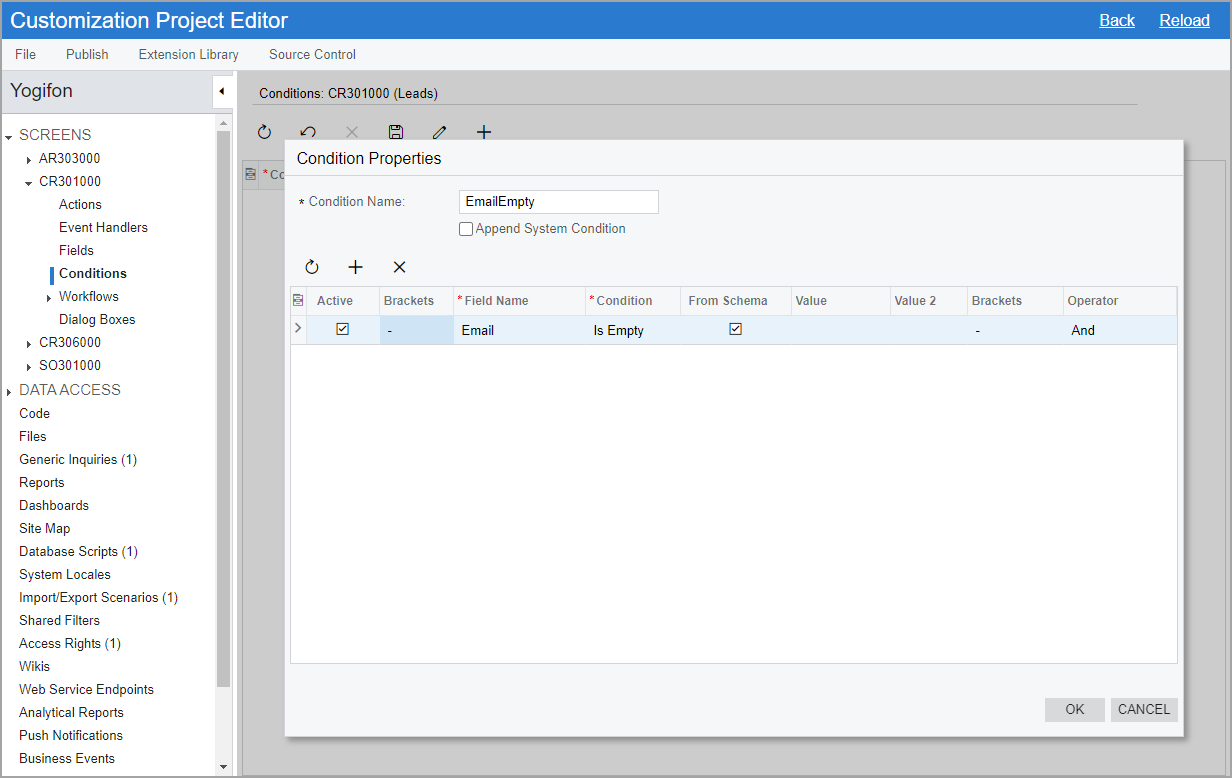
- Click Save to save your changes and close the dialog box.
Step 4: Specifying the Condition for the Disabled Property
Now you need to specify the condition that you have defined as the value for the Disabled property of the Accept command. Do the following:
- In the navigation pane, click .
The Actions page opens, as shown in the following screenshot. Notice that the page contains multiple actions.
Tip:In the name that appears on the page, CR301000 (Leads) Actions, Actions is preceded by the form ID and then the form name in parentheses.Figure 4. The Actions page 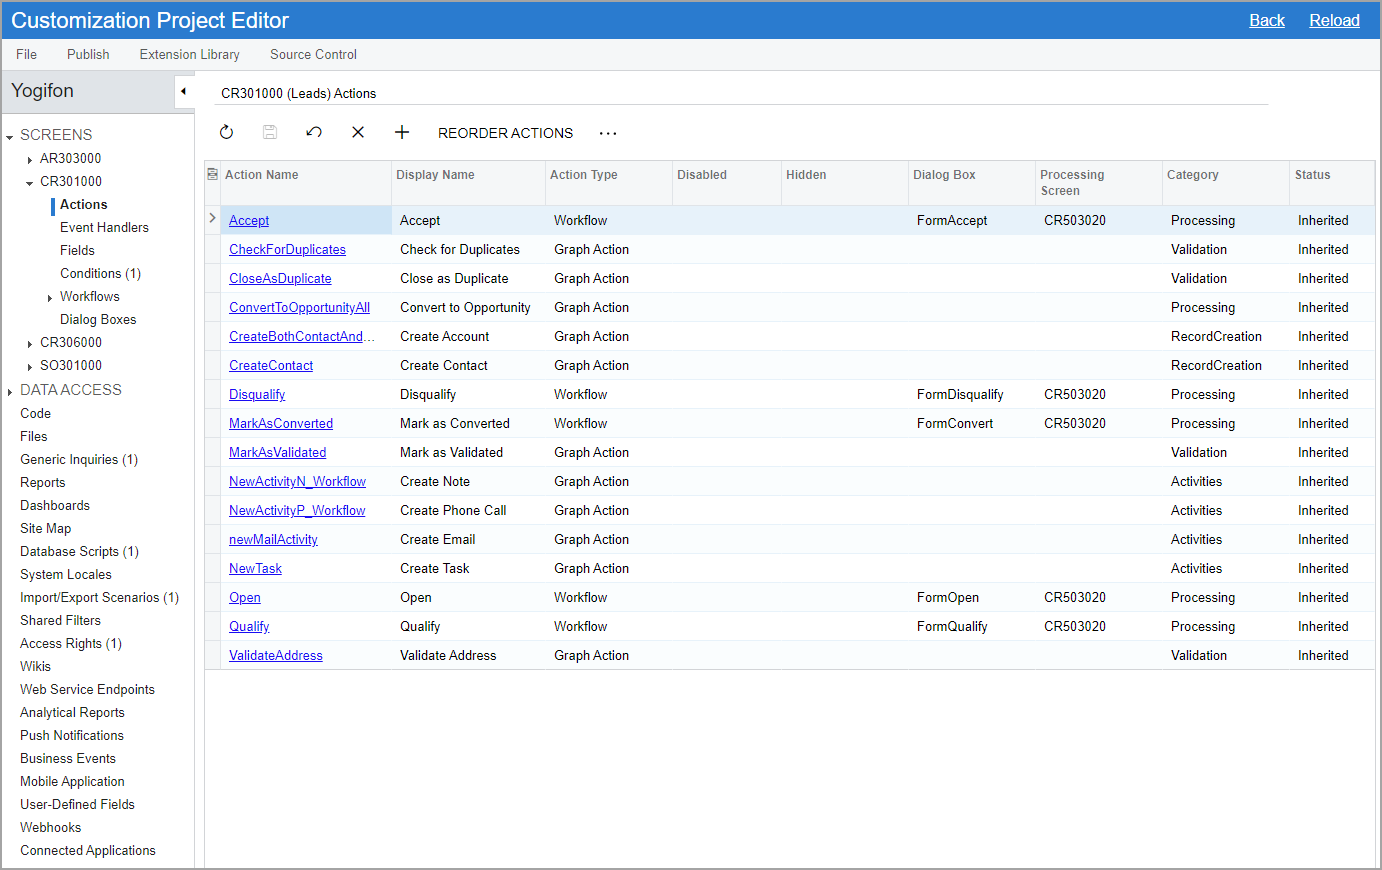
- Click the Accept link in the Action Name column in
the table.
The Action Properties dialog box opens for the Accept action.
- In the dialog box, select EmailEmpty in the
Disabled box (see the following screenshot).
This setting means that if the EmailEmpty condition is met on the Leads form (that is, if the Email box is empty), the Accept command will be disabled on the More menu.
Figure 5. The Action Properties dialog box 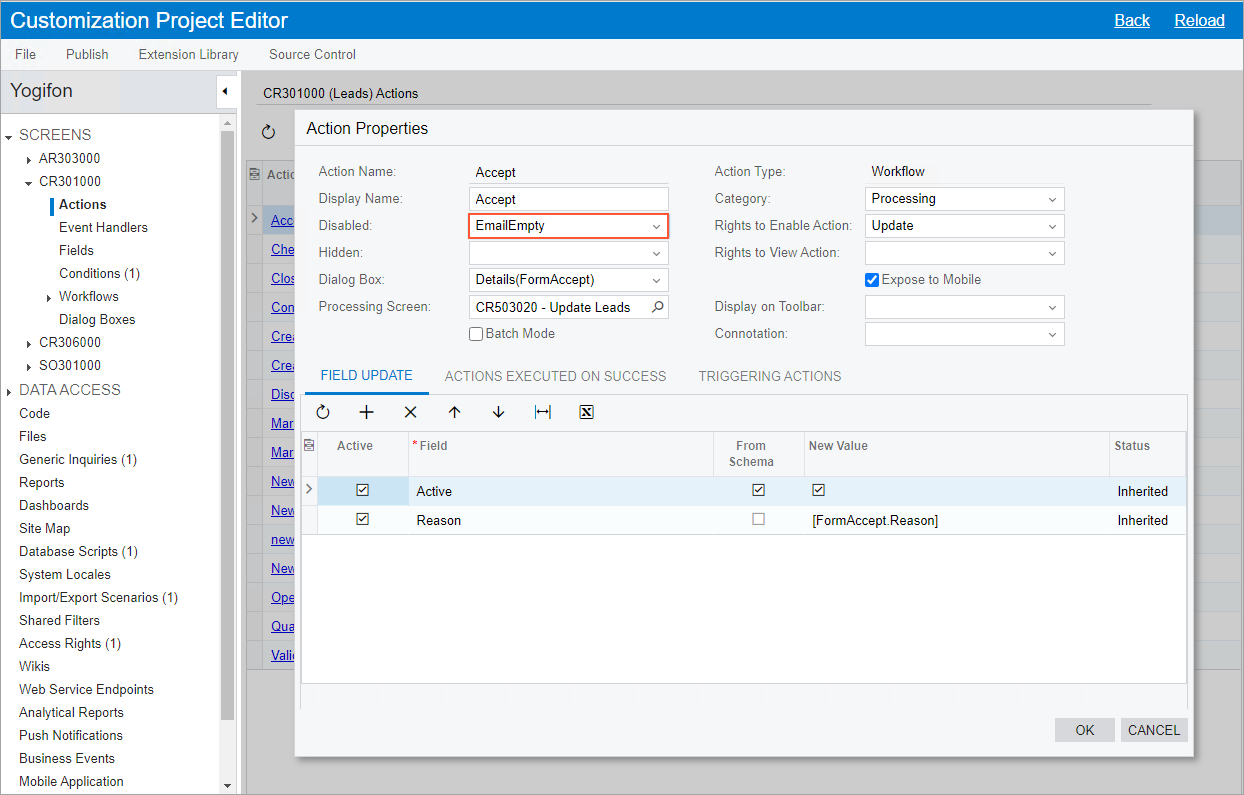
- Click Save to save your changes and close the dialog box.
- To apply the changes to the instance, on the main menu of the Customization Project Editor, click .
- Wait until the Website updated row appears in the Compilation pane, and click Close Compilation Pane.
Step 5: Testing the Configured Condition
Now you can test the condition. On the Leads (CR301000) form in MYOB Acumatica, do the following:
- Open the record with the Smith, Jenny lead ID.Important:If the record is already open, refresh the page.
- In the Contact section of the General tab, clear the Email box.
- On the More menu, make sure that the Accept command under Processing is visible but unavailable. This is because no email address is specified for the lead.
- In the Email box, enter jsmith@trucksrus.con as the lead's email address.
- On the More menu, make sure that the Accept command under Processing is now available.