The mobile app provides an additional functionality to create the user signature and attach the
signature image file to an MYOB Acumatica
form that supports file attachments.
Note:
This functionality does not work in the <sm:Container> tag that contains the <sm:Attachments> tag with the Disabled attribute set to true.
To add this functionality to the mobile site map, you should add the <sm:Action> tag with the Behavior attribute set to
SignReport to a container of a screen that is mapped to a form, which supports
attachments. In the action tag, you should also specify the Name and
Context attributes as shown in the following
example.
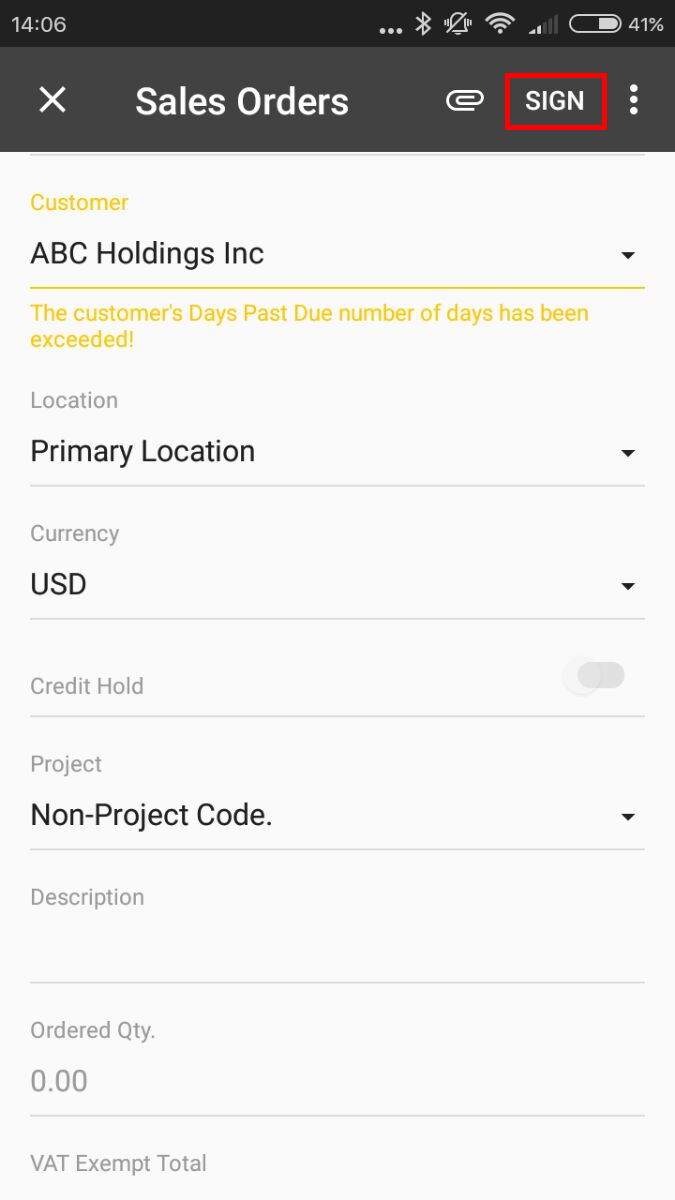
As a result, the SIGN action will appear on the appropriate screen of
the mobile app, as the following screenshot shows.Figure 1. Viewing the SIGN action on the toolbar of a screen When the user clicks this action, the application displays a blank form with the
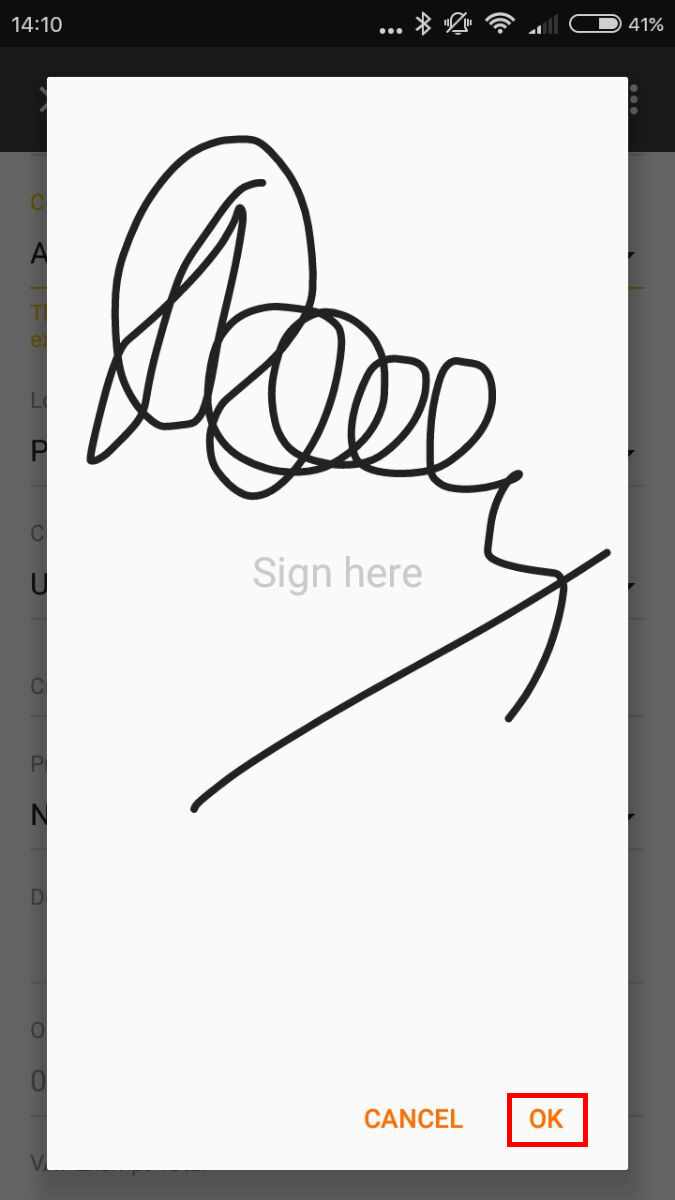
Cancel and OK buttons and suggests the user to add
the signature, as shown in the following screenshot.Figure 2. Creating a signature After the user signs the form and clicks OK, an attachment with the
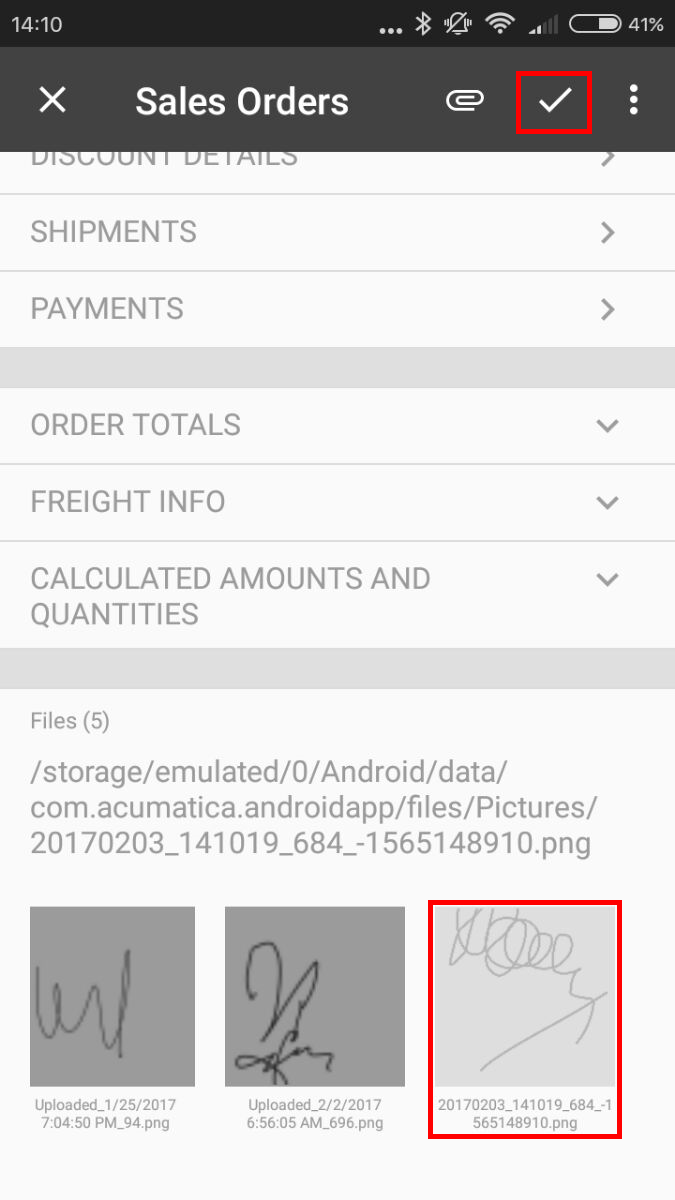
signature adds to the screen in the mobile app (see the following screenshot). To save the
signature file in the database, the user should click the Save button.Figure 3. Viewing the signature added to the screen of the mobile app After the user clicks Save on the screen toolbar, the mobile app sends the signature file
to the MYOB Acumatica
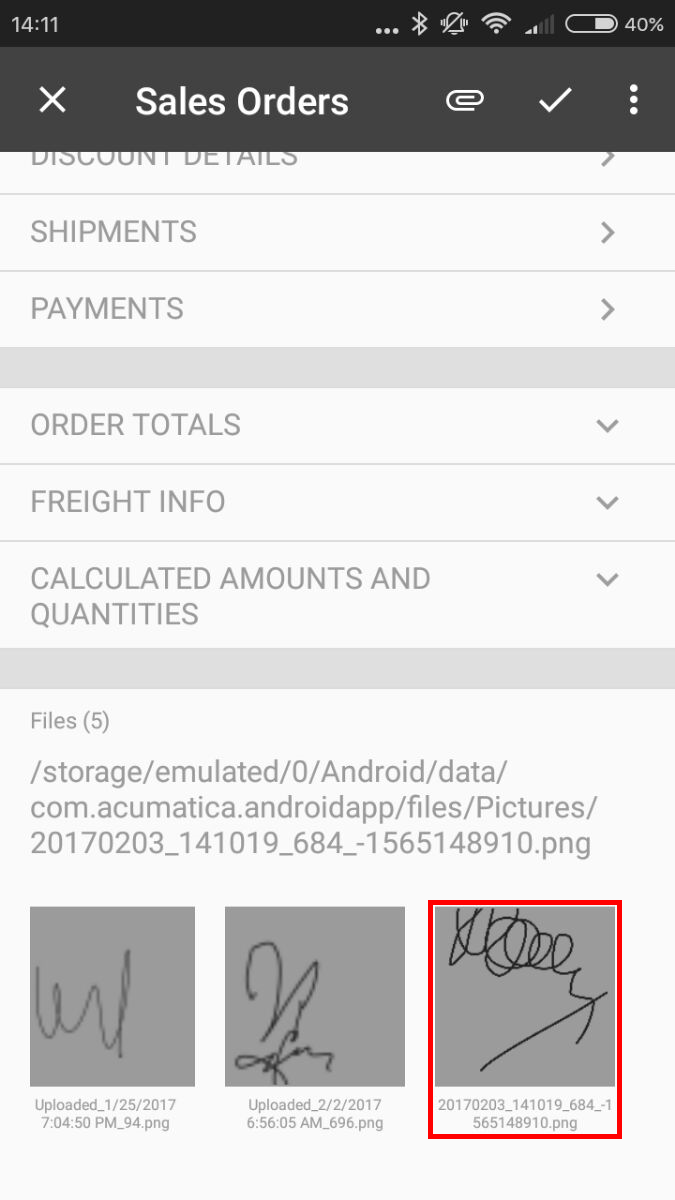
server that saves the file in the database as a file attached to the appropriate form. In the
mobile application, the attachment is displayed as an image that is attached to the MYOB Acumatica
form.Figure 4. Viewing the signature added to the MYOB Acumatica
form