
Extending BLC Initialization
During the initialization of a business logic controller (BLC, also referred to as graph), you can retrieve additional preferences, change field settings, or configure the processing form. You can extend the BLC initialization by implementing the needed logic in a BLC extension. To extend the initialization process, you have to override the Initialize() method of the PXGraphExtension<T> class and do not use the constructor of the BLC extension class for that. During the BLC initialization, the system calls the Initialize() methods of all extension levels, from the lowest to the highest. See Graph Extensions for details.
In this example, you will create an extension of the InventoryItemMaintExtension BLC, which overrides the Initialize() method to change the display name of the InventoryItem data access class (DAC) field from Inventory ID to Inventory Item ID during the initialization of the base (original) BLC instance.
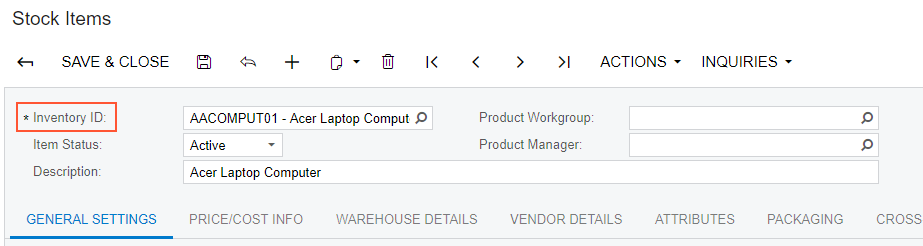
If you open the Stock Items (IN202500) form, you can see its original view with the Inventory ID control (see the following screenshot) that corresponds to the InventoryItem DAC field.
- Select the business logic controller for customization, on the
Customization menu, select Inspect
Element and click the Inventory ID label. The
system should retrieve the following information that appears in the Element
Properties dialog box:
- Business Logic: InventoryItemMaint. The business logic controller that provides the logic for the Stock Items form.
- Select in the Element Properties dialog box.
- In the Select Customization Project dialog box, specify the
project to which you want to add the customization item for the business logic
controller of the form and click OK.
The Code Editor opens for customization of the business logic code of the form (see the screenshot below). The system generates the BLC extension class in which you can develop the customization code. (See Graph Extensions for details.)
Figure 2. The BLC extension class generated for customization of the business logic code executed for the Stock Items form 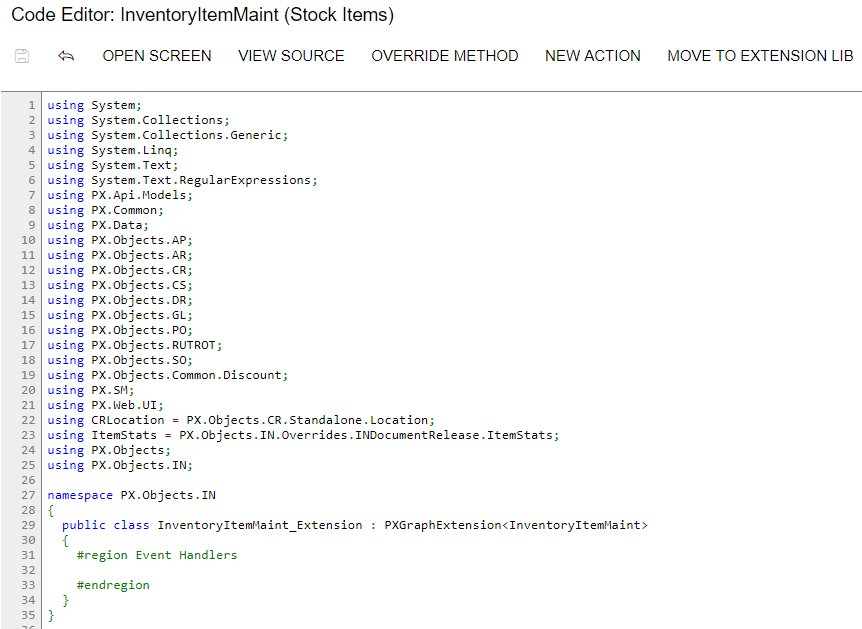
- Override the Initialize() method; in the method, set the display
name of the InventoryItem data access class (DAC) field to
Inventory Item ID. (For demonstrative purposes, the code also retrieves the
INSetup data record and shows how you can implement the logic
depending on values of the record.)Note:Do not define constructors of BLC extension classes; always use the Initialize() method to implement the needed initialization logic.
Add the code that is listed below to the BLC extension class for InventoryItemMaint.
#region Extended initialization
public override void Initialize()
{
    PXUIFieldAttribute.SetDisplayName<InventoryItem.inventoryCD>(
        Base.Item.Cache,
        "Inventory Item ID");
    //retrieval of the setup record that stores inventory preferences
    INSetup setup = Base.insetup.Current;
    if (setup.UpdateGL != true)
    {
        // Do some actions here
    }
}
#endregion
In this method, you change the display name of the InventoryCD field of the InventoryItem DAC. You do this by calling the SetDisplayName() static method of PXUIFieldAttribute. Also, you obtain the INSetup DAC instance by using the Current property of the INSetup data view. In your customization tasks, you may need to perform some actions that depend on field values of this setup DAC instance.
You do not need to explicitly invoke the Initialize() method on the previous extension levels; these methods are called automatically. Invoking
base.Initialize()makes no sense, because the base variable points to the base class, which is PXGraphExtension (not the base graph). The PXGraphExtension class defines Initialize() as an empty method. - Click Save in Code Editor to save the changes.
The system adds the customization to the business logic code to the Code list of project items. See Code for details.
To view the result of the customization, publish the customization project and open the Stock Items form. Verify that the label has changed to Inventory Item ID.