
Integrating with Xero
Overview
MYOB IMS Payroll provides two methods of integrating payroll data into the Xero accounting system. Both options are available from the General Ledger Export utility, accessed at Tools menu > General Ledger Export.
-
Xero Online: A direct API interface with Xero is available via an internet connection. If utilised, there will be no requirement to import the data as the data is ‘pushed’ into the company’s Xero account directly from the payroll application.
-
Xero CSV: This option generates an export file which can subsequently be imported into Xero if an internet connection is not available. Once this file is created you will then be required to import the generated file from within Xero.
Setup Requirements
All payments that go to Xero are coded (as held within the payroll General Ledger Code field). You can use one Xero code that represents the Gross Pay or each payment amount comprising of the Gross Pay can be assigned separate codes, e.g. Normal Hours, Allowances, Deductions, Superannuation Contributions (KiwiSaver etc) and PAYE related deductions.
The reference to general ledger codes in this document are based on the standard default codes as set in Xero, e.g. code ‘477’ for Gross Pay. If you use different general ledger codes in Xero, these will also need to be applied in IMS Payroll Partner.
Setting up Xero
To check and/or maintain codes in Xero:
-
Log in to Xero, click the Accounting button and then select Chart of Accounts.
-
Browse to locate the correct codes or if required use the Add Account to setup new codes.
-
Take note of the codes now available within Xero and set up these codes in IMS Payroll.
Setting up MYOB IMS Payroll
To set up MYOB IMS Payroll for integration with Xero:
-
Ensure that the General Ledger? option is ticked at Company Controls > Company tab > Company Options.
-
Ticking this option makes a General Ledger available. Go to this tab and perform the following set up:
-
For the General Ledger Export Type, select File and choose either ‘Xero CSV’ or ‘Xero Online’ from the drop down list.
-
The Default Gross Pay account code needs to be set to “477”.
-
The KiwiSaver Employer Contribution and KiwiSaver Employer ESCT codes need to be set to “825”.
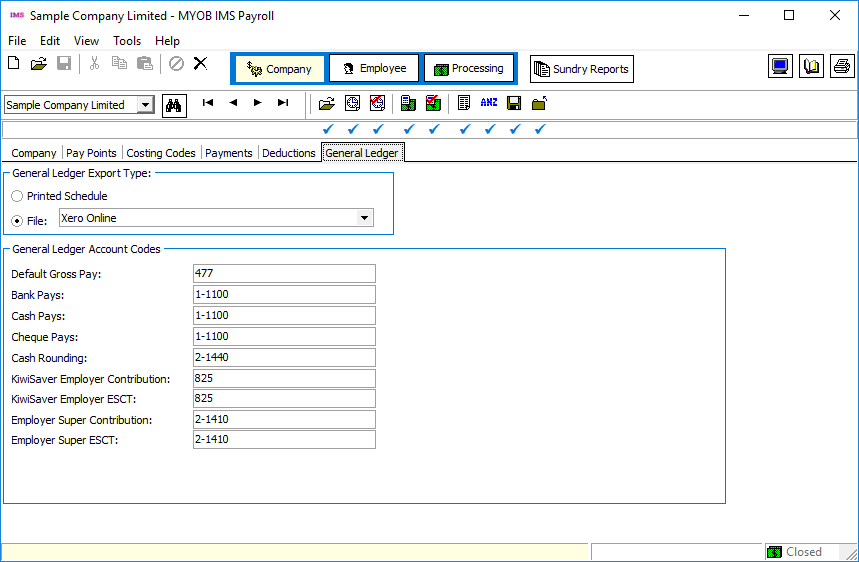
The integration does not contain Bank Pays, Cash, Pays, Cheque Pays, and Cash Rounding, therefore anything can be put against these codes; however you must have a code entered for each of them.
-
If you are using Costing Codes in Payroll Partner, you will need to have the GL Account for each costing code set to “477” on the Company Controls > Costing Codes tab.
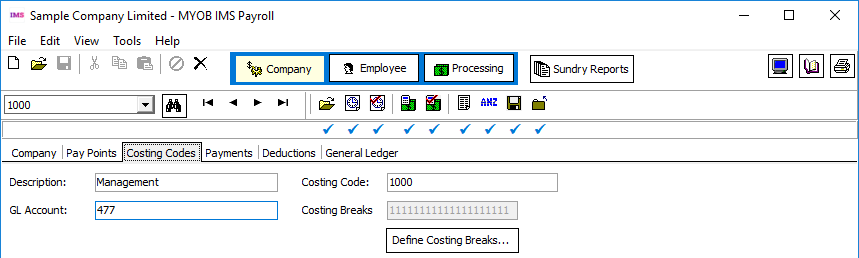
Other General Ledger codes can be used, if you are using codes other than the default.
-
On the Company Controls - Deductions tab, all deductions will need to be assigned a General Ledger Account code. The General Ledger account code for Student Loan Repayment (including SLBOR and SLCIR deductions), Child Support, KiwiSaver, KS Compliant Fund, and PAYE must be set to “825”.
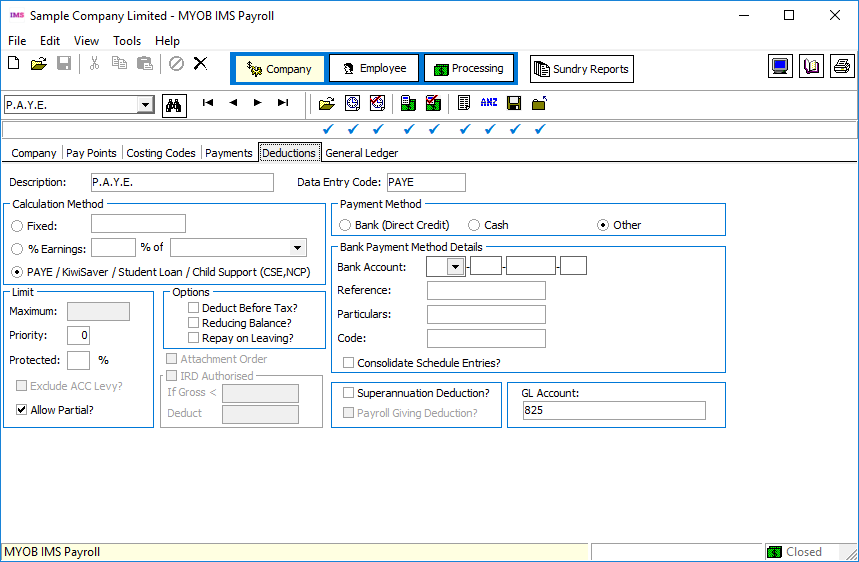
-
On the Employee Information > KiwiSaver tab the KiwiSaver and/or Compliant Fund Employer Contribution General Ledger Account(s) will need to be assigned for each employer contribution to either fund. The default code is ‘478’. If you have a costing code requirement, you can select the costing code using the drop down option. The General Ledger will default to the Account Code that is assigned to the costing code selected. If you do not wish to use this function you will need to manually enter the GL Account Code.
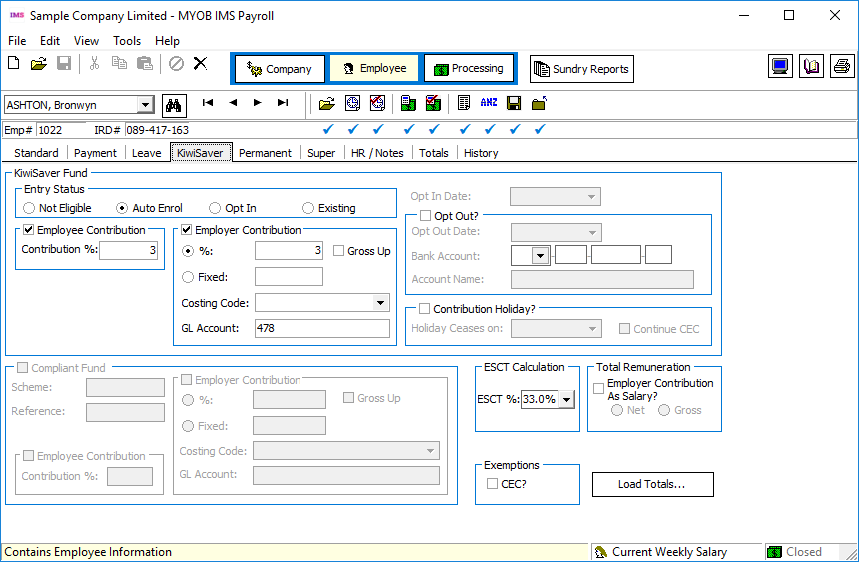
Your setup is now complete.
Integrating with Xero
Once you have processed and closed your pay period, you are ready to integrate with Xero. Go to the Tools menu, and select General Ledger Export. The following screen appears:
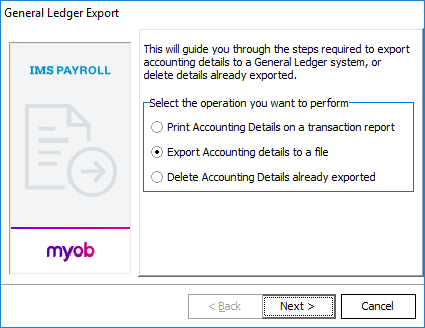
Select Export Accounting details to a file then click the Next button.
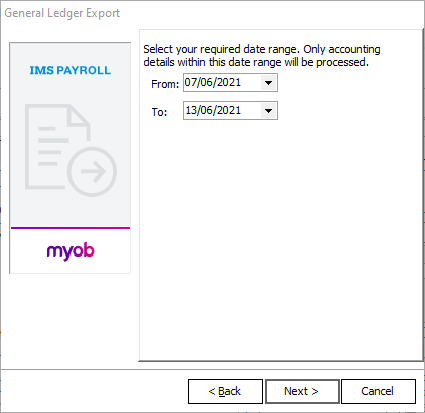
Select the date (or date range) of the pay period data you want to export into Xero. Note that dates refer to Pay Period Ending Dates, not the Reporting Date. Click Next once you have completed your date range selection.
Xero Online Format
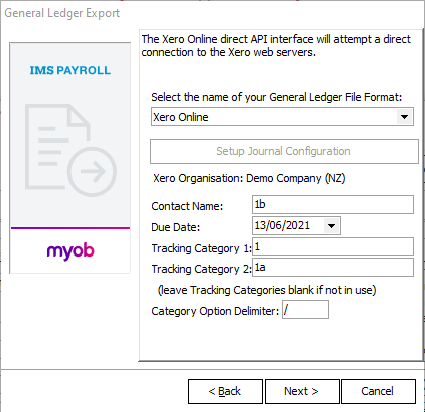
On the next screen of the General Ledger Export utility, set the General Ledger File Format to “Xero Online”.
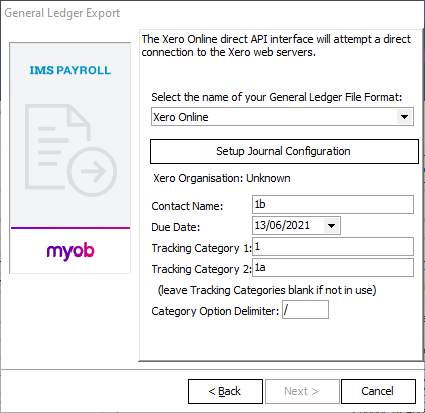
Enter a Contact Name. This can be anything, e.g. “Wages” as this identifies what the payments are for on the invoice.
The Due Date will be the Payment Date of the wages processed.
With regards to the Tracking Category 1, Tracking Category 2 and the Category Option Delimiter fields, see the “Tracking” section on page 15.
Click Setup Journal Configuration to log in to open the Xero Library Browser window. Click Connect to log in to your Xero account.
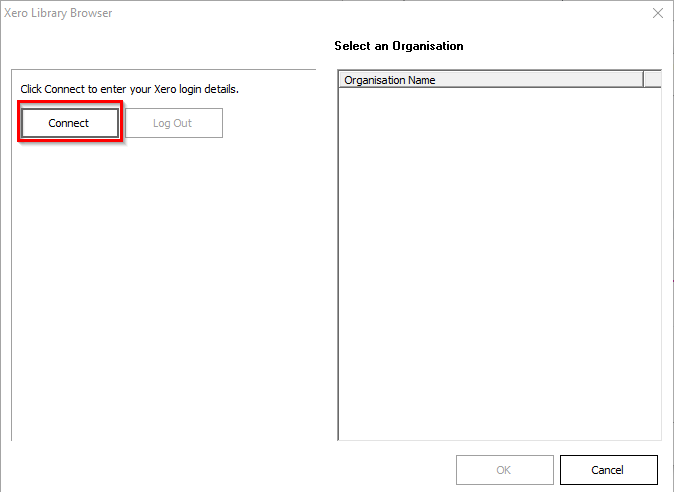
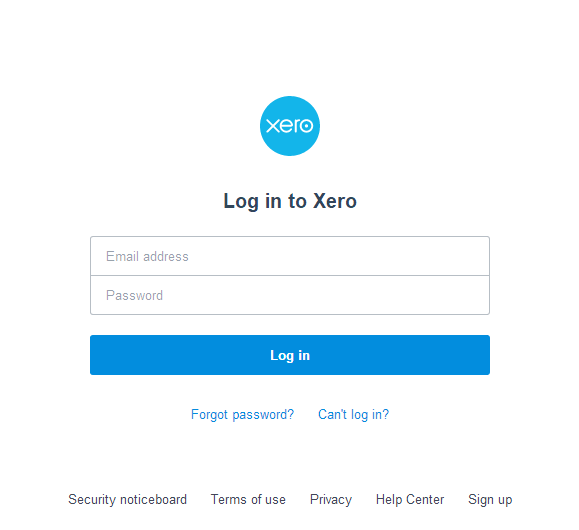
A login screen appears. Enter your login details and click Log in.
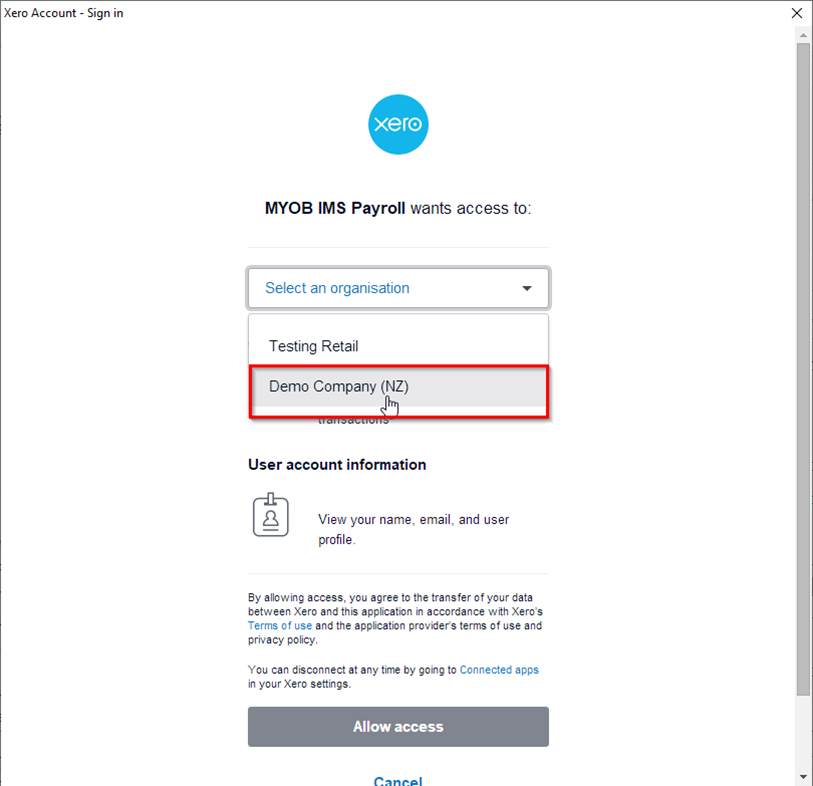
Select the Xero organisation you want to export data to and click Allow access.
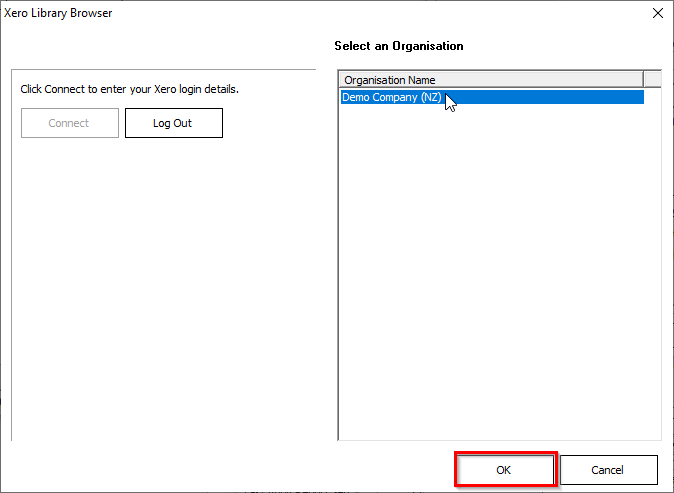
The company you selected now appears on the Xero Library Browser window. Click OK.
You are returned to the General Ledger Export window, where the selected company is now displayed next to Xero Organisation:
Click the Next button and a confirmation screen will be displayed:
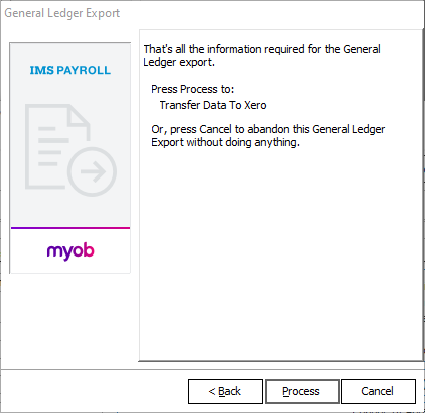
Click Process to proceed with the integration. IMS Payroll will attempt to access the Xero website with a message displayed stating “Connecting to Xero … Please Wait”.
Make sure that the browser you are using does not block popups.
Logging in to Xero
When successfully connected to Xero, a Welcome screen will be displayed in your default web browser. Enter your Email and Password to log in.
Once you have successfully logged in, an Authorise Application screen will be displayed:
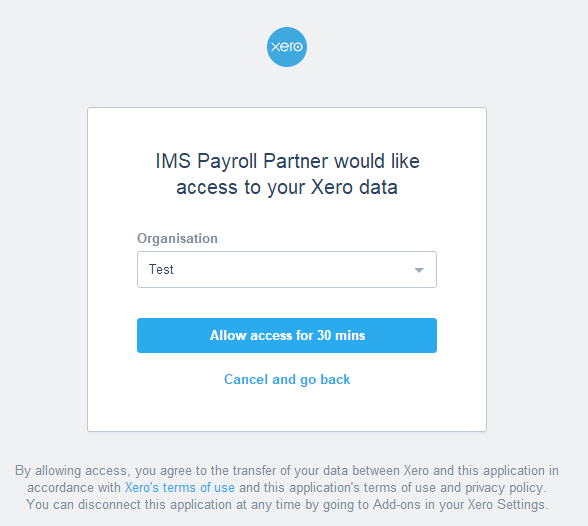
Click the Allow access for 30 mins button to confirm and authorise access to the organisation displayed or click Cancel and go back to abort.
Xero will then display an Authorisation code, which is used by both the cloud and desktop versions of IMS Payroll. Make a note of this code, then return to MYOB IMS Payroll Partner. Enter the code into the window that appears, then click OK.
Checking the Imported Invoice
A confirmation message will appear once the integration has been completed.
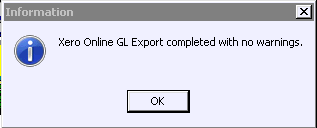
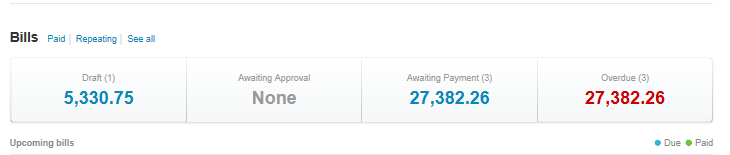
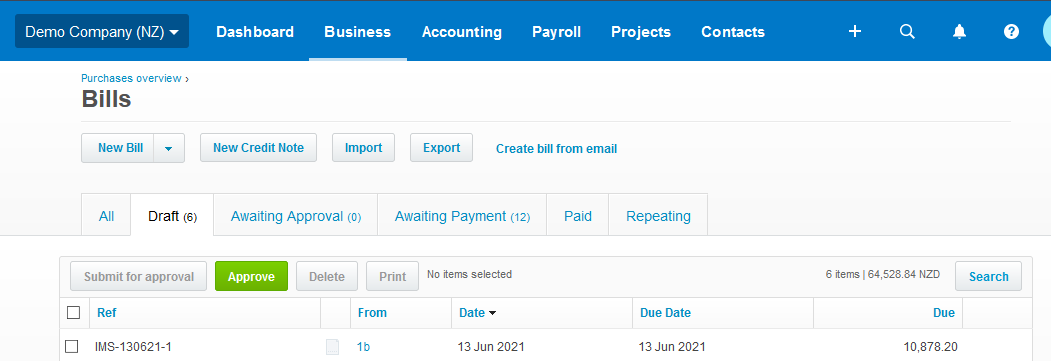
The payroll data will be sent to your Xero account as an Accounts Payable, Draft Bills.
To see the draft bill, from the Business menu, select Bills to pay:
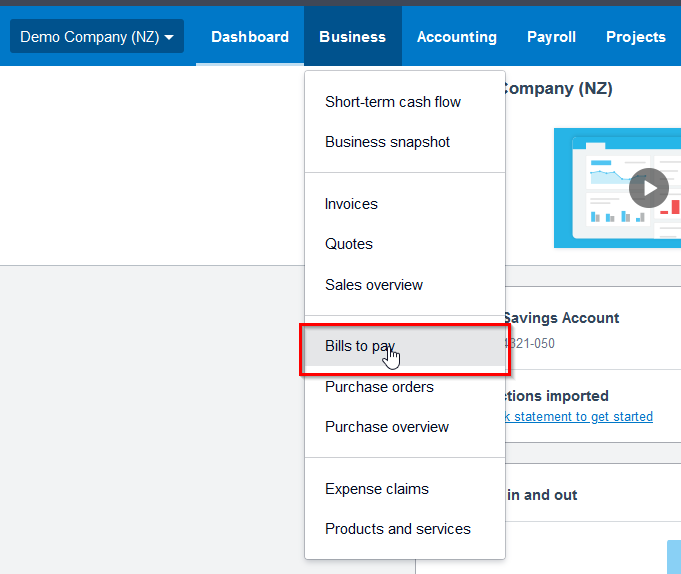
This will display the Bills section. Double-click on Draft to display the wages file you just imported.
Xero CSV Format
On the next screen of the General Ledger Export utility, the General Ledger File Format will automatically be set to “Xero CSV” if this format was selected on the General Ledger tab of the Company Controls.
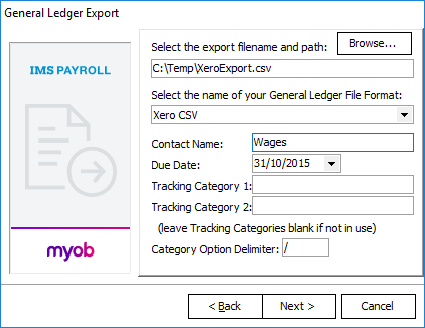
Enter a Contact Name. This can be anything, e.g. “Wages” as this identifies what the payments are for on the invoice.
The Due Date will be the Payment Date of the wages processed.
With regards to the Tracking Category 1, Tracking Category 2 and the Category Option Delimiter fields, see the “Tracking” section on page 15.
Click the Next button and a confirmation screen will be displayed:
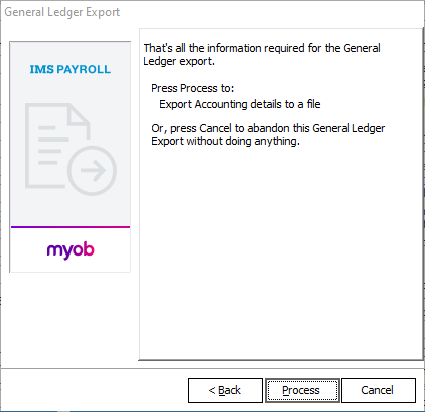
Click Process to proceed with the integration.
A confirmation will be displayed once the file has been generated successfully.
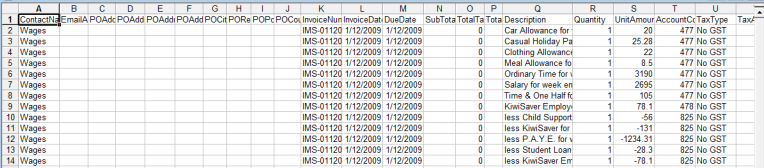
Once the file is created, it will look similar to this:
Importing the File Into Xero
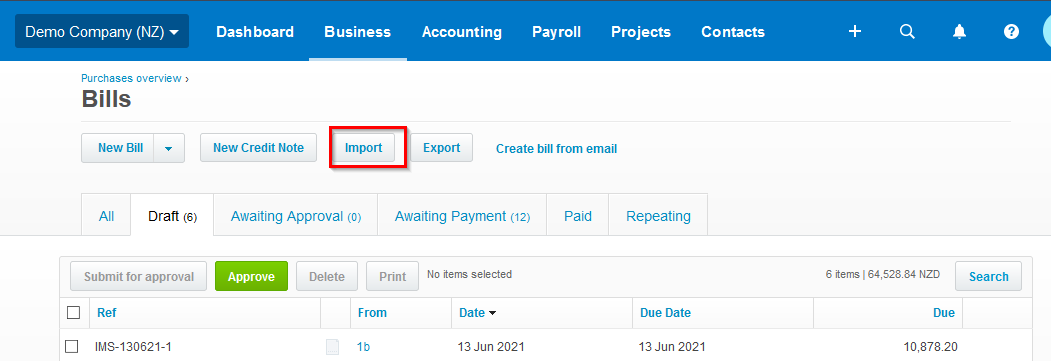
To import the generated file into Xero, log in to Xero and at the standard screen, open the appropriate company. From the Business menu select Bills to pay:
Click Import on the screen that appears.
This will bring up the Import your Account Payable Invoices option. Xero should always be selected under What system are you importing from?
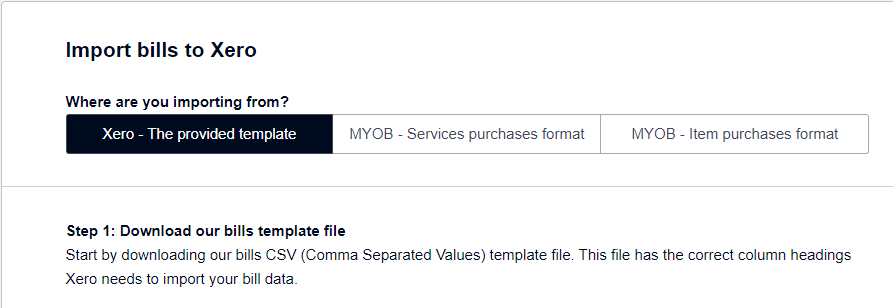
Under Step 3. Import the update template file, click the Select File button and locate the .CSV file that you created previously.
Click the Confirm button.
A message confirming the import of the file will be displayed.
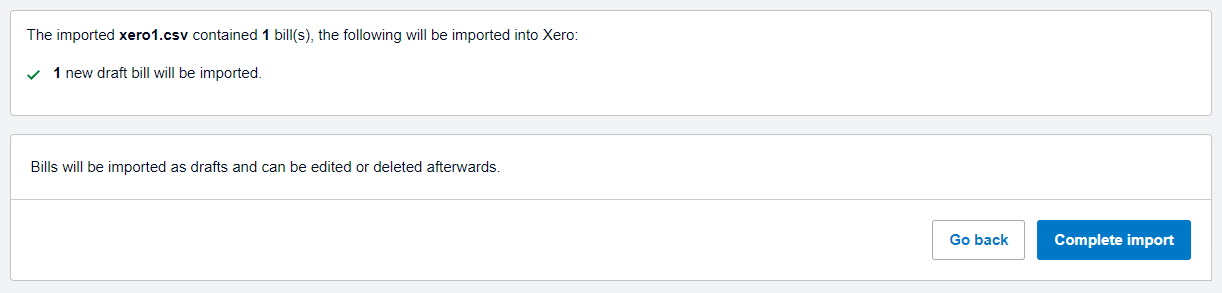
Click the Complete Import button.
The system will advise you that an invoice has been added:
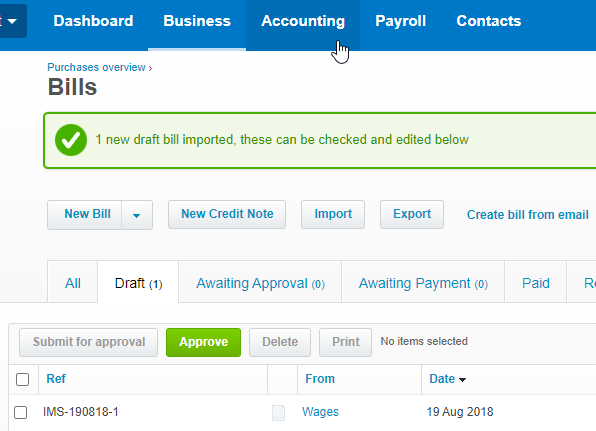
Click on the invoice to open it and see its contents in Draft mode.
The invoice shows gross wages itemised by each payment, and then shows the IRD deductions being subtracted off, to give you the Net sum of the wages.
If you are happy the invoice is correct, click the Approve button.
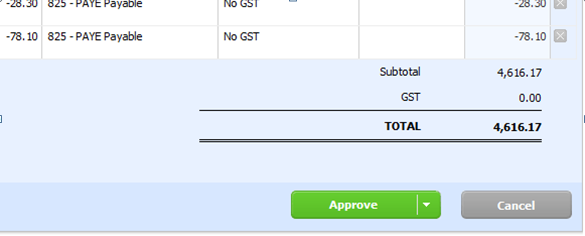
If the invoice is incorrect, at the top of the screen, click the Bill Options dropdown at the top of the screen. Click the Delete option and you will be prompted to confirm the deletion of the invoice.

Tracking Categories
You can set up tracking categories to enable you to use Xero’s reports to track the performance of specific areas in your business.
Refer to the Xero website, . Log in, then select Accounting > Advanced > Tracking categories for comprehensive documentation on the benefits of tracking, and online help in setting up your Tracking Categories and Options.
In MYOB IMS Payroll Partner, if tracking is to be used, you will need to follow the steps below.
The Xero General Ledger extract can apply tracking to the export file. In the following example, it is assumed that Tracking Categories and their associated Options have been set up in Xero: Category 1 as “Region” and Category 2 as “Department”. Within each Category, the associated Options have also been set up:
|
Category |
Options |
|
Region |
North, South |
|
Department |
Admin, Sales |
In this example, with Tracking Categories 1 and 2 activated in Xero, you will need to edit your Costing Code Descriptions to contain the Category Options so that these can be included in the export file. This example uses the comma character as a delimiter of the category options.
|
Costing Code |
Costing Code Description(Region, Department) |
|
1001 |
North,Admin |
|
1002 |
North,Sales |
|
1003 |
South,Admin |
|
1004 |
South,Sales |
Whatever tracking options you enter, they must match the options set up in Xero.
Enter the Tracking Categories and your selected delimiter character when exporting the General Ledger to Xero:
If you want to use all of the available 30 characters in the Costing Code Description, ensure that both option fields are separated by the chosen delimiter character, e.g. “North,Admin,Office temp” will insert only the value of “North” into Category Option 1 and “Admin” into Category Option 2, as both are contained within the “,” delimiter. If for example only Tracking Category 1 is activated then the Costing Code Description could be set up as “North, Office temp” and only ‘North” would populate the Tracking Category Option 1 field.
One or two Categories may be activated within Xero. If tracking is not implemented, ensure that the two Tracking Category fields are blank.
If only Tracking Category 1 or Tracking Category 2 is active, all characters prior to first nominated delimiter will go into the appropriate Option field.
The extract process will populate the appropriate fields (Tracking Option 1 and Tracking Option 2) within the extract file by extracting the options within the Costing Code Description based on the delimiter nominated.
If both Tracking Categories are active:
-
All characters prior to the first nominated delimiter will populate the 'TrackingOption1' field.
-
All characters after the first nominated delimiter and prior to the next delimiter (or the end of the Costing Code Description field) will populate the 'TrackingOption2' field.
If the 'Category Option Delimiter’ is not entered, the Costing Code description will populate either the selected TrackingOption1 or TrackingOption2 fields depending on whether Tracking Category 1 or 2 has been entered.
If you have any issues with integrating the Payroll data file into Xero, contact MYOB IMS Payroll Support.