- Contents
- Index
- Search

Display results with all search words
The Report Canvas
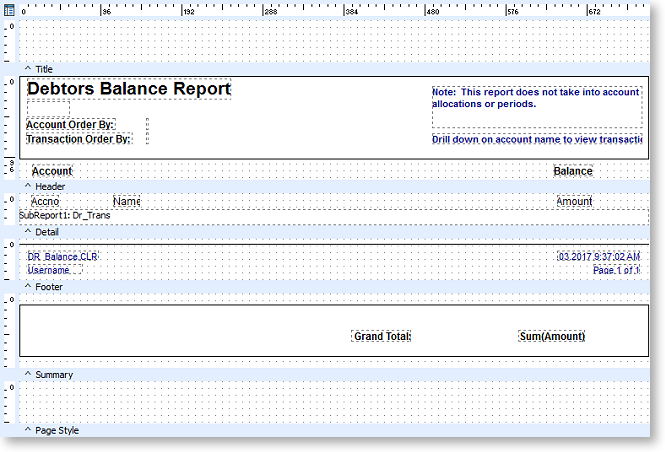
The main area of the Design tab is the report canvas, which is where you place and arrange the components that make up the report. To add a component to a report, click on the toolbar button for the kind of component you want to add, then click on the canvas in the place where you want to add it. Once a component has been added to the canvas, you can position and re-size it, and edit its properties on the Report Tree.
Report Bands
The canvas is divided into bands (or sections), each of which control the contents and appearance of different parts of the report:
- Title - Generally contains the title of the report and prints on the first page only.
- Header - Appears at the top of each page.
- Detail - Appears once for every row of data.
- Page Summary - Appears on each page, after all of the data in the Detail band.
- Footer - Appears on the bottom of each page.
- Summary - Appears once at the end of the report.
- Page Style - This band lets you set components as a background for each page of your report, e.g. background images or watermarks. This band is only available on Page design layers.
Note: For reports that group data, there is a separate Header and Footer band for each group, in addition to the main report Header and Footer.
Each band can be turned on or off using the options on the Report menu. You can make bands taller or shorter by clicking on the area between two bands and dragging up or down.
You can right-click on the area below a band to access controls that affect the band:
|
Option |
Description |
|
DynamicHeight |
Bands that are set to DynamicHeight automatically resize to fit their contents. Bands that are set to StaticHeight maintain the same height regardless of their contents (this is the height that they appear as on the report canvas). |
|
PrintOnFirstPage |
These options control whether or not the band should be printed on the first and/or last page of the report. |
|
NewPage |
This option applies to the Title or Summary band. If it is enabled, the band will appear on a separate page. |
|
AlignToBottom |
This option applies to the Summary band. This option determines whether the Summary report band appears immediately after the last Detail item on your report (not selected), or at the bottom of the page, just above the Footer band (selected). |
|
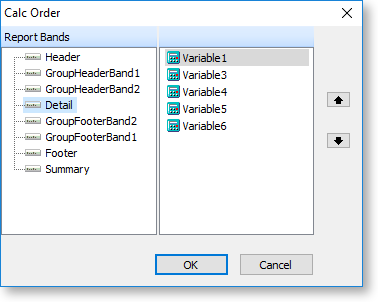
Calc Order |
This option opens a window where you can determine the order in which Variable component calculations are performed for each band. You can use this window when one variable's calculation depends on the value of another calculation, to ensure that they are calculated in the right order.
|
|
Groups |
This option applies to Group Header and Group Footer bands. It opens the Groups window, where you can set up grouping for the report. |
|
HideWhenOneDetail |
This option applies to Group Footer bands. If enabled, the Group Footer band will not appear if there is only one detail band for the group (or no detail bands). This can be helpful if a total is being calculated in the Group Footer band and duplicate or zero values are unnecessary. |
|
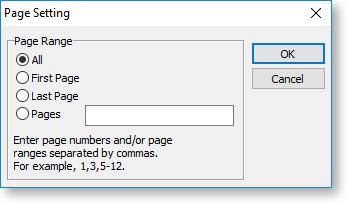
Page Setting |
This option applies to the Page Style band. It opens a window where you can specify which pages of the report the Page Style band should appear on:
|
|
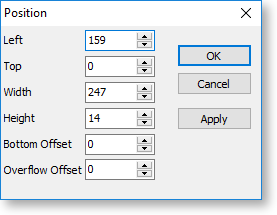
Position |
This option opens a window where you can specify the exact position of the band. The units on this window are whatever unit was selected from the Report > Units sub-menu.
|
|
Visible |
If this option is enabled, the band will appear on the report; if not, the band will not appear on the report, although it will still be visible on the Design tab. |
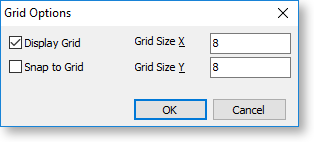
Grid Options
A grid is overlaid on the report canvas, to aid in sizing and aligning report components. You can turn the grid on or off, change the size of the grid, and choose whether or not to snap report components to the grid by selecting Grid Options from the View menu.