Adding and Editing Employees
![]()
![]()
Having set up your Allowances, Deductions, Departments, Cost Centres, etc, it is now time to add your Employees. This area is also known as the employee masterfile, because it handles identification, contact details, tax status, employment status, leave balances, personnel notes, bank accounts and a standard pay record.
Adding a New Employee
![]() Select the Add Employee icon in Step
Seven of the Payroll Setup
Cycle and the Add Employee screen appears:
Select the Add Employee icon in Step
Seven of the Payroll Setup
Cycle and the Add Employee screen appears:

A new employee ID number is automatically generated by the system. The ID defaults to the next number in sequence (starting from 1) but this can be overridden by typing in the number you require and pressing enter twice or clicking the Add button. (To see a list of those employees already added click List Employees.) The Employee Maintenance screen appears, starting on the Employee Details tab.
NOTE: If you have the EXO Employee Information module installed and candidates have been added, a Candidates button is available on the Add Employee window. Click this button to select a candidate to convert to a full employee record. (The candidate's details are copied to a new employee record - the original candidate record is not deleted.)
Editing an Employee
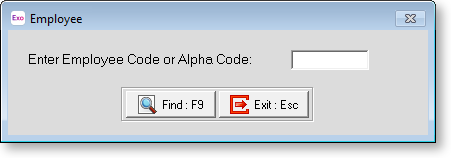
![]() Select the Edit Employee icon in Step
Seven of the Payroll Setup
Cycle and the following screen appears:
Select the Edit Employee icon in Step
Seven of the Payroll Setup
Cycle and the following screen appears:

Enter the Employee Code for the employee you want to edit and press enter, or click Find to select the employee from a list. The Employee Maintenance screen for the selected employee appears, starting on the Employee Details tab.
Employee Details
The Employee Maintenance screen is used to edit details for new and existing employees. Employee details are divided across the following tabs:
TIP: If you want to set up an employee quickly you can complete only the Employee Details and Standard Pay tabs. You can then come back and complete the other steps at a later stage by selecting the Open Employee menu item or toolbar button.
