
Route Executions with Service Delivery: To Process the Route Execution
This activity will walk you through the process of handling a route execution from starting the route execution to completing it.
Story
Suppose that you are a staff member of the SweetLife Service and Equipment Sales Center. Acting as a staff member, you will start the route execution, attend the appointments, enter the actual time and date the appointments have been carried out, and complete the execution of the route. Acting as a service manager, you will close the appointment. (To ease the training process, you will not sign out and sign in as each involved employee. In production, however, the drivers start and complete the route executions assigned to them.)
Process Overview
On the Route Document Worksheets (FS403900) form, you will start the route execution. Then you will process the appointments included in the route execution. Once all appointments are completed, you will complete the route execution. Finally, on the Close Routes (FS500800) form, you will close the route.
System Preparation
Before you begin performing the steps of this lesson, do the following:
- On the MYOB Acumatica website, sign in to a company with the U100 dataset preloaded. You should sign in as a service manager by using the davis username and the 123 password.
- In the info area, in the upper-right corner of the top pane of the MYOB Acumatica screen, set the business date to 1/30/2025. For simplicity, in this activity, you will create and process all documents in the system on this business date.
- To perform this activity, make sure that you have performed the following prerequisite activities: Route Executions with Service Delivery: To Create a Route Execution with Appointments and Route Executions with Service Delivery: To Modify the Route Execution.
Step 1: Starting the Route Execution
To start the route execution, perform the following instructions:
- Open the Route Document Worksheets (FS403900) form.
- Set the business date to Tuesday, 02/11/2025.
The From and To boxes are now displaying this date.
- In the Driver box, select EP00000005 (Peter
Lai).
The form now displays the route execution assigned to the selected driver for the specified Tuesday.
- In the Route Nbr. column, click the reference number of the route execution to open the Route Document Details (FS304000) form.
- On the More menu, click Start.
Step 2: Performing the Route Execution
To start and compete a route execution along with the assigned appointments, do the following:
- While you are still viewing the route execution document on the Route Document Details (FS304000) form, in the Appointment
Nbr. column of the Appointments tab,
click the reference number of the first appointment in the list.
The system opens the Appointments (FS300200) form.
- On the form toolbar, click Start.
Assume that the staff member has finished providing a service and now needs to complete the appointment.
- On the Settings tab, in the Actual Date and Time section, set the values in the Actual Start Date and Actual End Date boxes to approximately match the values in the Scheduled Date and Time section. Select the Finished check box.
- On the form toolbar, click Complete.
- Close the Appointments form, and return to the Route Document Details form.
- On the table toolbar, click Refresh, and verify that the status of the first appointment has changed to Completed.
- Repeat Instructions 1–6 to complete the second appointment.
Once all appointments have been completed, you can complete the route execution; before the related appointments are completed, you cannot complete the route.
- On the More menu of the Route Document Details form, click
Complete.
The status of the route execution document has changed to Completed (see the following screenshot).
Figure 1. The completed route execution 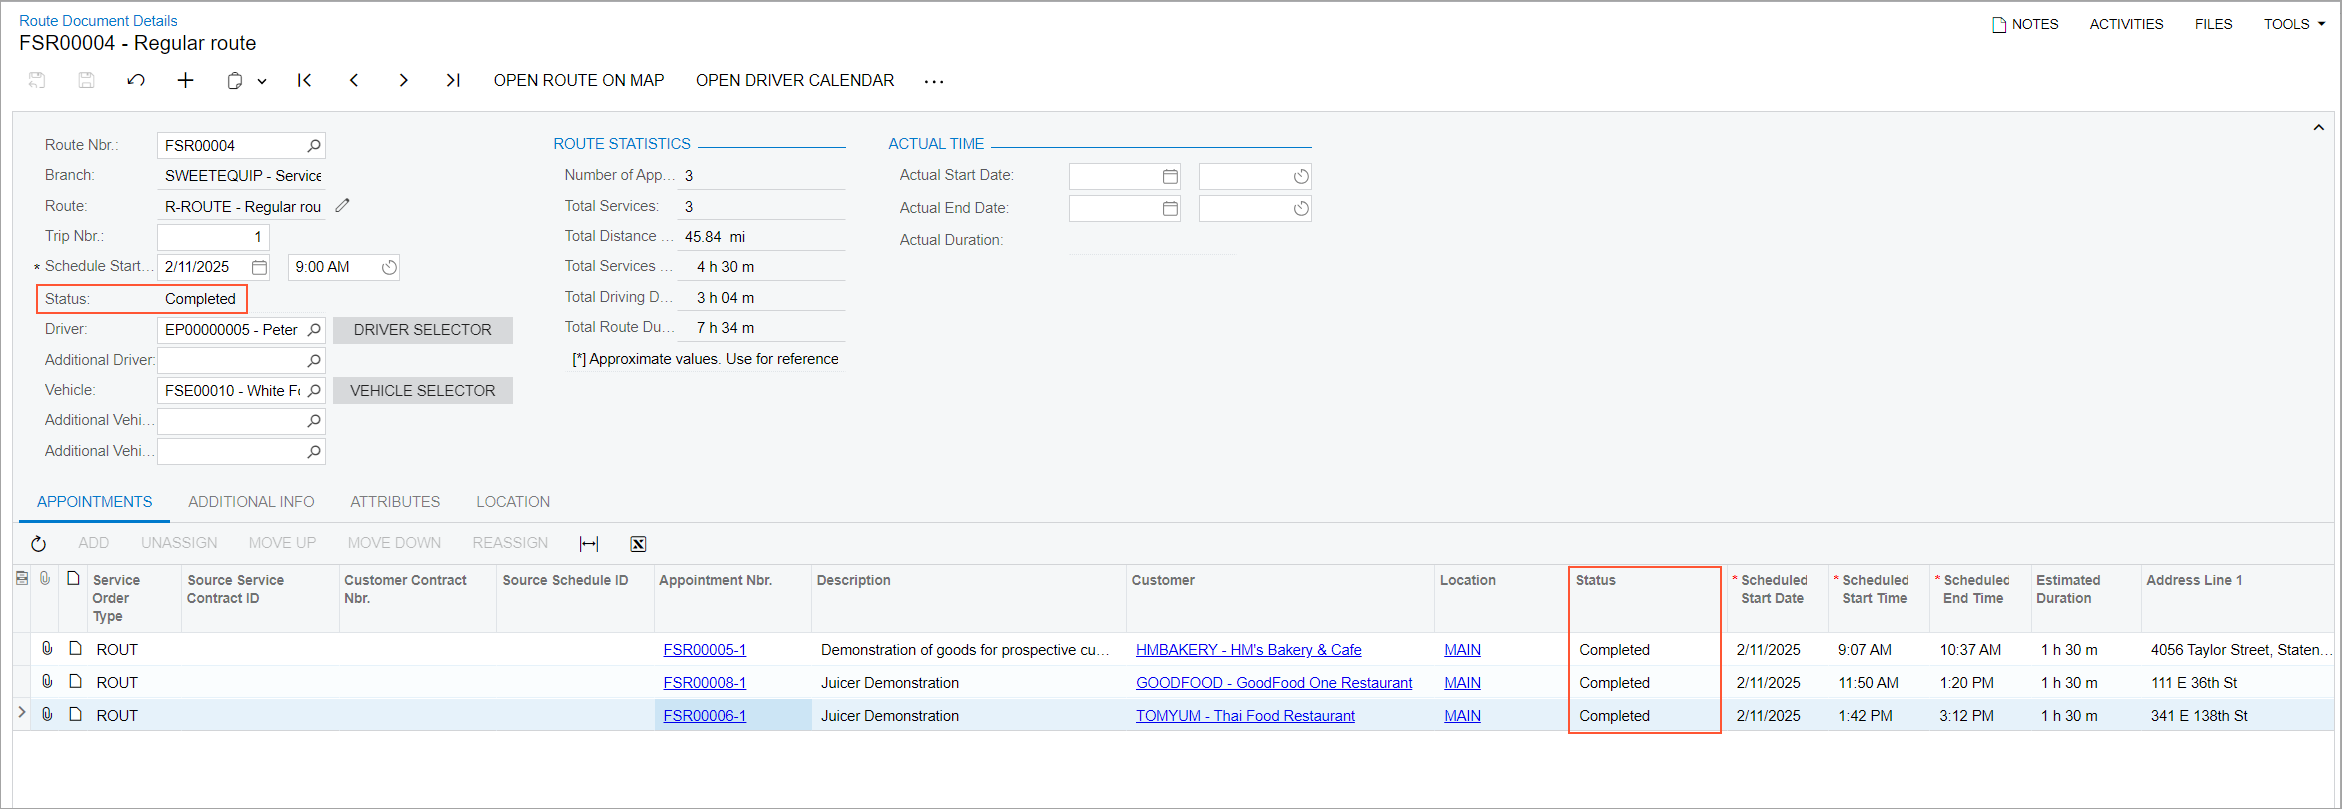
Step 3: Closing the Route Execution
To close the route execution, perform the following instructions:
- Open the Close Routes (FS500800) form.
This form displays only completed or closed (or both) route execution documents, depending on the settings in the Summary area of the current form.
- Click the reference number in the Route Nbr. column. The Routes Closing (FS304010) form opens.
- In the Summary area, specify the Actual Start Time of the route as the Scheduled Start Time of the first appointment in the list on the Appointments tab. Specify the Actual End Time as the Scheduled End Time of the last appointment in the list.
- On the More menu, click Close. In the Confirm
Route Closing dialog box, click
Yes.
Refresh the page. Notice that the route execution status has been changed to Closed, reflecting that the document is closed; the document details cannot be edited.
You can now proceed to generating invoices for these appointments.