
Financial Periods: To Deactivate a Period
In this activity, you will learn how to deactivate a period for a particular company.
Video Tutorial
This video shows you the general process but may contain less detail than the activity has. If you want to repeat the activity on your own or you are preparing to take the certification exam, we recommend that you follow the instructions in the steps of the activity.
Story
Suppose that as an accountant of the SweetLife Fruits & Jams company, you have to deactivate the open 09-2025 financial period to prevent data entry clerks from posting transactions to it.
Process Overview
In this activity, you will review the status of the financial period on the Company Financial Calendar (GL201100) form and deactivate the period on the Manage Financial Periods (GL503000) form.
System Preparation
To prepare the system, do the following:
- Launch the MYOB Acumatica website with the U100 dataset. Sign in as an accountant by using the
following credentials:
- Username: johnson
- Password: 123
- On the Company and Branch Selection menu, also on the top pane of the MYOB Acumatica screen, make sure that the SweetLife Head Office and Wholesale Center branch is selected. If it is not selected, click the Company and Branch Selection menu button to view the list of branches that you have access to, and then click SweetLife Head Office and Wholesale Center.
Step: Deactivating the Financial Period
To deactivate the open 09-2025 financial period, do the following:
- Open the Company Financial Calendar (GL201100) form.
- In the Selection area, specify the following settings:
- Company: SWEETLIFE (inserted by default)
- Financial Year: 2025
Notice that some periods including October have the Open status.
- On the More menu, click Deactivate Periods.
- On the Manage Financial Periods (GL503000) form, which opens, notice that the system has selected the Deactivate action in the Summary area.
- In the table, select the unlabeled check box for the 09-2025 period. Notice that the later periods have been selected automatically.
- On the form toolbar,
click Process, as shown on the following
screenshot.
Figure 1. The periods selected for deactivation 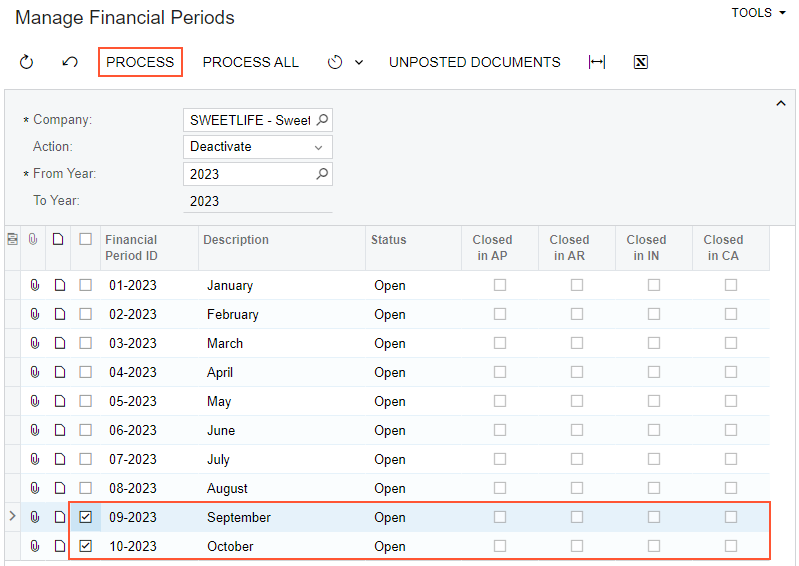
- In the Processing pop-up window, which is opened,
click
Close.
The statuses of the periods have changed from Open to Inactive.