
To Add a Custom Analytical Report to a Project
You can add a custom analytical report to a customization project. To do this, perform the following actions:
- Open the customization project in the Customization Project Editor. (See To Open a Project for details.)
- Click Analytical Reports in the navigation pane to open the Analytical Reports page.
- On the page toolbar, click Add New Record (+), as shown in the screenshot below.
- In the list of custom analytical reports in the Add Report
Definition dialog box, which opens, select the check box for each report
that you want to include in the project.Tip:The Add Report Definition dialog box displays all the custom analytical reports that exist in your instance of MYOB Acumatica. You can select multiple custom analytical reports to add them to the project simultaneously.
- In the dialog box, click OK to add each selected analytical report to the page table.
- On the page toolbar, click Save to save the changes to the
customization project.
Figure 1. Adding the custom analytical report to the customization project 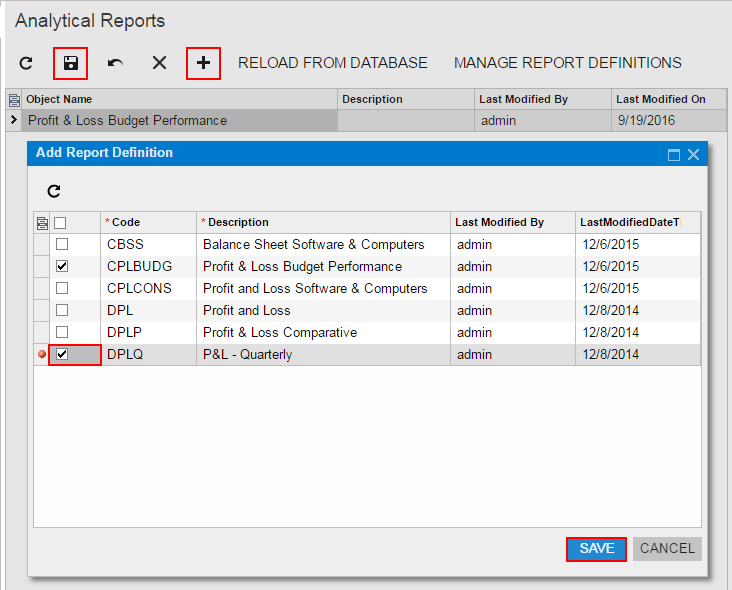
The system adds to the project the data from the database for each selected custom analytical report. You can view each new item in the Project Items table of the Edit Project Items, as shown in the following screenshot.
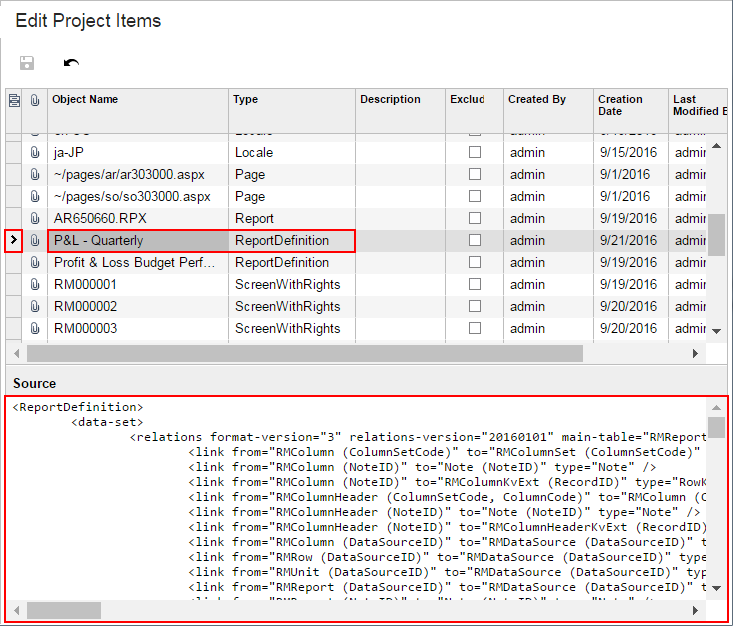
A ReportDefinition item contains all the data required to recreate the corresponding analytical report in any instance of MYOB Acumatica.
Attention:
To give users the ability to navigate to the custom analytical report
in MYOB Acumatica, you have to add the appropriate site map node to the customization project on the Site Map page of the Customization Project Editor.