- Contents
- Index
- Search

Display results with all search words
The Calc Tab
The Calc tab lets you enter code to control how the report works in very fine detail. It gives access to all parts of the report and all of the elements that it contains, and lets you enter code that affects them - this can mean calculating a value or controlling the report's behaviour, e.g. hiding or showing elements of the report or performing certain actions when parts of the report are clicked on. For reports that contain sub reports, tabs are available at the bottom of the Calc tab, so that you can specify code for each sub report individually.
Note: Writing code for a report requires a good degree of familiarity with Exo Business database structures and knowledge of the Delphi programming language.
Tree View
The top section of the Calc tab displays a tree view the controls the kind of data you can . The tree has three modes: Variables, Events and Module. You can swap between modes by right-clicking on the tree or by selecting an option from the View menu.
Variables
In Variables mode, the tree displays each report band that is visible in the report. When a band is selected, all Variable components on that band appear in the pane on the right, allowing you to set the calculation code for multiple variables quickly and easily.

Variables that already have code entered for them are highlighted in green; similarly, any report bands that include variables that have code entered for them are also highlighted green.
Note: You can edit the code for an individual variable from the Design tab by right-clicking on the variable component and selecting Calculations.
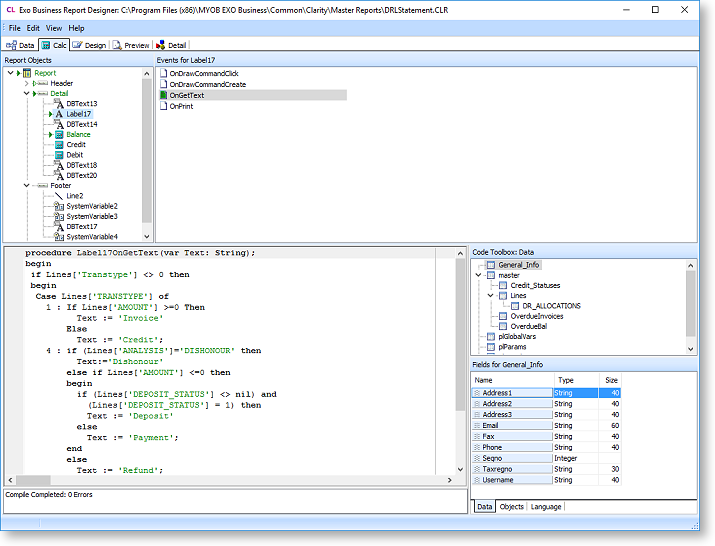
Events
In Events mode, the tree displays all report bands and the components they contain, similar to the Report Tree on the Design tab. When a report component is select, all events that can be triggered for the component appear in the pane on the right - these can include events such as when the component is drawn, when it is clicked on or when its value is calculated. This lets you control how the report should behave whenever one of these events occur.
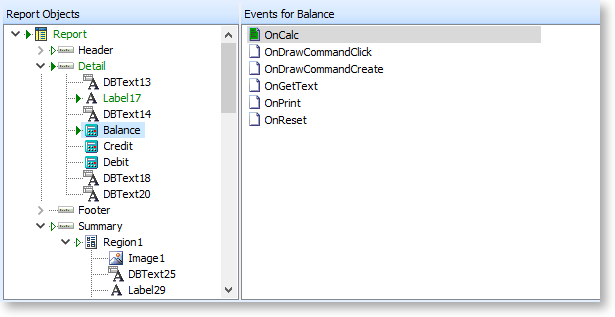
Events that already have code entered for them are highlighted in green; similarly, any report components that include variables that have code entered for them are also highlighted green.
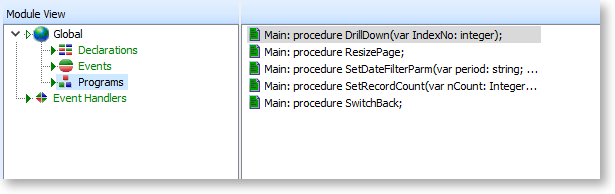
Module
In Module mode, the tree shows all code that has been entered for the report so far, and lets you edit any existing code. The tree has four sections:
-
Global > Declarations - Lets you enter global constants and variables for the entire report. Declaring a variable or constant here will ensure that you will be able to access it from any functions or procedures. It also means it can be passed between the main report and any sub reports.
-
Global > Events - Lists the two global events for the report: OnCreate, which is triggered as soon as the report is run, and OnDestroy, which is triggered when the report is closed (or when it finishes printing if there's no user input).
-
Global > Programs - Lets you enter global functions and procedures that can be reused elsewhere in the report. (A function is a piece of code that returns a value, while a procedure performs actions but does not return anything.) To create a new global function or procedure, right click on the list of functions and procedures and select New Function or New Procedure.
-
Event Handlers - Lists all events that currently have code written for them. You can edit the existing code in this mode - to enter code for a new event, you must use Events mode.
Code Pane
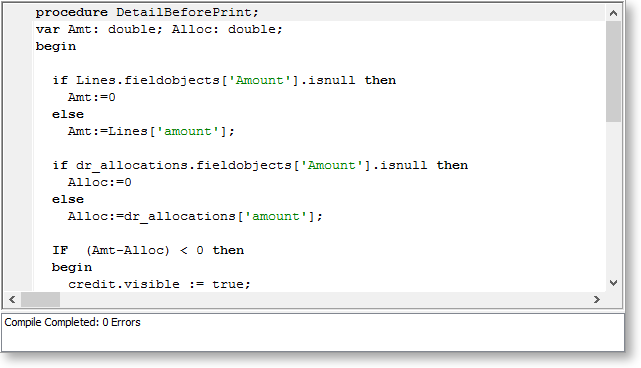
The lower left area of the Calc tab is where you enter your code. When you first click in the code pane, the outline of a function, procedure or variable declaration will be filled in for you as appropriate.
If the messages pane is enabled (select Messages from the View menu), any compilation errors with your code will appear at the bottom of the code pane.
Code Toolbox
The lower right section of the Calc tab contains a library of elements and code templates that you can drag and drop into the code pane to save typing time. The toolbox is divided into three tabs: Data, Objects and Language.
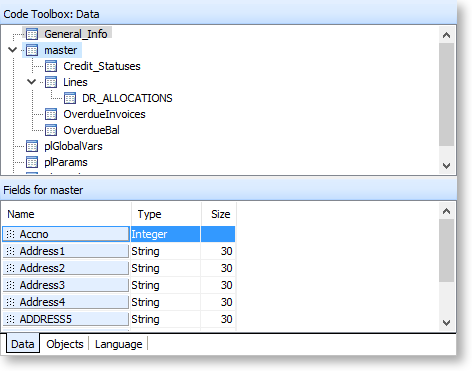
Data Tab
This tab lists all data sources that have been set up for the report. Clicking on a data source displays all fields in that source - you can drag a field into the code pane to insert code for that field.
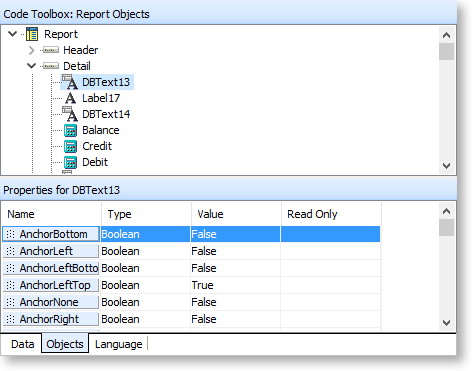
Objects Tab
This tab displays all report bands and the components they contain, similar to the Report Tree on the Design tab. Clicking on a component displays all of its properties - you can drag a property into the code pane to insert code that defines that property.
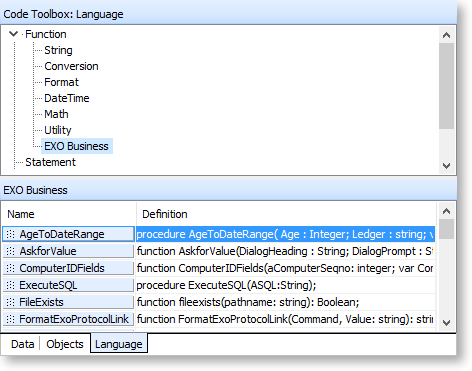
Language Tab
This tab contains a library of pre-defined functions and values that you can drag and drop into the code pane. Functions and values are organised into groups a tree structure - click on any group to display the functions or values in that group. Each function or value has a definition which describes its properties or inputs and outputs.
Calc Tab Menus
File
This menu offers standard file operations:
- Save - Saves the current report.
- Save As - Saves the current report, giving you the option to enter a new name for the report and select its report type.
- Close - Closes the Exo Clarity application.
- Import - Imports saved code from a .CTM file into the Calc tab, replacing the current code.
- Export - Exports the current setup of the Calc tab to a .CTM file. This file can be imported or merged into another report, to save you having to set up the same code multiple times.
Edit
This menu contains standard options for undoing edits as well as cutting, copying, pasting and deleting text.
View
This menu lets you control the layout of the Calc tab by swapping the tree view between Variables, Events and Modules views and by turning the ode Toolbox and Messages pain on and off.