Changes in Webpages (ASPX)
To customize the look and behavior of an MYOB Acumatica form, you need to change the ASPX code of the form. Because you need to include all the changes in a customization project, you have to perform the form customization by using the Screen Editor of the Customization Project Editor.
To collect all the changes that you make while you customize a form, the Screen Editor creates a Page item with a name that corresponds to the form ID, and includes the item in the currently selected customization project. This item contains XML code with instructions that have to be applied to the ASPX code of the form during the publication of the project.
<AddItem> tag used to add the UsrSIMCardID
field as a column to the Transactions
grid.
<PXGridLevel DataMember="Transactions"
             ParentId="phG_tab_Items#0_grid_Levels#0"
             TypeFullName="PX.Web.UI.PXGridLevel">
  <Children Key="Columns">
    <AddItem>
      <PXGridColumn TypeFullName="PX.Web.UI.PXGridColumn">
        <Prop Key="DataField" Value="UsrSIMCardID" />
        <Prop Key="Width" Value="160" />
      </PXGridColumn>
    </AddItem>
  </Children>
</PXGridLevel>
In the XML code above, note that the <Prop> tag is used to set the
Width property of the column to 160.
With the Screen Editor, you can customize any object in the ASPX code of an MYOB Acumatica form and save the resulting changeset to the customization project. To apply the customization to the website, you have to publish the project.
<px:PXGridColumn DataField="UsrSIMCardID" Width="160" />
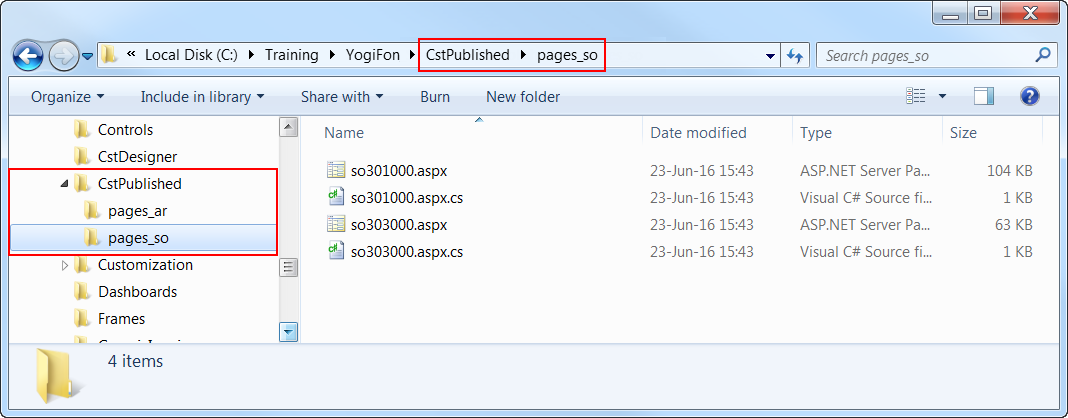
After the project has been published, when MYOB Acumatica has to display a form, first it tries to find the .aspx file of the form in the CstPublished folder. If it finds it, MYOB Acumatica opens the customized version of the form instead of the original one.
Any customization of MYOB Acumatica can be unpublished. If you unpublish a form customization, the platform deletes the corresponding file in the CstPublished folder of the website.
