
To Add a User-Defined Field to a Customization Project
To add a user-defined field to customization project, you can use a field previously defined in MYOB Acumatica, or create a field in Customization Project Editor. After that you can include the field in the current customization project.
To Add a New User-Defined Field
To add a new user-defined field, proceed as follows:
- On the navigation pane of the Customization Project Editor, click User-Defined Fields to open the User-Defined Fields page.
- On the page toolbar, click Add New Record.
- In the Add User-Defined Fields dialog box, which opens, select an
attribute for the user-defined field you are adding, and click
Save.
The user-defined field appears in the list on the User-Defined Fields page, and the dialog box is closed. Now you need to specify the IDs of the screens on which the field will appear. By default, the added field appears with all screens where it is used in the instance.
- In the row with the user-defined field, click the link in the Attribute ID column.
- In the Edit Attribute dialog box (see the following screenshot),
which opens, select the forms for which you want to save the fields in the customization
project.Tip:In this dialog box, you can see only the IDs of the screens for which the user-defined field was added. To add a user-defined field to a screen, on the title bar of the screen, select and add the field.
Figure 1. The Edit Attribute dialog box 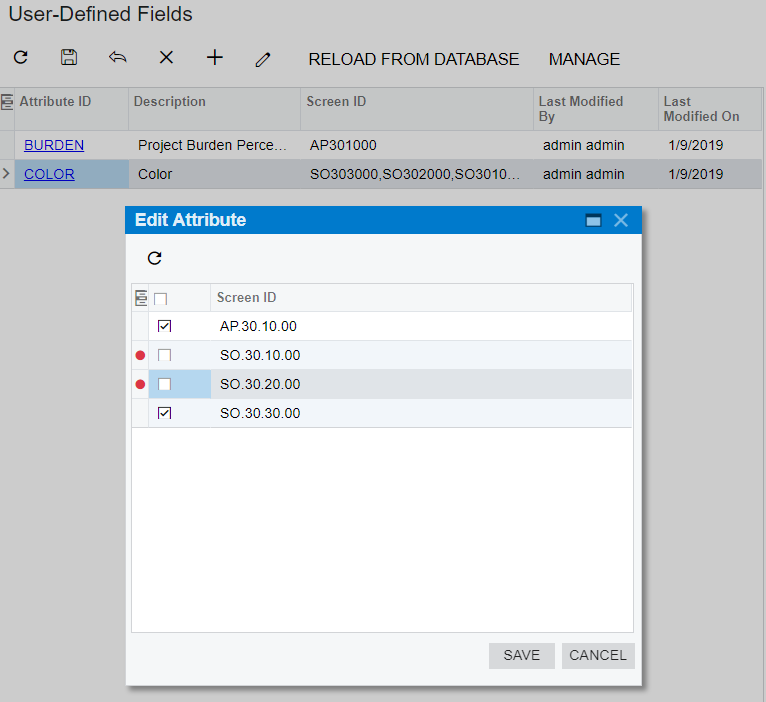
- Click Save to save your changes, close the dialog box, and return
to the User-Defined Fields page.
The selected form IDs are listed in the Screen ID column of the user-defined field you edited, as shown in the following screenshot.
Figure 2. The list of user-defined fields after being edited 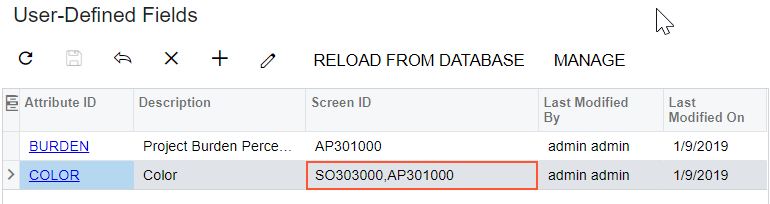
- On the page toolbar, click Save.