
Personalization of the MYOB Acumatica UI: Managing User-Defined Fields
In MYOB Acumatica, if you’re an administrator, you can add user-defined fields to any data entry form. This makes it possible to specify and track additional data that is important for your business.
Choosing Attributes
Before adding any user-defined fields to a form, you should be sure the corresponding attributes have been defined on the Attributes (CS205000) form. If the attributes aren’t already defined in the system, you can create new ones. For details, see To Create an Attribute.
Associating a User-Defined Field with the Form
Before you place a user-defined field on the form where it will be shown, you need to establish an association between the field and the form. To do this, you open the form where it will be shown, turn on Form Configuration mode and click the Manage User-Defined Fields button. The Manage User-Defined Fields dialog box opens, as shown below. For details, see Personalization of the MYOB Acumatica UI: To Manage User-Defined Fields.
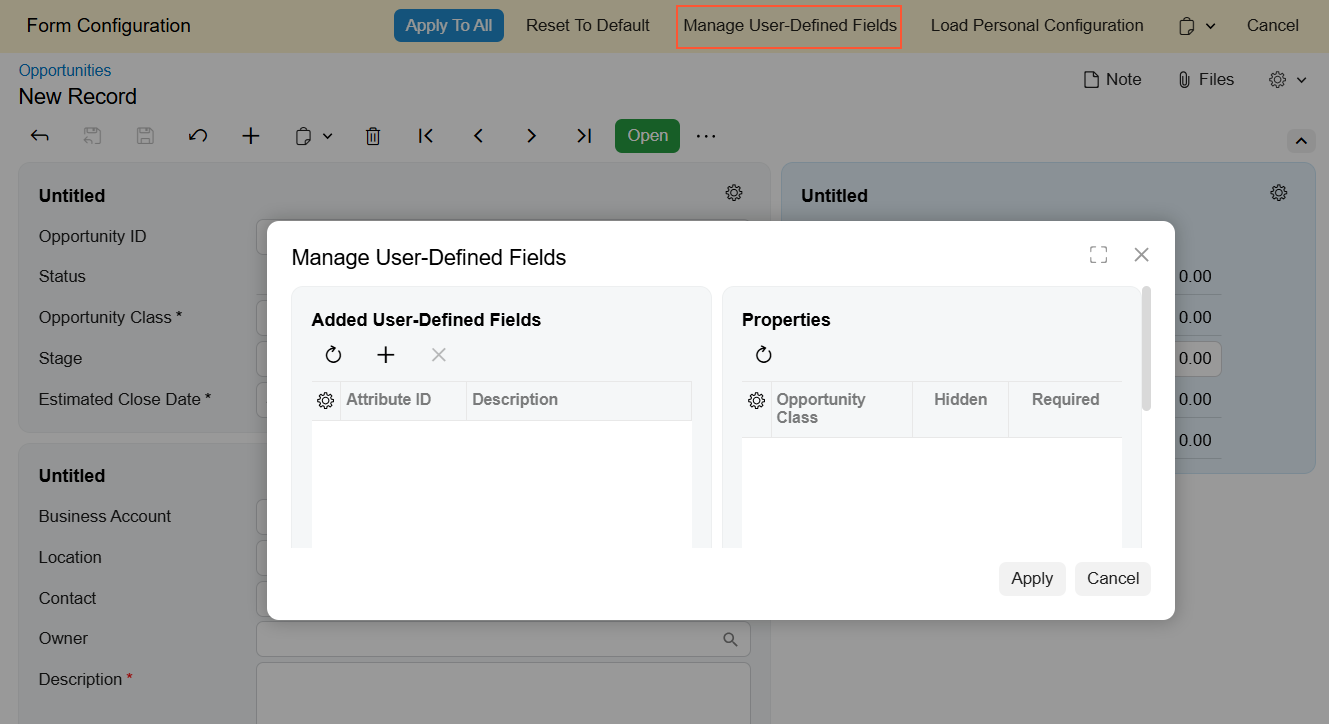
In this dialog box, you can:
- Associate a user-defined field with the form. To do this, you click Add Row in the Added User-Defined Fields pane. Then specify the ID of the attribute in the Attribute ID column.
- Remove a user-defined field from a form by first clicking the row in the Added User-Defined Fields pane and then clicking Delete Row on the table toolbar.
- Refresh the list of user-defined fields by clicking Refresh on the table toolbar of the Added User-Defined Fields pane.
- Refresh the list of properties by clicking Refresh on the table toolbar of the Properties pane.
- Denote that a field should not be displayed on the form by selecting this field (and record type, if applicable) and selecting the Hidden check box.
- Mark a field as mandatory by selecting this field (and record type, if applicable) and selecting the Required check box.
- Specify the field's default value by selecting this field (and record type, if applicable) and specifying the value in the Default Value column.
- Close the dialog box and apply the changes to the user-defined fields by clicking Apply in the lower-right corner.
- Close the dialog box without saving any changes by clicking Cancel in the lower-right corner.
Adding a User-Defined Field to the Form
Once a user-defined field is associated with the form, you can add it to any fieldset of the form by using the Section Configuration dialog box. To open the dialog box, you turn on Form Configuration mode and click the Settings button in the upper-right corner of the target fieldset.
User-defined fields associated with the form are listed under the User-Defined Fields node of the Available Elements pane (see below).
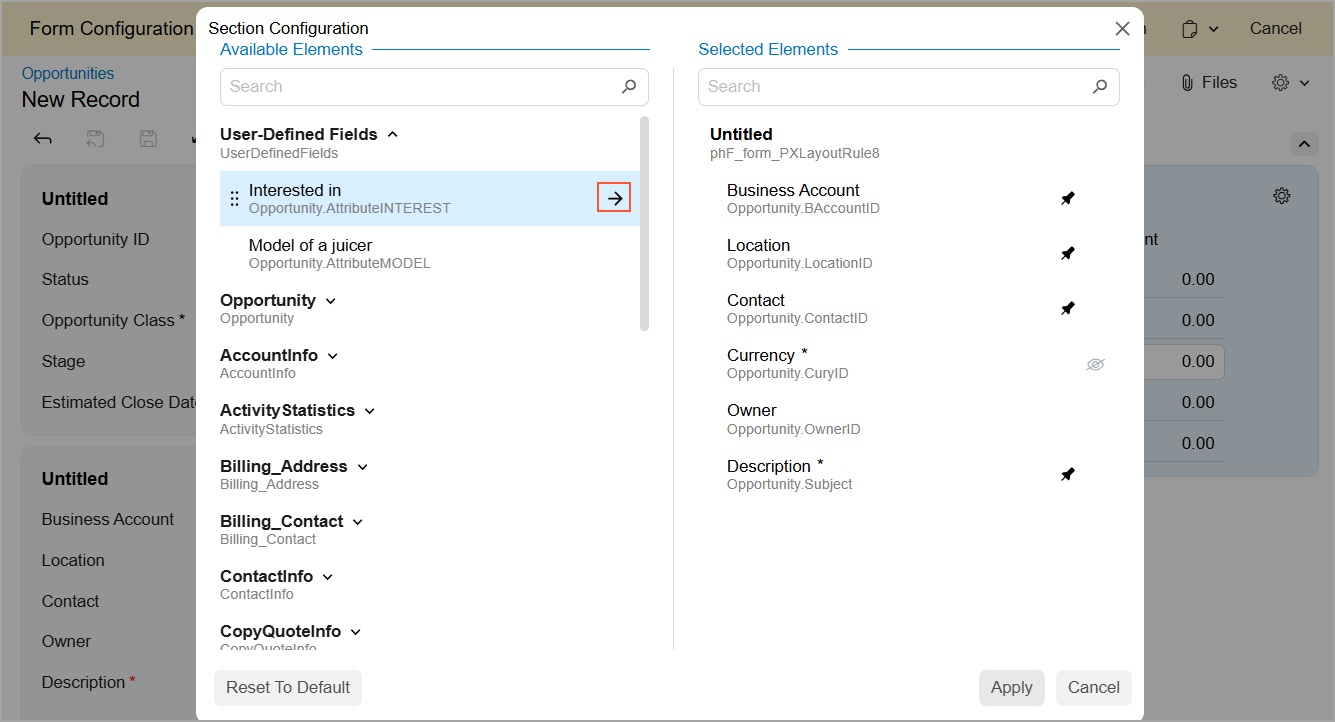
To add an element (that is, a user-defined field) to the fieldset, drag the field from the Available Elements pane to the Selected Elements pane.
Once you have added all the needed user-defined fields, click Apply to close the Section Configuration dialog box. Then click Apply to All in the Form Configuration pane to apply the layout changes to the form and turn off Form Configuration mode.
In this way, you can customize any form to display user-defined fields.