- Contents
- Index
- Search

Show results that include all search words
Custom Payslip
MYOB Exo Payroll includes a payslip report that can be fully customized to suit your company's needs.
Setting up the Custom Payslip
Before the custom payslip can be used, it must be enabled and configured. Open the Payslip Setup window by clicking the Payslip Setup button on the Special Options Setup window in the Payroll Setup.
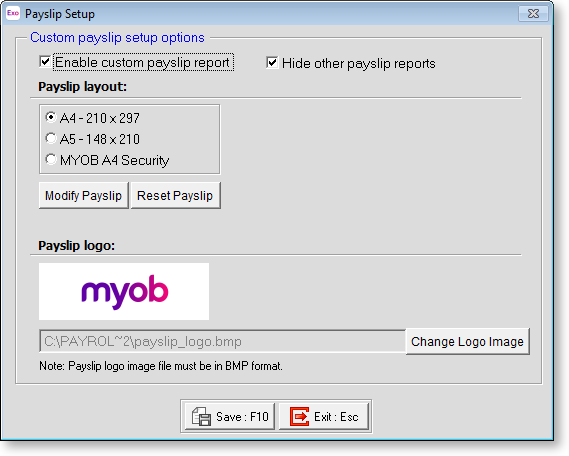
Enable custom payslip report Tick this option to enable the Payslip Custom report on the Pay tab of the Select Report window.
Hide other payslip reports If the custom payslip has been enabled, you can tick this option to hide all other payslip reports on the Select Report window.
Payslip layout EXO Payroll allows you to set up and use three different custom reports in the following layouts:
- A4 (210mm x 297mm)
- A5 (148mm x 210mm)
- MYOB A4 Security
Select the layout format of the custom payslip to edit. You can specify which layout to use when printing or emailing reports as part of the report options for the Payslip Custom report.
Payslip logo The custom payslip report displays a logo image at the top right of the report. By default, this displays the MYOB logo - you can replace this with your own company's logo by clicking Change Logo Image and specifying a new image.
NOTE: Logo images must be in BMP format. The image you select may be stretched or shrunk to fit the picture frame, depending on how the frame's properties have been set.
Modifying the Custom Payslip
To edit the custom payslip, click the Modify Custom Payslip button on the Payslip Setup window. The Report Designer window opens:
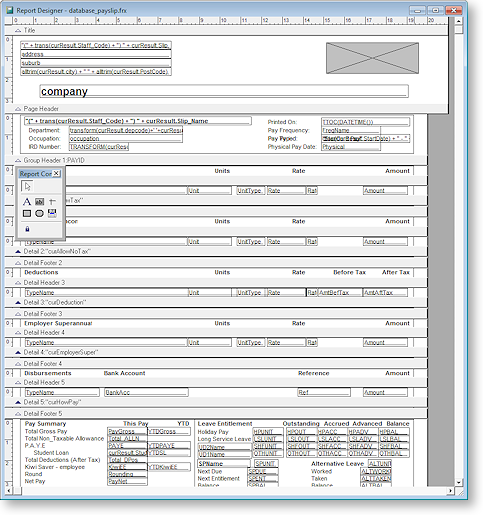
Make any changes to the report - when you close it, you will be prompted to save. If you want to undo all of your customisations and restore the report to its default state, click the Reset Custom Payslip button on the Payslip Setup window.
You can edit the report in the following ways:
- To edit the report page size or setup, right-click on a blank area of the report and select Properties. The Report Page Setup window appears, which lets you edit the size and format of the report.
- To resize a section of the report, click on the section name and drag up or down.
- To resize a field or label, click on it and dragging the sizing controls at its corners and edges.
- To delete a field or label, click on it and press DELETE.
- To edit the properties of a field or label, double-click on it or right-click and select Properties. A window opens displaying properties relevant to the type of field or label.
- To add objects to the report, click one of the buttons on the floating Report Controls toolbar:
Click on the appropriate button, then click and drag on the report to add the object and set its size. When adding an image, you must double-click on the image frame to bring up its properties window, where you can select the image file to display.Button
Function

Add a label

Add a field

Add a line

Add a rectangle

Add an oval

Add an image
NOTE: The properties window for an image also contains options for how to resize the image if its dimensions aren't the same as the frame's.