Dashboards: To Add a Dashboard Form
The following activity will show you how to create a dashboard and share it with other users.
Story
Suppose that you are Kimberly Gibbs, a technical specialist in your company who is working on simple customizations. A sales manager of your company has requested a dashboard named Sales Mgr Dashboard. Every sales manager would like to have the capability to create a personal copy of the dashboard and populate it with widgets on their own. The dashboard should be visible to sales managers only and made available through a link in the Opportunities workspace under the Dashboards category.
Process Overview
In this activity, you will do the following:
- Create a record for the dashboard on the Dashboards (SM208610) form and specify the requested settings. You will specify your role (Administrator) as the owner role of this dashboard so that you can design the dashboard later if this is requested.
- Review how the access rights assigned to the dashboard are working. You will try to view the created dashboard as a technical specialist (with the Administrator role) and then as a sales manager (with the Sales Manager role).
- Change access rights to the dashboard so that users with the Administrator role can open the dashboard in order to begin adding widgets to it.
System Preparation
Launch the MYOB Acumatica website, and sign in to a tenant with the U100 dataset preloaded as system administrator Kimberly Gibbs. You should sign in by using the gibbs username and the 123 password.
Step 1: Creating a Dashboard
To create the dashboard that the sales managers need, do the following:
- Open the Dashboards (SM208610) form.
- In the Summary area, in the Name box, type the name for the dashboard: SalesMgrDashboard.
- In the Owner Role box, select Administrator.
- Select the Allow Users to Personalize check box.
- On the form toolbar, click Save.
- On the form toolbar, click Publish to the UI. In the
dialog box that opens, do the following:
- In the Site Map Title box, change the system-specified value, which was copied from the Name box, to Sales Mgr Dashboard.
- In the Workspace box, select Opportunities.
- In the Category box, leave the default value, Dashboards.
- In the Screen ID, leave the automatically assigned identifier.
- In the Access Rights section, select the Set to Revoked for All Roles option button.
- Click Publish to publish the dashboard and close the dialog box.
- On the Visible To tab, do the following:
- Locate the row with Sales Manager in the
Role column.Tip:You can use the search box in the left corner of the table footer.
- In the Access Rights column of this row, select Granted to assign this level of access rights to the role.
- Locate the row with Sales Manager in the
Role column.
- On the form toolbar, click Save.
You have created an empty dashboard, which will later be designed and populated with widgets. Because a workspace and category have been specified, a user with the Sales Manager role can access the dashboard through the workspace.
Step 2: Accessing the Dashboard
To review how the access rights you have specified for the dashboard are working, do the following:
- While you are still signed in as gibbs (to which the Administrator
role is assigned), navigate to the Opportunities
workspace.Tip:If the Opportunities menu item is not on the main menu, click the More Items menu item and then click the Opportunities tile.
- On the workspace footer, click the Show All button to
expand the workspace menu, and look for the Sales Mgr Dashboard link
under the Dashboards category.
The system does not display a link to the dashboard you have created because you have limited the access to the dashboard to only those who have the Sales Manager role. The Administrator role does not have access to the dashboard.
Tip:In Step 1, you specified the Administrator role as the Owner Role of the dashboard, indicating that a user with this role assigned can design the dashboard and edit its settings. This setting does not control, however, whether the Administrator role can access the dashboard. The rights of all roles to the dashboard are specified on the Visible To tab of the Dashboards (SM208610) form. - Sign out, and then sign in by using the chubb username and the 123 password. These are the credentials of David Chubb, whose user account has the Sales Manager role.
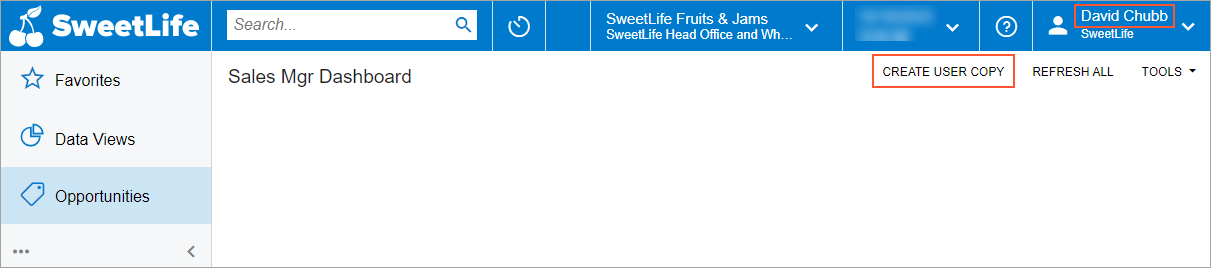
- Navigate to the Opportunities workspace, and click the
Sales Mgr Dashboard link.
The system opens the dashboard, indicating that users with the Sales Manager role can access the dashboard. On the dashboard title toolbar, notice that the Create User Copy button is available (as shown in the following screenshot). This illustrates that users with the Sales Manager role can create a personal copy of the dashboard.
Step 3: Changing the Assess Rights to the Dashboard
Now you need to change the access rights of the dashboard so that users with the Administrator role can open the dashboard in order to begin adding widgets. To change the access rights to the dashboard, do the following:
- Sign out, and sign in by using the gibbs username and the 123 password. These are the credentials of the technical specialist with the Administrator role (which you used earlier).
- Open the Dashboards (SM208610) form.
- In the Summary area, in the Name box, select SalesMgrDashboard.
- On the Visible To tab, do the following:
- Locate the row with Administrator selected in the Role column.
- In the Access Rights column of this row, select Granted to assign this level of access rights to the role.
- On the form toolbar, click Save.
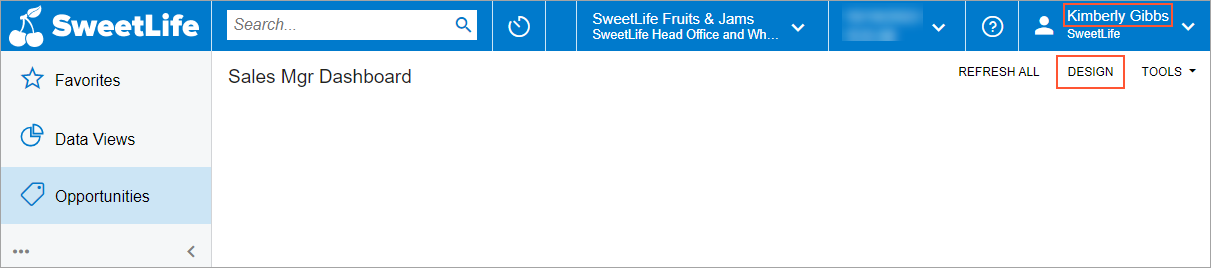
- Open the Opportunities workspace, and click the Sales
Mgr Dashboard link.Tip:If the dashboard link is not displayed in the workspace right away, refresh your browser window.
The system opens the dashboard, indicating that you have the needed access rights to view the dashboard. On the dashboard title toolbar, notice that the Design button is displayed (as shown in the following screenshot). This means that as an owner of the dashboard, you can populate it with widgets.