
Modern UI Development: Switching of a Form Between the Modern UI and the Classic UI
MYOB Acumatica provides a number of ways that you can use to switch an MYOB Acumatica form that is using the Modern UI to the Classic UI or vice versa.
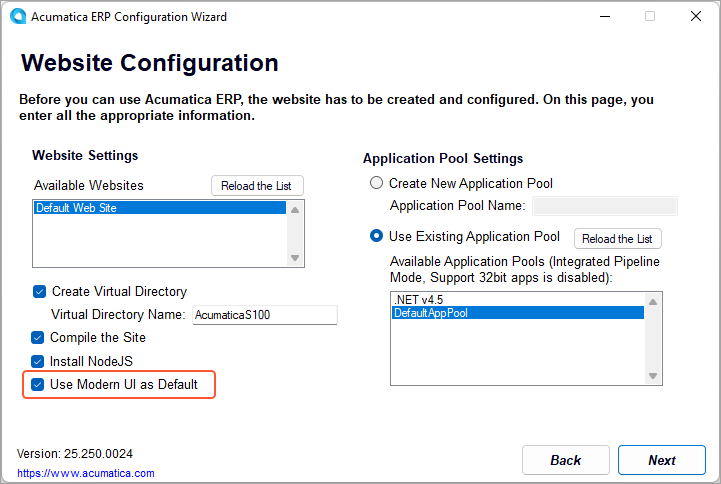
When you deploy a new instance of MYOB Acumatica or update and existing instance, the MYOB Acumatica ERP Configuration Wizard now suggests using the Modern UI by default, as seen below.
For existing instances, before you use any of the methods described in the following
sections, you may need to make a change to the Web.config file of your
MYOB Acumatica instance. In the appSettings section, you should add the <add
key="EnableSiteMapSwitchUI" value="True" /> key (if it has not already been
added).
If you have selected the Use Modern UI as Default check box while
deploying your instance by using the MYOB Acumatica ERP Configuration
Wizard, the system has automatically added the <add key="EnableSiteMapSwitchUI"
value="True" /> key to the Web.config file of your
instance.
Switching the UI of the Particular Form
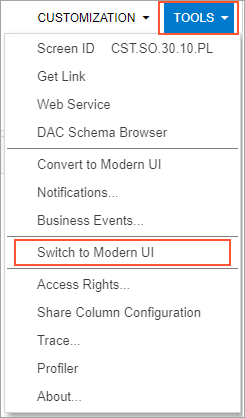
While viewing a form in the Classic UI, you can click on the form title bar to switch the form to the Modern UI.
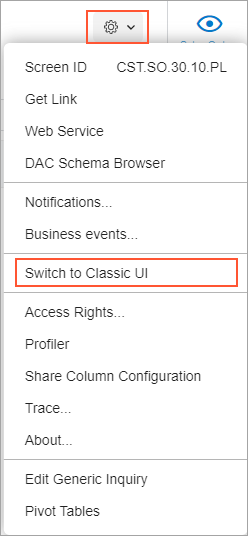
While viewing a form in the Modern UI, you can click the Settings button on the form title bar and then Switch to Classic UI to switch the form to the Classic UI.
Switching the UI of the Entire Site
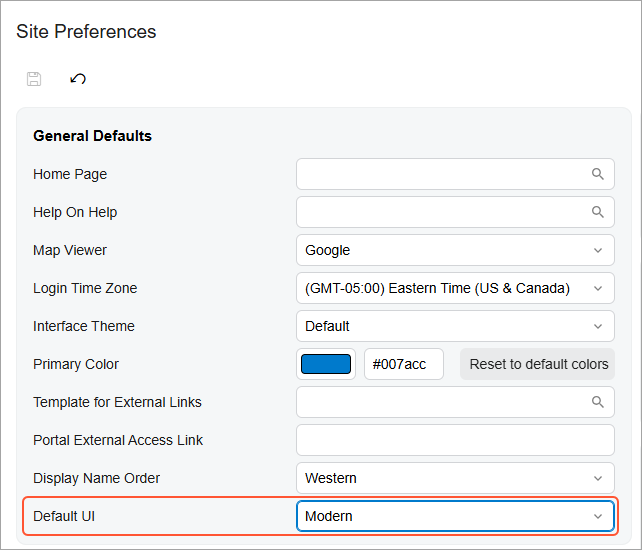
To specify the user interface for all forms, use the Default UI setting on the Site Preferences (SM200505) form. It defines the UI to be used by default (Modern UI or Classic UI) for all users of the current tenant.
Switching the UI of Multiple Forms
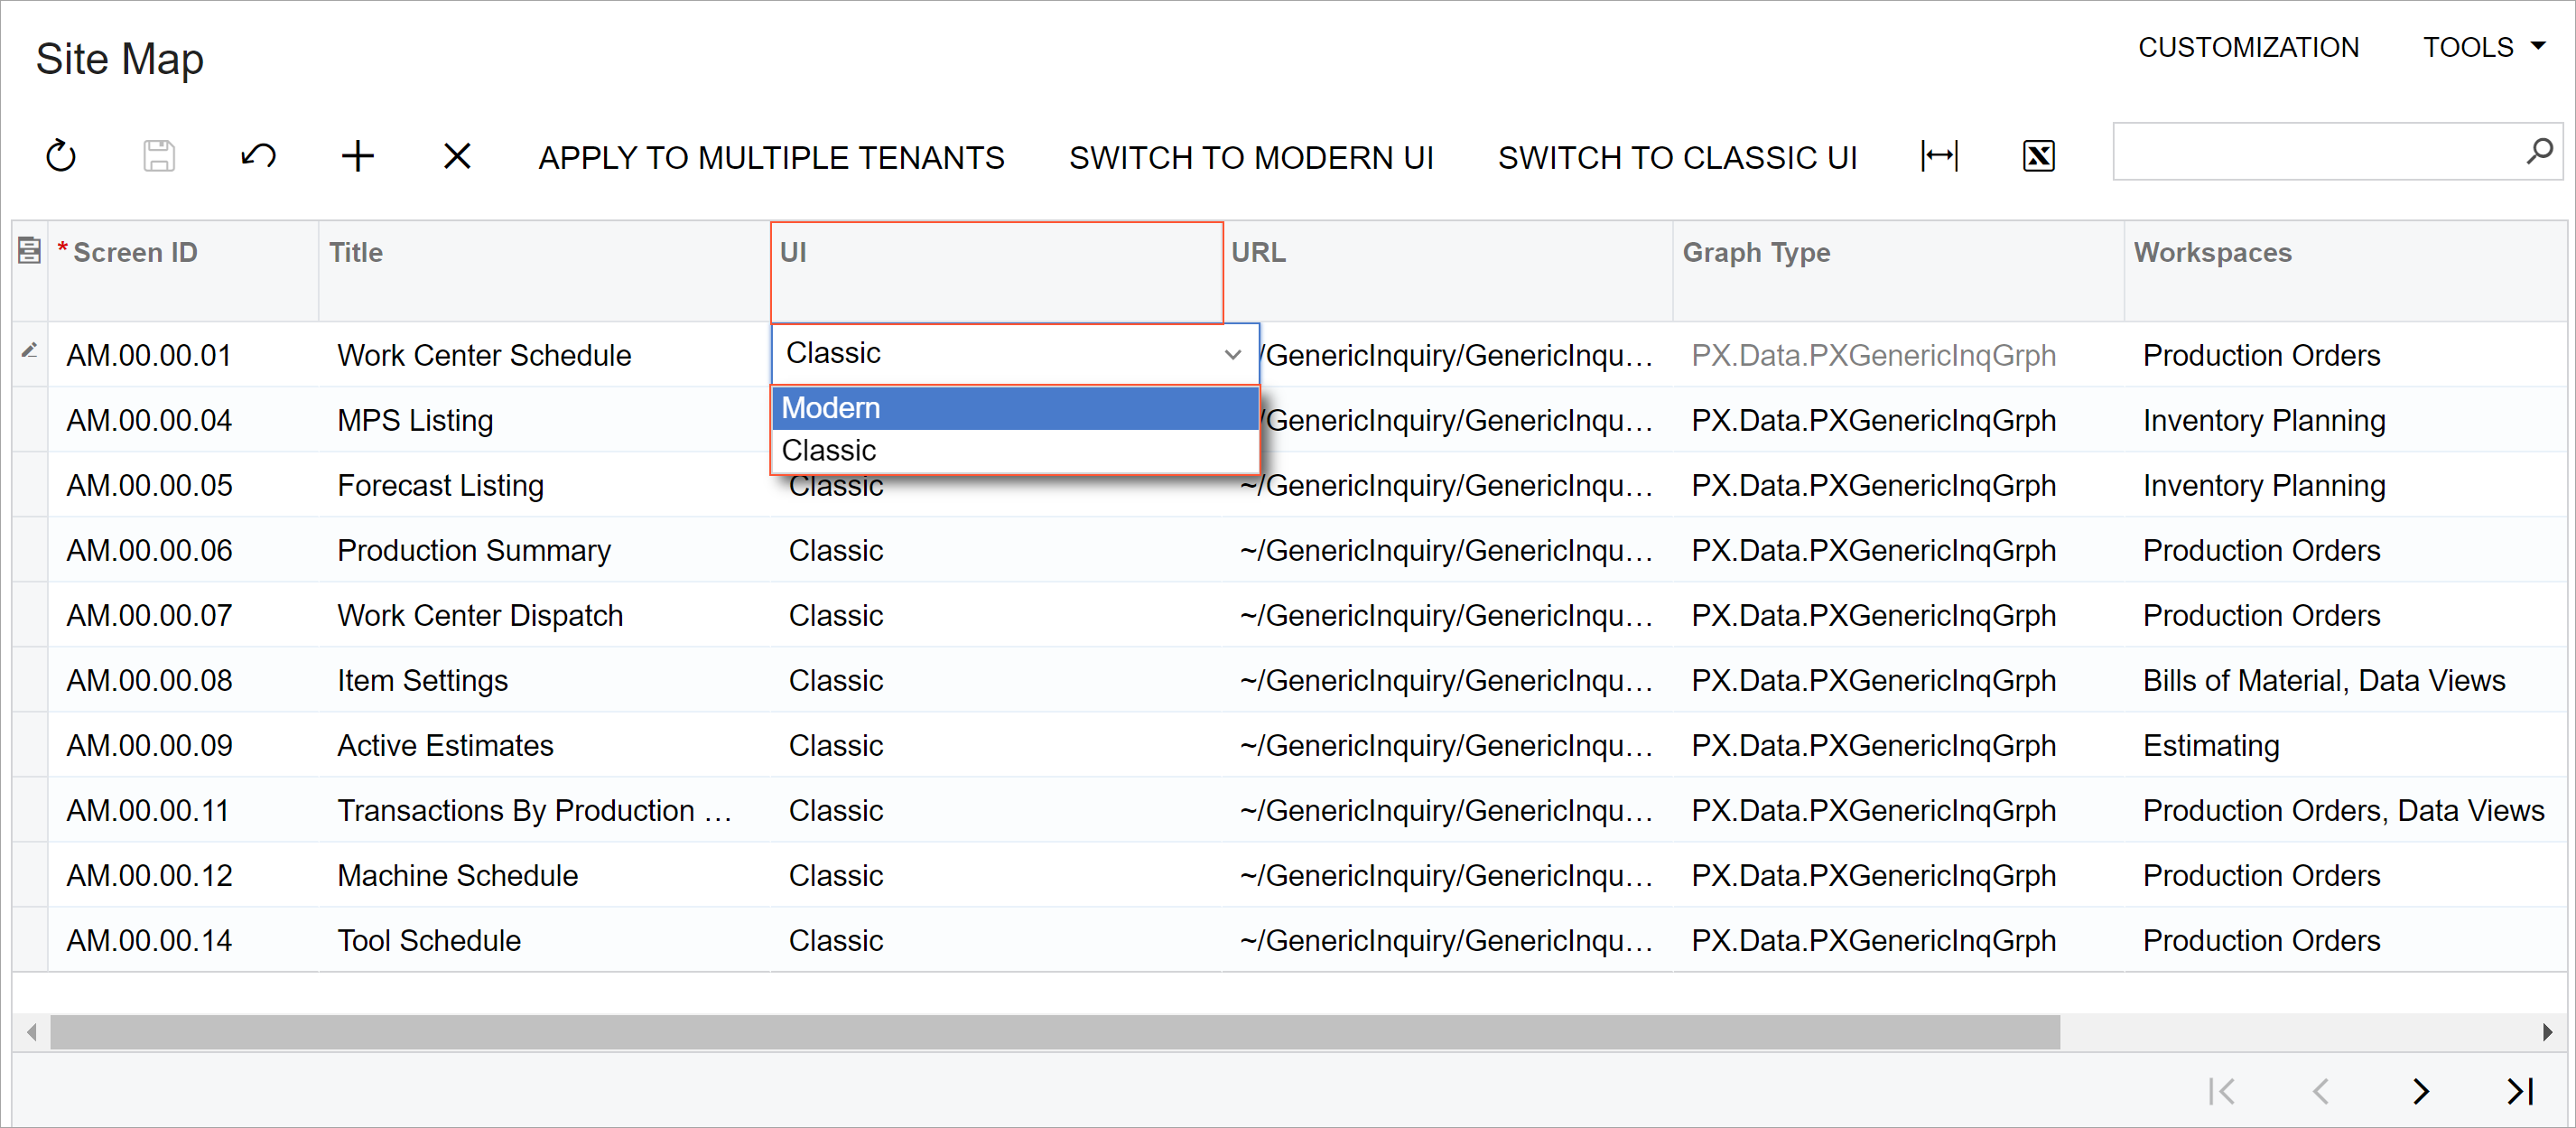
You can use the Site Map (SM200520) form to specify the default UI to be displayed for any number of forms.
To cause a form to be displayed in the Modern UI or the Classic UI, you select Modern, Classic, or Default in the UI column of the row that corresponds to the form, as shown in the following screenshot.
The Site Map form also has the Copy UI Settings to Tenants button on the form toolbar. By using this button, you can copy the UI settings of all the listed forms to other tenants. When you click this button, the system displays a dialog box where you can select the tenants to which you want to copy the UI settings.