- Contents
- Index
- Search

Show results that include all search words
Resource Allocation
Use resource allocation to book resources such as staff and plant against a job. You can generate appointments in the calendar in Microsoft Outlook.
Creating a Resource Allocation
You can create resource allocations by:
-
Right-clicking on a job on the Job Overview tab of the Job Management screen and select Assign Resources.
-
Clicking the Resource Allocation button on the toolbar of the Details tab or Activities tab.
The Setup Job Resource Allocation window opens.
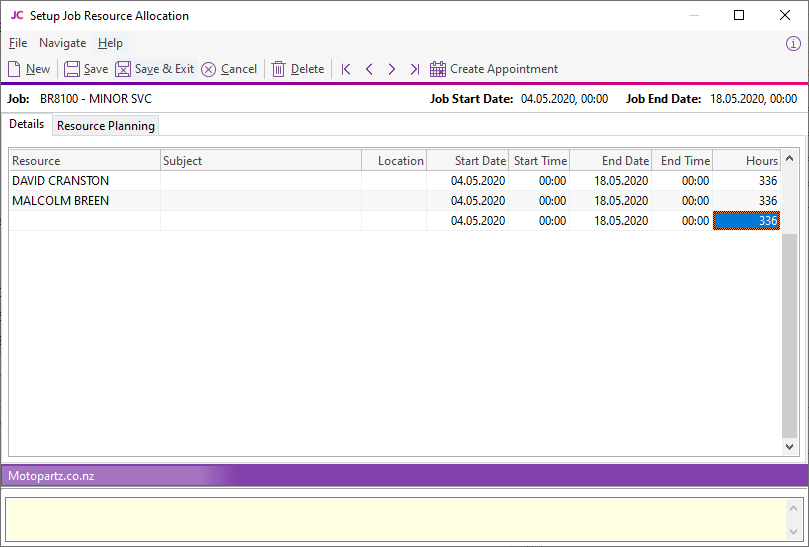
Enter commitments for staff or plant, then click Save & Exit.
You can see a graphical overview of all resource allocations on the Resource Overview tab.
When allocating resources, Job Costing checks for over-allocations and checks that the Start and End Dates are within the dates for the job. If either check fails, a warning message displays.
Use the profile settings, Resources - Check for Resource Over-Allocations and Resources - Synchronise Job and Resource Dates, to enable or disable these checks.
Note: If you change the job's Start and/or Due Date, the resource allocation dates automatically update.
Creating Activities
When a resource allocation is created, an Activity for the staff member is automatically created in Exo Business. You can view activities in the Activity Search widget.
Note: If the resource is not associated with a staff member, the Activity does not appear on the Activity Search widget.
Integration with Microsoft Outlook
You can send individual allocations to Microsoft Outlook as calendar appointments by clicking the Create Appointment button. The job description is the body of the message.
Note: When you create an appointment in Outlook, changing an entry in Job Costing or in Microsoft Outlook does not update the other entry.