
Find Record Grid
Introduction
MYOB IMS Payroll includes a powerful facility to provide a grid display of relevant data, which is available for:
-
General Employee Information: Accessed via the Find Record button on the Employee Information tabs.
-
Employee Timesheet History: Accessed via the History > Timesheet History tabs in Employee Information.
-
Employee Notes: Accessed via the HR / Notes tab in Employee Information.
-
Company Costing Codes: Accessed via the Find Record button on the Company Controls > Costing Codes tab.
These facilities will quickly enable data to be selected, filtered, sorted and exported in either XLS, XML, Text or HTML file formats.
General Employee Information
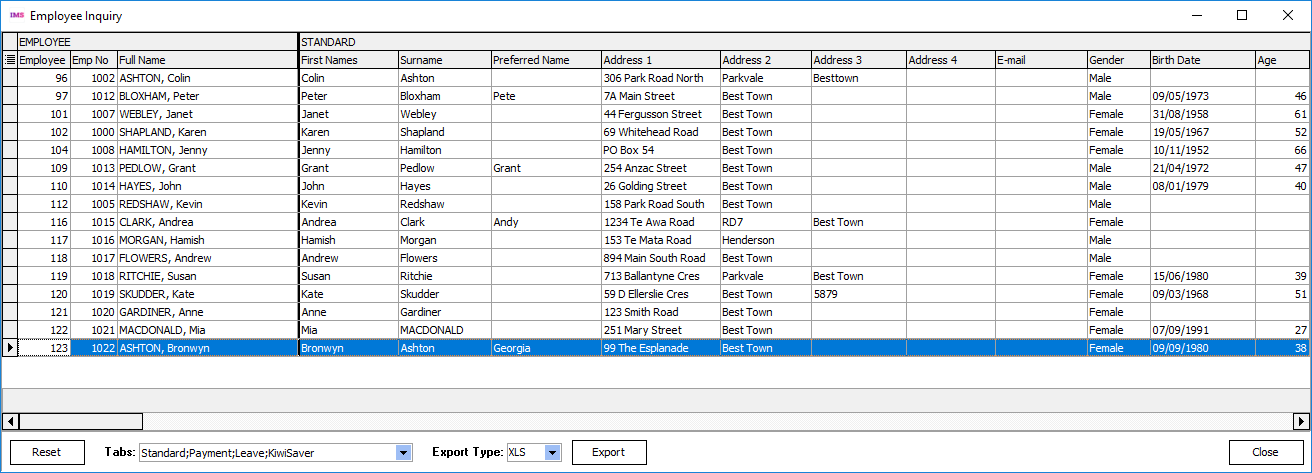
 To activate the Find Record window, click the Find Record button ( ) on any of the Employee Information tabs.
The data displayed will be pre-calculation values if a pay period is open.
The default grid display contains one record per employee, and contains columns for each data field on the Employee Information - Standard, Payment, Leave, KiwiSaver, Compliant Fund and Company Superannuation tabs.
The Compliant Fund and Company Superannuation tabs are only available if these options have been activated for the company.
The Employee display section containing the Employee ID, Emp No and Full is anchored to the left of the display grid so that each employee record can still be identified when data is scrolled across the grid. These columns cannot be moved or removed from the grid.
Tab Selection
At the bottom of the grid is a dropdown that lets you select which Employee Information tabs you want to display in the grid. This can be useful for limiting the data columns you may want to export to a file.
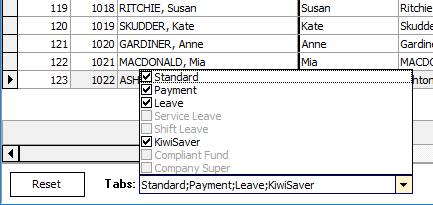
The Tabs currently selected for display will appear in the dropdown.
 It is also possible to show or hide the individual data columns on each tab. To do this, click the Show/Hide/Move button ( ). This opens a dropdown showing tick boxes for all columns in the tabs that are currently displayed. Untick the box for a column to hide it from the grid, or tick the box to display a hidden column.
To globally display or remove all columns for the Tabs you have selected right-click on the Tab header at the top of the grid and select the Show (All Columns) or Remove (All Columns) option. Individual columns can then be selected via the Show/Hide/Move button as above.
Employee Notes
The following HR / Notes tab under Employee Notes lets you sort, filter and group the contents in any column. Click on a column’s heading to sort by that column, and click on the arrow button on the right of a column heading to access the filtering and grouping options:
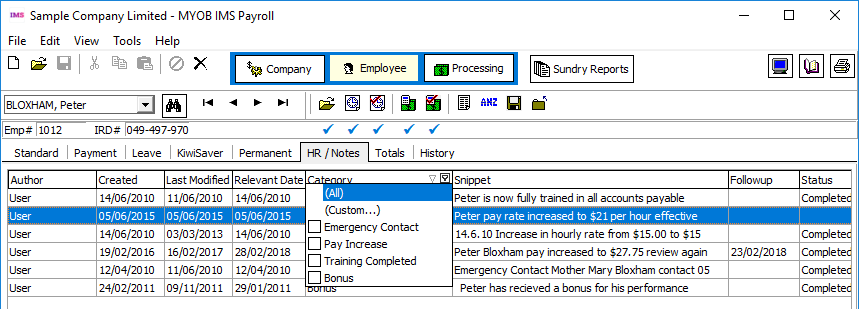
There is no option to export or refresh data on this grid.
Employee Timesheet History
This grid appears on the Employee Information > History > Timesheet History tab:
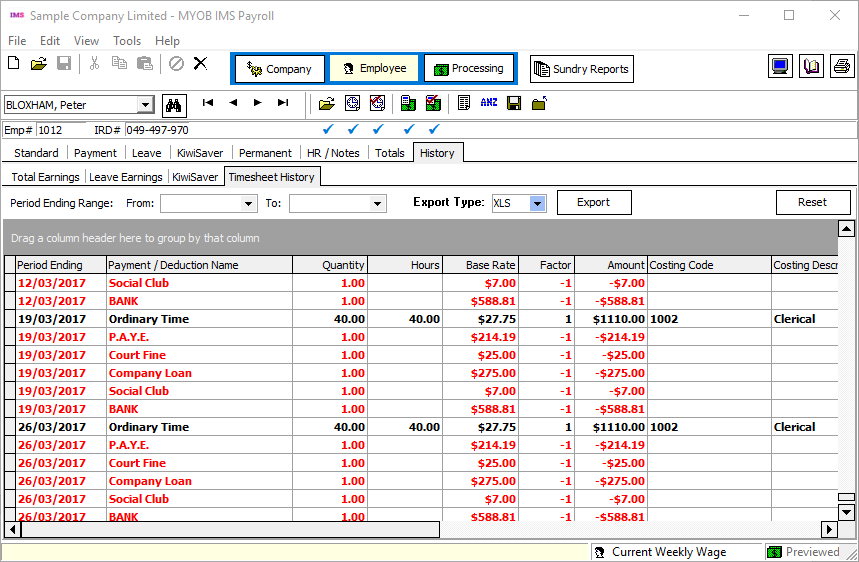
The default grid displays individual Payment and Deduction records (displayed in red) for the relevant Pay Period Ending Date.
The Base Rate column is only populated for those pay periods completed in payroll version 4.31 or later (August / September 2012).
Company Costing Codes
To activate the Find Record window, click the Find Record button ( ) on the Company > Costing Codes tab:
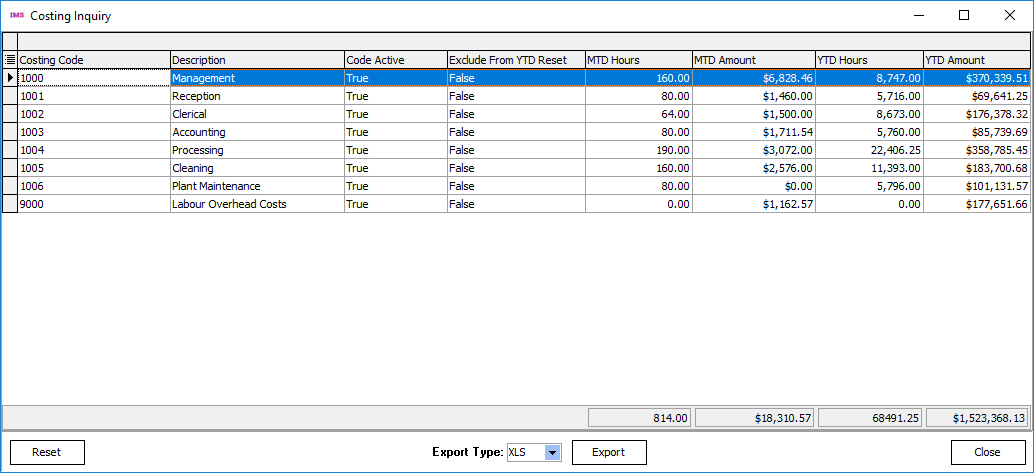
Grid Functionality Overview
Filtering Records
Filtering can be applied against any displayed column on the grid with the intention to select records conforming to specific criteria.
To activate filtering, click the down arrow to the right of the column header of the column that you want to filter by. The Filter selection box appears:
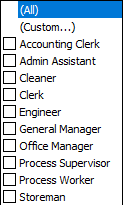
Show All Columns
The (All) option is available for all columns. Select it to remove any filtering already applied.
Custom Filter
The (Custom…) option lets you set your own filter by using pre-defined conditional statements. This option is not available on columns whose contents are pre-defined, e.g. Employee Type, which can only be Wage or Salary.
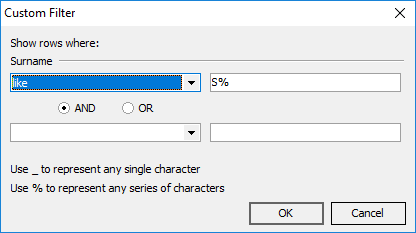
For example, to show employees whose surname starts with S, select the like statement and enter “S%”.
Field Filter
All options available for the column can be used for individual selection filtering. For example, the Occupation lets you filter by any combination of the occupations of all employees currently displayed.
When a filter is applied, a filter band is displayed at the bottom of the grid, showing the filter statement and the column it was applied to.

Click the tick box to apply or hide the filter. Click the X to remove the filter entirely. The down arrow button on the right of the bar opens a list of previously applied filters.
Sorting, Grouping and Footers
Right-click on a column header opens a menu where you can apply sorting, grouping and other operations on the column:
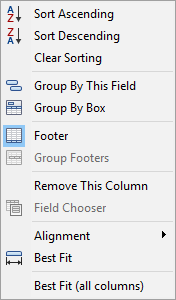
Sort Options (Ascending, Descending and Clear)
Use these options as per your requirements. The sorting will be based on the contents of the column header used.
Group By This Field
This option lets you group the display lines by the values in a selected column. For example, to group all employees by Pay Point and then within each Pay Point by Gender (Female/Male) this could be achieved as follows:
Right click on the Pay Point column header and select Group By This Field. The Pay Point column header appears in the Group By band at the top of the grid and employees are grouped according to their Pay Point:
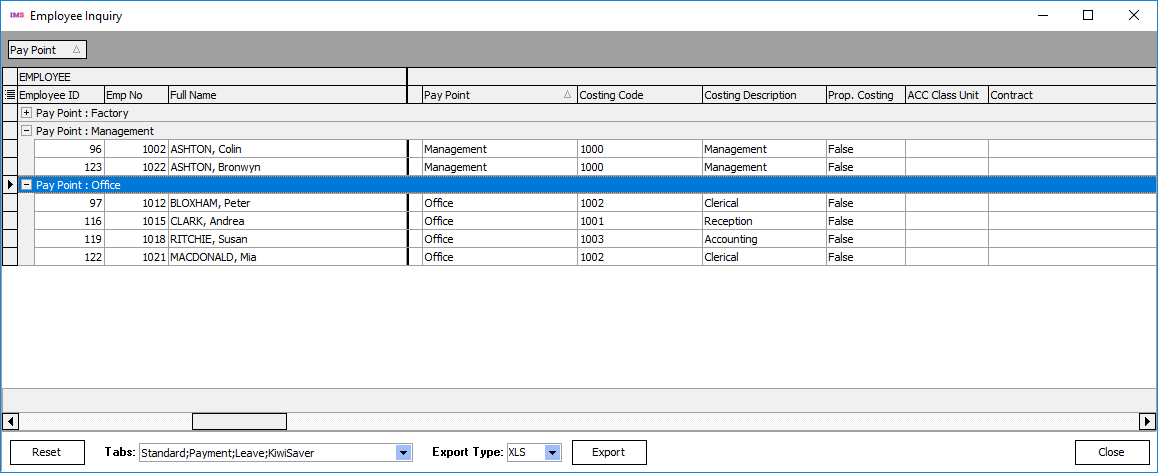
The Group by band at the top of the grid can be hidden or shown by right-clicking on a column heading and selecting Group By Box.
To add a further grouping by gender, right-click on the Gender column header and select Group By This Field or drag the column header to the Group By band at the top of the grid. Each Pay Point group is now divided into Gender sub-groups:
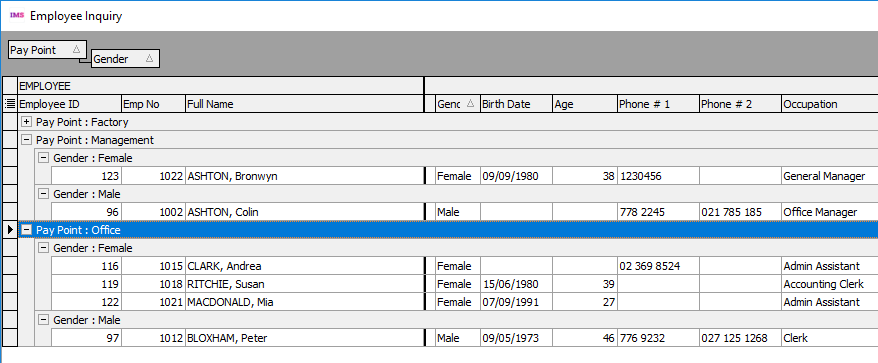
To remove the grouping, right-click on a column heading (either at the top of the column or in the Group By bar) and select Remove from grouping.
Footer
The Footer option lets you apply and display user-defined totals at the bottom of selected columns. When the Footer option is turned on, a Footer band is available at the bottom of the grid. To activate a Footer for a particular column, right-click on the Footer band at the bottom of the grid immediately below the column you want to apply the Footer to. The Footer options are displayed:
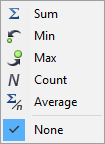
-
Sum: Sum and display the numeric contents of the column.
-
Min: Display the Minimum value in the column.
-
Max: Display the Maximum value in the column.
-
Count: Display the Total number of records in the column.
-
Average: Calculate and display the Average numeric value of the column.
-
None: Remove all Footers assigned to the column.
The options available for selection depend on the type of column, e.g. date, text, numeric, etc. Multiple Footers may be applied against a single column.
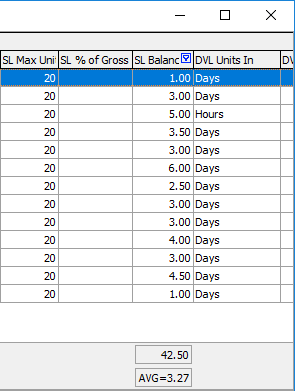
For example, apply a filter to the SL Balance (Sick Leave Balance) column to select records with values which do not equal 0.
On the Footer band at the bottom of the grid, right click under the SL Balance column and select Sum. Do this again and this time select Average.
The sum and average amounts for the column appear in the Footer band below the column:
Best Fit
Use the Best Fit and Best Fit (All Columns) options to quickly adjust the width of the grid columns to be as narrow as possible without truncating data.
Global Functions
Reset
The Reset button resets the grid display to default values. Any columns that have been moved from their default positions and any columns manually removed from the grid will be restored to their default positions. The default grid display will be displayed the next time the Find Record grid is opened.
The exception to this is the Reset button on the Employee Information > History > Timesheet History grid. If it is impractical to manually reset columns on this grid to their original default settings, you can use the Reset button, but you will need to exit and re-enter the payroll company for the reset to take effect
Export
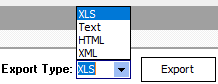
To export the contents of the grid select the format you want to export to then click the Export button. You will be prompted to select the destination location and the name of the export file you want to create.
Close
Clicking the Close button closes the Find Record grid and returns you to the IMS Payroll Partner application. The record currently highlighted when the Close button is clicked will populate the appropriate tab within the application. This button is not available on the Timesheet History Information tab.
Terminated Employees Extract
An example application of the Find Record grid is extracting terminated employees.
When processing the first pay for a new tax year you will have the opportunity to delete Terminated Employees from your payroll company. This function lets you select a Termination Date, which will select terminated employees with Finish Dates up to and including the selected cutoff date. It is suggested that a full Terminated Employee Listing is produced prior this deletion and another option is to extract terminated employee data for future reference via the Find Record facility.
To generate an extract file of terminated employees proceed as follows:
-
Click the Find button on the Employee Information tab.
-
Select the Employee Information tabs containing the data you wish to extract (see “Tab Selection” on page 2).
-
Right-click on the Finish Date column header select the Custom Filter option, then set up a filter so that the Finish Date is less than or equal to the appropriate cutoff date (see “Custom Filter” on page 5).
-
The relevant terminated employees will now be displayed in the Grid. Check your selection then select the ‘Export’ function, enter the associated options and generate the extract file.