- Contents
- Index
- Search

Show results that include all search words
Installing or Upgrading Job Costing
Note: Running Job Costing for the first time creates extra fields and tables in the Exo Business database. Backup your database before running Job Costing for the first time or before upgrading.
Before You Begin
Ensure Exo Business has been set up for use with Job Costing.
Note: Job Costing limits the users to 500 transactions in a demonstration system.
Copy the Job Costing application (Jobcost.exe file) into the directory that contains the Exo Business application (Exonet.exe file).
Exo Business comes with sample reports and business documents. You might need to customise the reports and documents before you can use them.
Also, ensure you have copied the Clarity report files.
Installing Job Costing
Run Job Costing. The login screen appears:
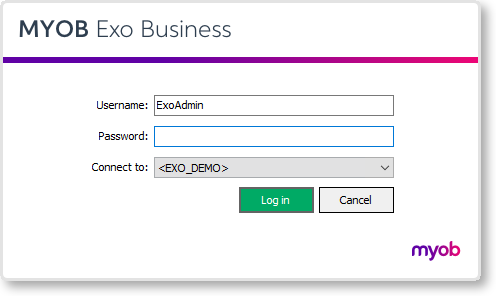
Log in as an administrator, selecting the database that you use with Exo Business. Click OK.
This warning displays:
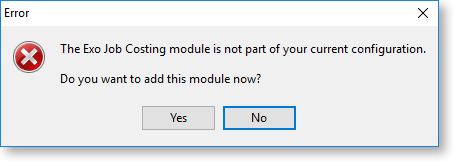
Click Yes. This message displays:
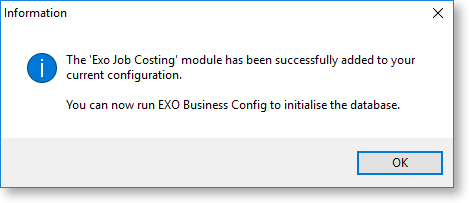
Click OK. Job Costing shut downs.
Open the Exo Business Configurator application (Exocfg.exe). Login to Exo Business Configurator with the administrator's user name and password. Select the database used with Exo Business.
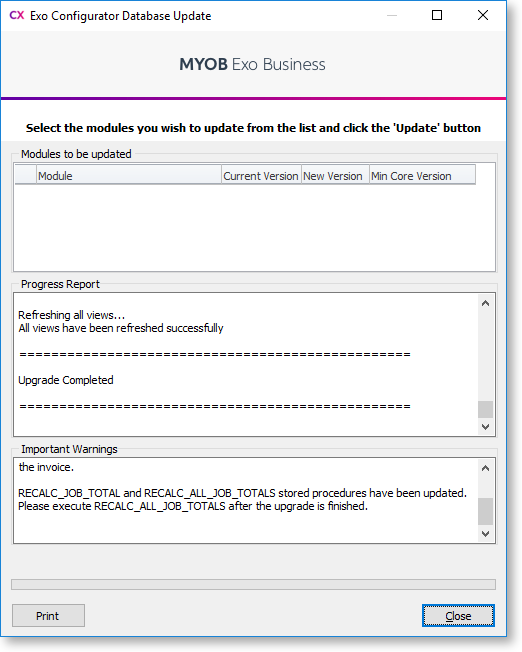
Click OK. The Database Update screen displays:
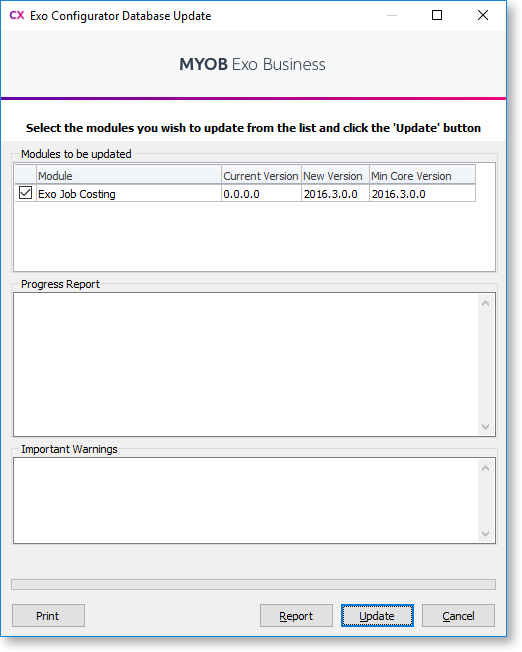
Select the Job Costing module. Click the Update button. This creates extra fields and tables within the database.
The message Upgrade Completed displays when the process finishes. Click the Close button.