Installing Serviceable Units
Serviceable Units functionality is not installed by default. To add this functionality, a licence code for Serviceable Units must be acquired and installed. (The Serviceable Units feature does not have a separate executable; the functionality is included in the Job Costing module and the MYOB EXO Business core product when installed.)
To install this licence:
-
Open the MYOB EXO Business Configurator application and click the Add button on the Company > Registration section.
-
Select Serviceable Units in the combobox and fill out the licence details supplied with your licence.

-
Click Save.
-
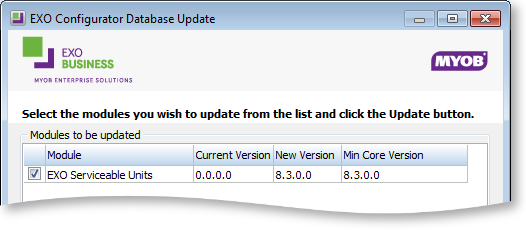
You now have to add the required additional tables and fields (metadata) to your database. To do this, click the Launch Update button. The Database Update window shows EXO Serviceable Units in the top grid.

-
Click the Update button at the bottom of the screen to complete the task.
Serviceable Units functionality is now available in the Job Costing module.
Configuring Serviceable Units
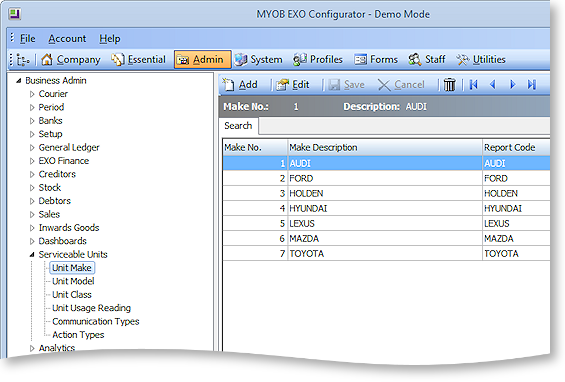
Once the Serviceable Units feature has been installed, a Serviceable Units node becomes available in the Business Admin section of the MYOB EXO Business Configurator application.

The sub-nodes under this node allow setup of a number of codes and descriptions for various properties that may be set for a serviceable unit. These include:
- Unit Make
- Unit Model (subsets of Unit Make)
- Unit Class
- Unit Usage Reading
- Communication Types
- Action Types
Tip: Makes, Models and Classes can be created from the Serviceable Units window if the Allow creation of new Make, Model and Class User-level profile setting is enabled.
Serviceable Units can also be assigned one or more warranties. Set up warranties in the Configurator at Business Admin > Stock > Warranty.
You can also set up the Job Costing menus to provide direct access to the Serviceable Units screen under the Accounts menu. This is done via the menu editor in the Configurator at Staff > Menus > Dropdown Menu.


