Creating a Lay-by
A new lay-by is created to record a requirement, to supply stock at a future time and when entered is usually accompanied by a partial deposit.
To create a new lay-by:
-
In the Task Organizer, click Lay-by or press F5.
-
A list of logged on staff members is displayed, select the staff member responsible for the sale and click Select.
-
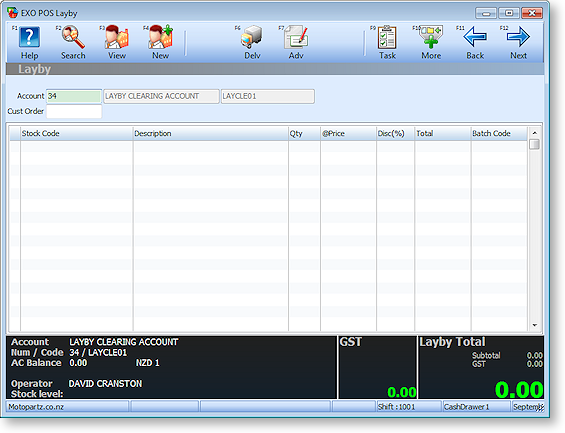
The Lay-by window is displayed:

Select the account and/or contact or click Deliv to enter a delivery address.
Note: Lay-bys cannot be saved with a blank delivery address.
-
Enter the product details in the same manner as for a sale.
-
Click Next or press F12 to proceed to the payments screen. The footer shows the total value of the goods being laid-by, the initial deposit, and how much will remain outstanding. The deposit amount (To Pay) is computed as a percentage of the total sale as set by Minimum Layby Deposit Percentage profile setting.

-
To pay a different initial deposit, press CTRL+F1 or select To Pay from the More toolbar, then enter the new value of the initial deposit.
-
Click Save or press F12. A lay-by order is created with a deposit against it.
-
The system will prompt you if you want to print a receipt for the deposit - this shows only the money collected. It can be a tax receipt.
-
This is followed by a prompt asking if you wish to print the lay-by. A lay-by document shows all the product information and details the deposits made to date for the lay-by. It is effectively a "statement of account" for the lay-by. It also shows the order number for the lay-by, which must be quoted when performing subsequent operations on the lay-by.


