- Contents
- Index
- Search

Show results that include all search words
Creating a Works Order
Transactions > Manufacturing > Works Order Entry
A Works Order is a more complex version of a build-type Bill of Materials.
To create a Works Order:
-
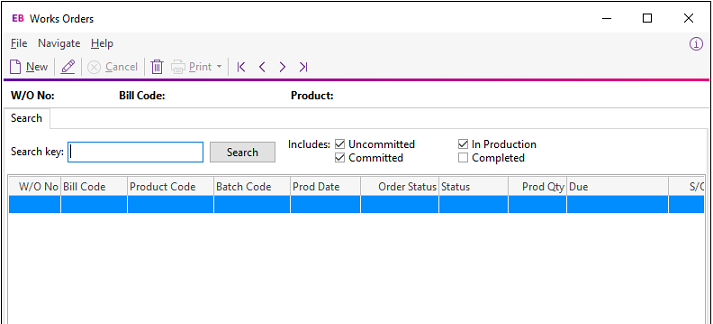
Select Works Order Entry from the Transactions > Manufacturing menu. This window displays:
-
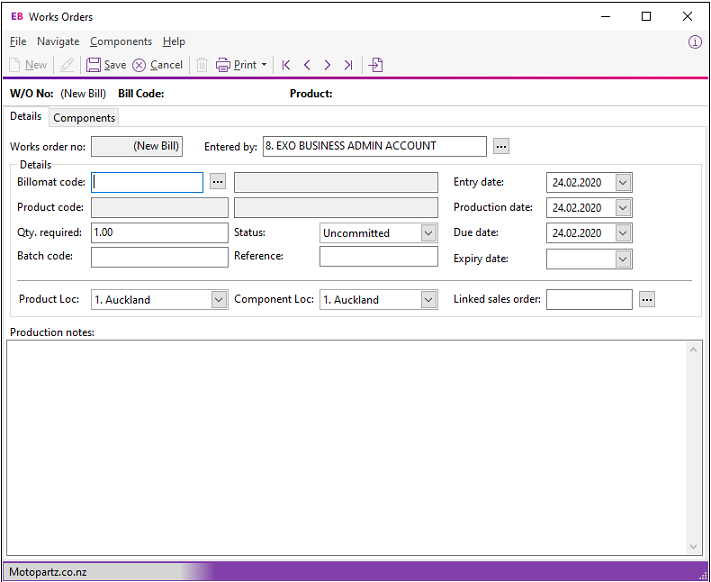
Click the New button. This window displays:
-
Enter details in the fields on the Details tab:
Field
Description
Works order no
The number of the selected works order. Exo Business assigns this number when you save the Works Order.
Entered by
The name of the staff member entering the works order. Click the
 button to select the staff member’s name.
Billomat code
The Bill of Materials code. Click the
button to select a Bill of Materials. Only build-type Bills
of Materials are available.Product code
The code of the Bill of Materials' output item.
Qty. required
The quantity to produce.
Batch code
The production batch code. You can add this Works Order to an existing batch.
Status
The production status:
-
Uncommitted
-
Committed
-
In Production
-
Completed
Reference
An optional reference code.
Entry date
The start date for the Works Order.
Production date
The production date for the Works Order.
Due date
The date the Works Order is to be completed.
Expiry date
The date the Works Order expires.
Product Loc
The location to which to transfer the final product.
Component Loc
The location form which components are being supplied.
Linked sales order
The number of the Sales Order that the works order is linked to. Click the
button to select a Sales Order. This field is optional.Production notes
Any notes that you may need to make in relation to this works order.
-
-
Click the Components tab.
-
Enter details in the fields at the top of the Components tab:
Field
Description
Qty Required
The total quantity to produce.
Qty produced
The quantity to produce in this operation.
Date produced
The date the works order is completed.
Product Loc
The location to which to transfer the final product.
Batch code
The production batch code.
Expiry date
The date the Works Order expires.
Component Loc
The location from which components are being supplied.
-
Use the buttons on the toolbar to add or remove components:
Button
Function

Load all components from the Bill of Materials.

Add a component.

Remove a component.

Replace a component.
-
These fields display for each component:
Field
Description
Stock Code
The stock code of the item.
Description
The description for the item. This field is read only.
Qty Reqd
The quantity of the component required to fulfil the entire Works Order. This field it read only.
Qty Used
The quantity of the component to consume in this operation.
BatchCode
The production batch code.
Req. Cost
The total cost of the required number of the component. This field is read only.
Used Cost
The cost of the components consumed in this operation. This field is read only.
Analysis Codes
Any Analysis Codes you want to associate with the Works Order.
Click the
 button to set the Qty
Used value for all components to the Qty
Reqd value.
button to set the Qty
Used value for all components to the Qty
Reqd value.You can double click on an item to drill down to the Stock screen for that item.
-
Click Save. You are prompted to print the Works Order.
Saving the order enables the Documents tab, on which you can attach documentation that relates to the order.
Note: The Works Order displays on the Works Order tab of any Stock item that is involved in it, either as a component or as an output item.