- Contents
- Index
- Search

Show results that include all search words
Creating Projects
Jobs can be organised under projects for display on the Job Overview tab of the Job Management Screen. Projects act as containers for related jobs, and hold no job-related information themselves.
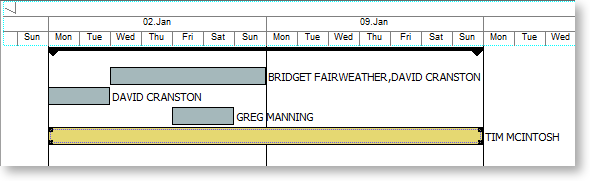
Projects can contain a hierarchy of master jobs with sub jobs, although projects themselves cannot be nested, i.e. one project cannot contain another.
Note: A sub job cannot be assigned directly to a project; sub jobs are assigned to a project when their master job is assigned to the project.
To create a new project:
-
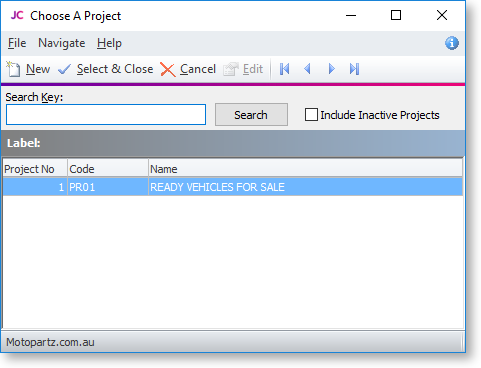
On the Job Overview tab, right-click on the first job that you want to add to the project and select Add to Project. The Choose a Project window appears:
-
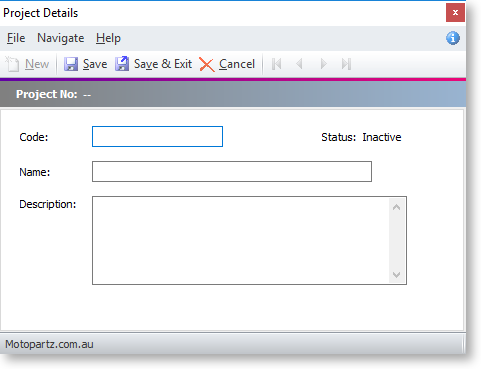
Click New to add a new project. The Project Details window appears:
-
Enter a name, code and description for the project, then click Save & Exit.
Note: The Status property displays "Active" if the project has and jobs assigned to it and "Inactive" if it currently has none.
-
The new project now appears on the Choose a Project window. Select it and click Select and Close.
The new project is created and the selected job is assigned to it. More jobs can be assigned to the project by selecting Add to Project from the right-click menu, then choosing the project from the Choose a Project window.
Tip: Jobs can be automatically assigned to projects when they are created. Select a project on the Job Overview tab, then click the New toolbar button or select New from the File menu. When the new job is saved it will be automatically assigned to the selected project.
To remove a job from a project, right-click on the job and select Remove from Project.
To edit a project's name, code and/or description, right-click on it and select Edit Project.