- Contents
- Index
- Search

Show results that include all search words
Report Menu
The Report drop down menu includes a number of features that are not covered elsewhere.
Title
The Title band does not appear in the default Design canvas. It needs to be checked here to activate it. The Title band serves the same purpose as the Header band except that it only prints on the first page and not on subsequent pages. If both title and header are activated, the Title band appears above the header band.
Summary
The Summary band always appears below the last line of information on the report. The two options are to print it directly below the last line of information or to print it just above the footer on the last page. (Summary to Bottom option on the Tools menu) Although on the canvas the footer appears above the Summary band, in reality when the report is printed, the footer is printed at the bottom of each page and is always the last thing printed.
Header / Footer
The header and footer appear at the top and bottom of each page respectively. These menu options allow you to show or hide the sections.
Page Style
This band, when activated, appears at the bottom of the canvas. Anything entered in this band appears ‘behind’ the report, as would a watermark. Therefore, if you need lines to run the length of an invoice or a border around the page, you would add these to the Page Style band.
Groups
The Groups menu item allows you to set up groups in your report. This grouping is similar in purpose to the Groups tab in the Data view when setting up a data pipeline, however this option is easier to implement and understand when creating basic reports. Remember that in order to group things here, they must be sorted by the same fields and in the same order in your data pipeline or the grouping will not make sense.
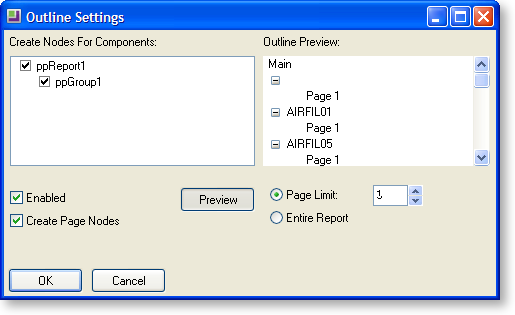
Outline Settings
The Outline Settings property, once enabled, is available only in the Preview tab of the Clarity designer. It shows a tree view display of the various groups in the report and optionally the pages they appear on. Clicking the groups or the page numbers takes the user directly to the appropriate page.
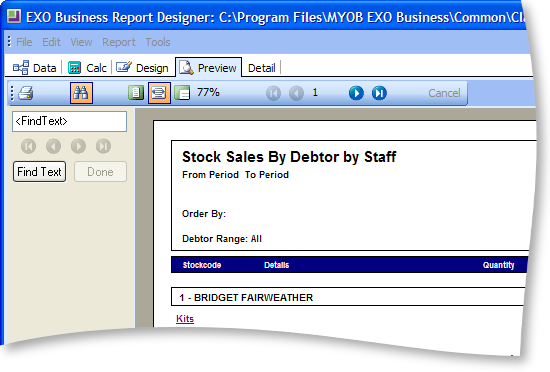
Find Text Settings
Another setting that is available only in the preview tab of the clarity designer, the Find Text Settings window provides the user with the ability to search for strings within the report.
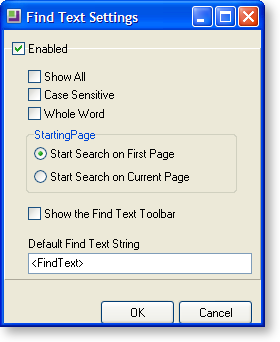
The user can specify whether the search will be case sensitive or whole word, whether the starting page for search would be the first page or the current one. The default find text string can also be specified.
Portrait / Landscape
This is a quick way of setting the orientation of the report on the page. Another method is to go into the File > Page Setup menu item and change it on the Paper Size tab.
Pass Setting
There are two options here – One Pass or Two Pass. This is an advanced setting that beginner Clarity users shouldn’t be too concerned with. Basic reports should run fine on either setting, although for large reports you may notice reports run more slowly when set to Two Pass. Without getting into too much detail here, Two Pass and this is as the name suggests – the computer goes through the data twice – doing all the calculations out on the first pass and then formatting and printing the report on the second pass. The one pass does it all in one go. You may find that in complex reports this setting needs to be taken into account to ensure, for example, that variables are not calculated twice (when set to Two Pass), or that report totals are not calculated correctly before generating (if set to One Pass).
Units
A number of different units of measurement are available to select from. These apply to all reporting features (custom page size, position of labels etc.).