- Contents
- Index
- Search

Show results that include all search words
Installing/Upgrading Job Costing Overview
This section explains how to install or upgrade the Job Costing module. If you need related information please contact your EXO Business partner.
Note: Running Job Costing for the first time results in the creation of extra fields and tables within your EXO Business database. As with any upgrade ensure you have a good back-up of your database beforehand.
Ensure EXO Business settings have been set up for use with Job Costing.
Note: Job Costing limits the users to 500 transactions in any demonstration system.
Copy the Job Costing application (Jobcost.exe file) into the directory that contains your MYOB EXO Business application (Exonet.exe file).
It is expected that all but the simplest Job Costing implementations will make extensive use of use EXO Business Clarity Reporting. Sample reports and business documents are provided, but may require customisation before they can be used.
Ensure you have copied the minimum files required for Job Costing:
- JobCost.exe
- Clarity files
Installing Job Costing
Run the MYOB EXO Job Costing application (Jobcost.exe) to launch the Job Costing application setup. The login screen appears:
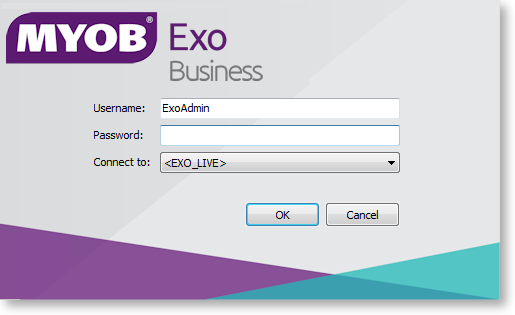
Log in as an Administrator, selecting the database currently used by EXO Business. Click OK.
Job Costing displays a warning box asking you if you want to add this module to this database:
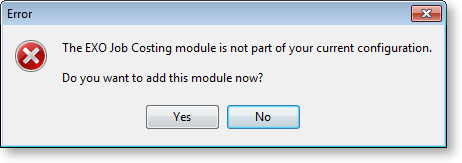
Click Yes. An information box then appears asking you run the EXO Business Configurator (ExoCfg.exe) to initialise the database for Job Costing.
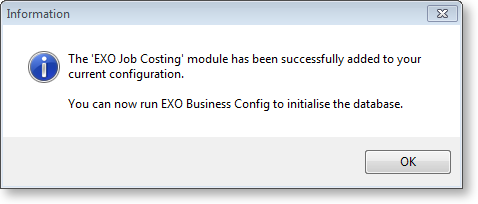
Click OK. Job Costing will shut down, awaiting you to run ExoCfg.exe.
Open the EXO Business Configurator application (Exocfg.exe). Login to the Configurator by typing the Administrator’s user name and Password. Select the same database chosen above (the database currently used by EXO Business).
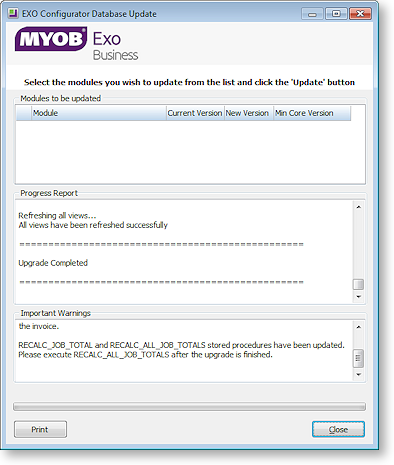
Click OK. This brings up the Database Update screen:
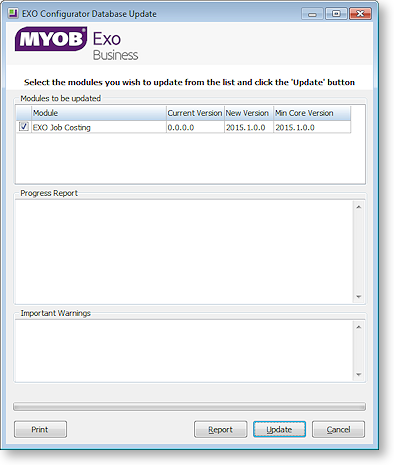
Ensure the Job Costing module is included in the selection as above. Click the Update button. As mentioned earlier, this results in the creation of extra fields and tables within your (selected) EXO Business database. The Report screen rolls through these changes.
The words "Upgrade Completed" are displayed once the update is complete. Click the Close button.