- Contents
- Index
- Search

Show results that include all search words
Sales Cart and Delivery Options
You can extend the workflow of the POS by activating the sales cart. The cart appears between the initial product grid and the payment grid screens. If most sales are pure invoices then the cart may also be set to appear on request. The Sales Cart window gives you additional flexibility in deferring delivery or supply of stock items, and allows you to create quotations.
Enabling the Sales Cart profile setting for Delivery options
To activate the sales cart, configure the Activate POS Sales Cart functionality profile setting. Select one of the following options:
- Never - The cart is unavailable.
- Automatic - The cart will be part of the sale workflow.
- On Request - The cart is usually bypassed but can be request requested by pressing CTRL+F9 during a sale.
Specifying different delivery and payment options for each sales line
When the sales cart is enabled, and your sale already created (products entered), click the Next button (Automatic mode) or press CTRL+F9 (On request mode). The Sales Cart window is displayed:
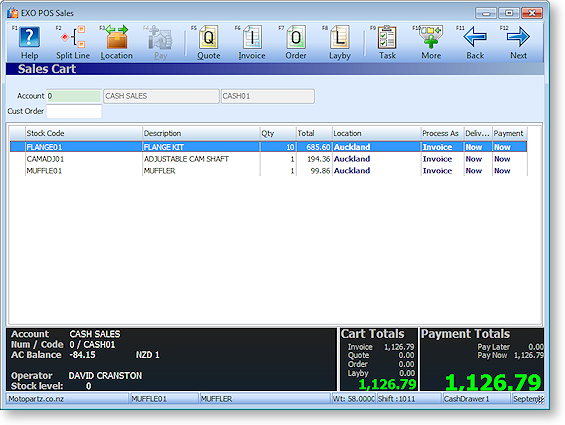
Your sale is displayed in the sales grid. Notice that each sales line has a entry the last three columns: Process As, Delivery and Payment. New Quote (F5), Invoice (F6) and Order (F7) buttons also appear at the top of the window.
Select each sales line and specify the payment and delivery options you want for each sales line, as follows:
- Click Quote or press F5 to set the selected sales line's Process As property to "Quotation".
- Click Invoice or press F6 to set the selected sales line's Process As property to "Invoice", for payment and delivery now.
- Click Order or press F7 to set the selected sales line's Process As property to "Order", for payment now and delivery later.
- Click Layby or press F8 to convert the entire transaction to a lay-by transaction. This changes all sales lines' Process As properties to "Layby".
For sales lines that are set to "Order", use the Pay button to toggle between Pay Now or Pay Later.
To split delivery and/or payment for a single sales line with a quantity of more than one:
-
Select the sales line and click the Split Line button or press F2.
-
The following window is displayed:
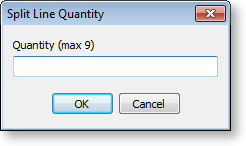
Enter a quantity and click OK. The sales line is split into two lines, where the new line has the quantity you specify, and the existing line has the remaining balance.
To supply a sales line from a different location:
-
Select the sales line and click the Location button or press F3.
-
The Select a Location window is displayed:
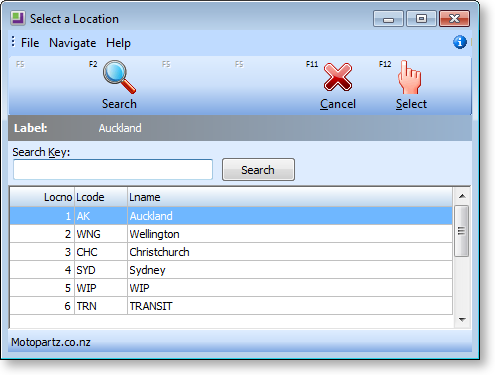
Choose the required location and click Select.
As you change the delivery and/or payment status of each sales line, the totals at the bottom of the window are dynamically updated with each change:
- The Cart Totals area gives the total value of the sale, with a breakdown total for Quote, Invoice and Order.
- The Payment Totals area gives the total being paid now.
Click Next or press F12 when you have specified the delivery and payment requirements for the sale to continue with the sales process and complete the sale.