- Contents
- Index
- Search

Show results that include all search words
Setting up Payment Gateways in MYOB EXO Business
MYOB EXO Business requires an additional module be installed before it can access the payment gateway. This is done via EXO Business Config. There is no additional executable required as the gateway functionality is built into the MYOB EXO Business core executable (version 6.187 build 2 and later).
Note: You will need to purchase and obtain a registration key from MYOB EXO Business before you can install the Payment Gateways module.
Installing the Payment Gateways Module
In the Company section of EXO Business Config, click the Add button to add the Payment Gateways module.
Select the "EXO Payment Gateway" module, enter licence details, then click Save.
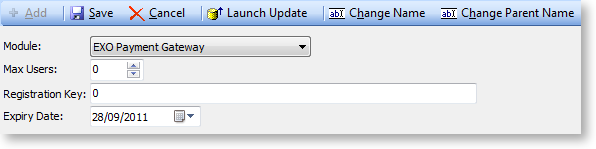
Click the Launch Update button on the Company section toolbar to update the EXO Business database for Payment Gateways.
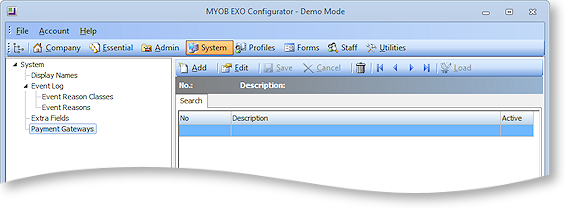
A Payment Gateways section becomes available on the System tab in EXO Business Config.
Creating a Gateway Instance in MYOB EXO Business
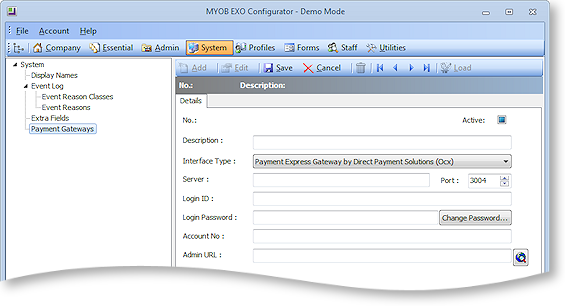
Choose the Payment Gateways section and click New. Enter all required details.
|
Field |
Description |
|
Description |
Give your gateway instance a name. The description could vary as you may have multiple DPS entries in the one database (e.g. one per branch). |
|
Interface Type |
There is currently only one interface type you may choose (DPS). |
|
Server |
Point this at the IP address of the machine running the DSP server software. Leave the port as 3004. |
|
Login ID & Password |
The login ID, Password need to be the operating ones as provided by DPS. |
|
Account No |
This is also provided by DPS. The account is within the login so that perhaps each branch may have the same login but a (sub) account. An account number is still required even if not using multiple-accounts |
|
Admin URL |
The Admin URL will not vary. When navigating here it will ask for a web login. This is sometimes different to the transactional login set above. For convenience some users may prefer to save this password in their browser. Note that all reporting and maintenance is done via web pages so this site is visited frequently. |
Activating a Workstation to use a Gateway Instance
After establishing the server link within the database you now need to activate each required workstation. This is done by configuring the Payment Gateway Client Interface Computer-level profile setting for all workstations.

Click the edit button to select the Payment Gateway you set up earlier.
It is recommended (but not essential) that you also put something unique in the CAID of the computer record. This field may also be used by Syncro EFTPOS (where it must match the Syncro setup) but is basically used here to uniquely identify the workstation in debtors transactions (see field DR_TRANS.CAID).
Activating Payment Types to use with a Gateway
You also need to activate which Payment Types you want to use with the gateway. In EXO Business Config, go to Admin > EXO Finance > Payment Types. For each Payment Type that you want to use with the gateway, edit the Gateway Behaviour field on the EFT tab.
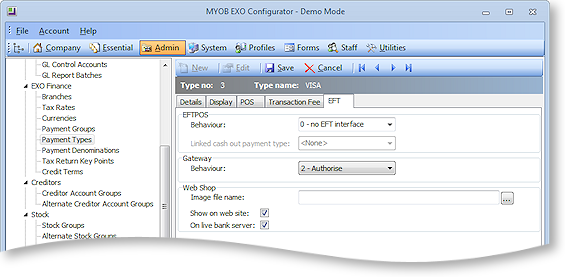
The gateway behaviour has three possible settings for each Payment Type:
-
0 - None: The payment will not interact with the payment gateway.
-
1 - Purchase: The payment will be a final payment on the card holder's account.
-
2 - Authorise: The payment will be an authorisation only and will decrement the card holder's available credit.