- Contents
- Index
- Search

Show results that include all search words
Scheduling a New Bulk Entry Price Change
-
Go to the Utilities menu and choose Stock Utilities and then Price Change Scheduler. The Price Change Scheduler window is displayed.
-
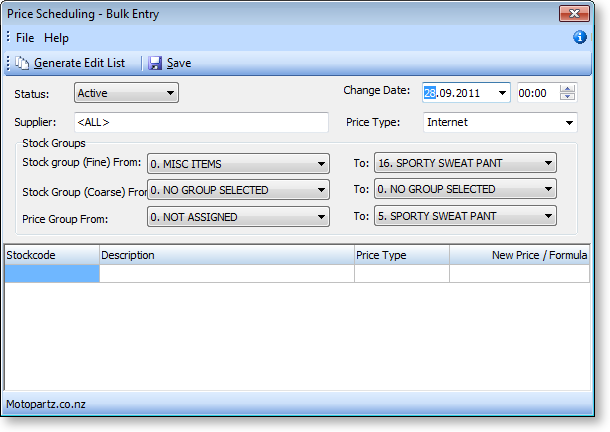
Click the Bulk Entry button. The Price Scheduling Bulk Entry window is displayed.
-
Use the filters in this window, as described here, to select the range of stock items for the bulk price change. When you have selected your filters, click the Generate Edit List button, which will populate the grid with a list of all stock items that match your filters.
Fields in this window:
Field
Description
Status
The status of this scheduled price change: Active, Inactive or Completed.
Tip: you can also change the status and details of a previous price change to active.
Supplier
If you are only updating items from a single supplier, enter that supplier here, or select <ALL>.
Change Date
The date the scheduled bulk price change was created.
Price Type
Filter by the price name in this field.
Stock Groups – Primary From/To
Select the primary stock group range for the price update
Stock Groups – Secondary From/To
Select the Secondary Stock Group range for the price update.
Stock Groups – Price Group From/To
Select the Stock Group range for the price update.
Stock Code/Description
The specific stock item and description of this price change line.
Price type
The price type of the price change for this stock item.
New Price/Formula
Enter the new price here.
-
Edit the New Price/Formula field with the new price for the stock item, or a Price SQL statement.
-
Click Save. Note that the price changes will not automatically be made when the Change Date is reached; when you are ready to update the price, use the Run Updates button to change the price.