Installing Exo Business Services |
|||
|
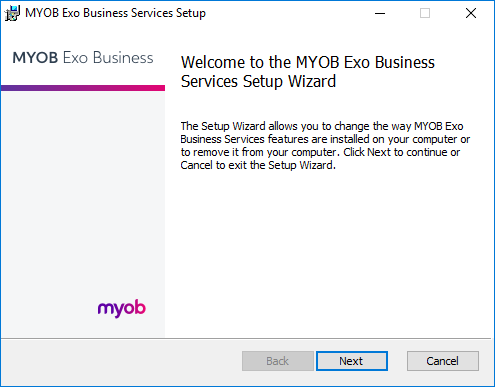
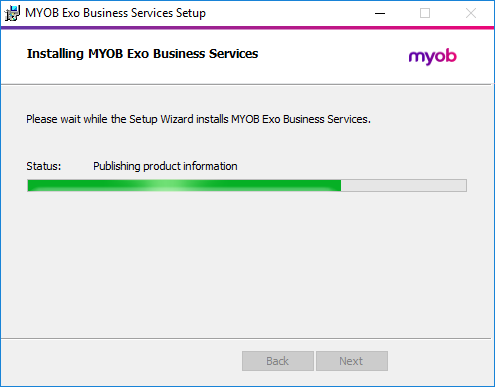
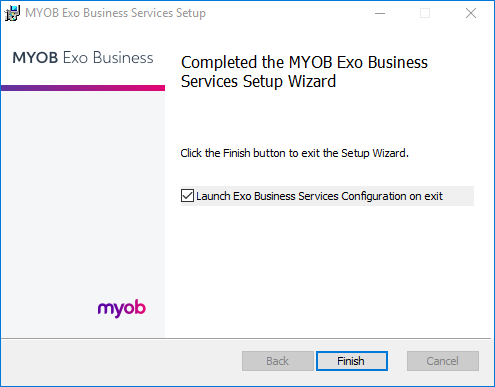
Once the Exo Business system is set up, you can install supporting services for the Exo API and Exo Email Service using the Exo Business Service Setup Wizard, Exo Business Services Installer.msi. This installer is supplied with the main Exo Business installer. It must be run on a server that already has Exo Business installed on it, and must be run from an account with administrative permissions. To perform the installation:
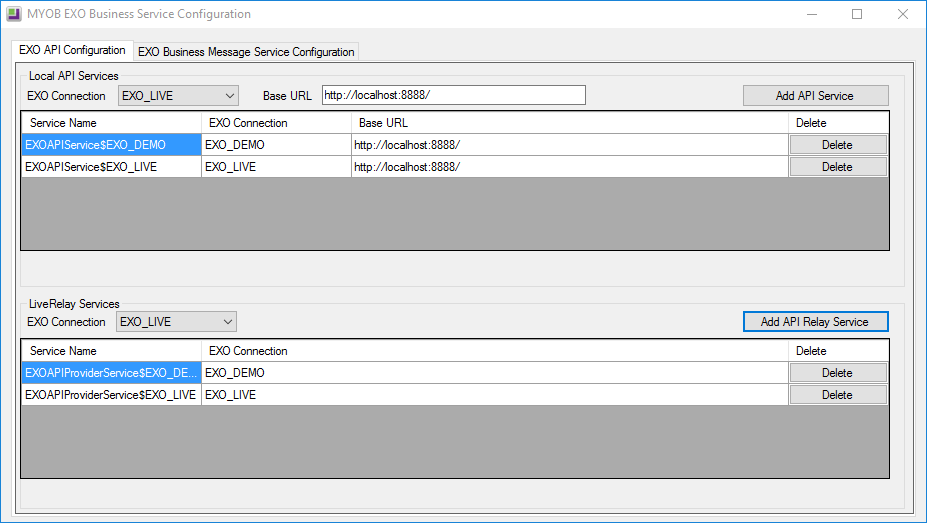
The Exo Business services must be set up for each Exo Business database connection, using the MYOB Exo Business Service Configuration utility. This utility, MYOB.ED.EXO.Cloud.ServiceConfig.exe, can be run immediately after installation, or you can open it from the Exo services install directory at any time. Note: All setup must be performed on the server that the Exo Business services are installed on, using an account with administrator privileges.
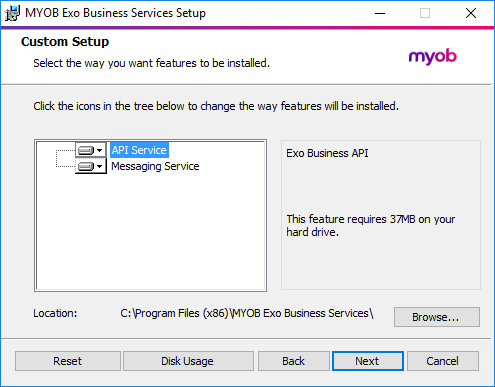
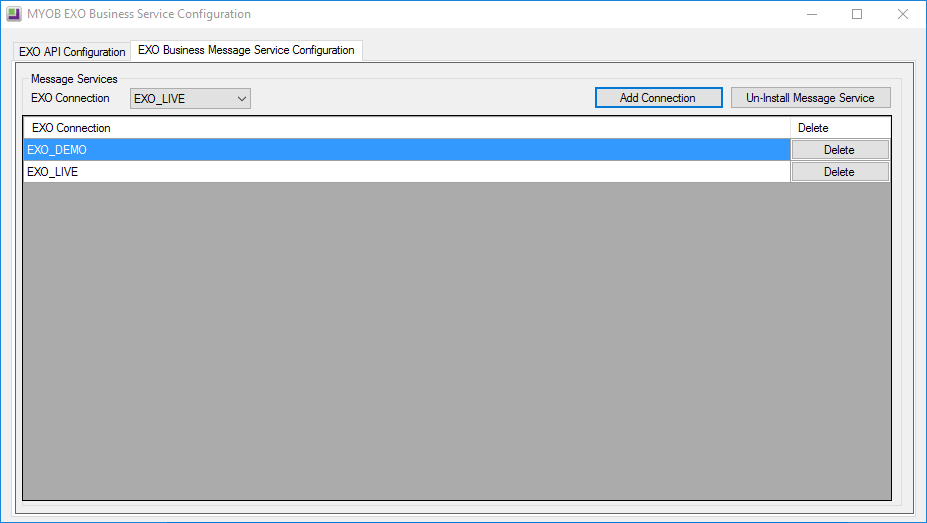
The utility displays configuration settings for the following services:
To configure an API service, select an Exo Business database connection, then click the relevant Add Service button. For the API Service, you must also enter a Base URL, which is the location and port the API is accessible on (the default should be suitable in most cases, unless you want to use a different directory and/or port). Note: For local API access, ensure that your firewall is configured to allow the relevant ports, services and/or applications. To validate that the Exo API has been successfully installed and set up, navigate to the Base URL in a web browser or REST client to see a list of available endpoints. The configuration process for the messaging service is slightly different; where the API services create a separate instance for each Exo Business database connection, the messaging service has a single instance, which can have multiple connections to it.
To install the messaging service instance, select a database connection and click Add Connection. This adds the service and sets up a connection to the selected database. To add new connections, select them from the EXO Connection dropdown and click Add Connection. |