Before you install Exo Business, we recommend you take the precaution of backing up your data. Ensure there are no Exo Business modules running, locally or on your network.
To install Exo Business on a PC:
Run the ExoBusinessInstaller.exe program.
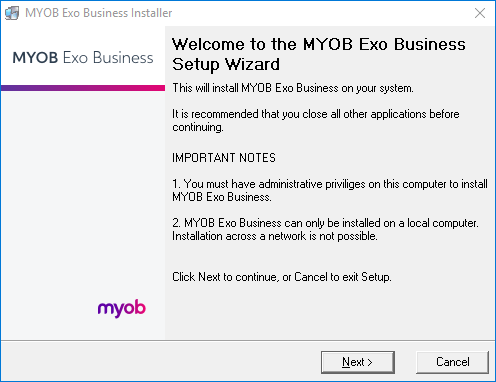
Click Next on the Welcome screen.
Read the licence agreement, then select I accept the agreement and click Next.

Select the country you are based in and click Next.
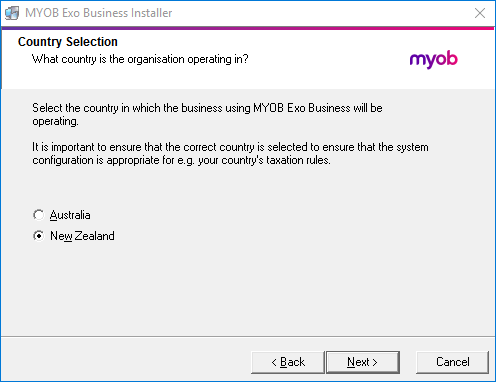
Note: Your selection here affects certain country-specific default settings that are set up during the install — for example, tax rates and banks.
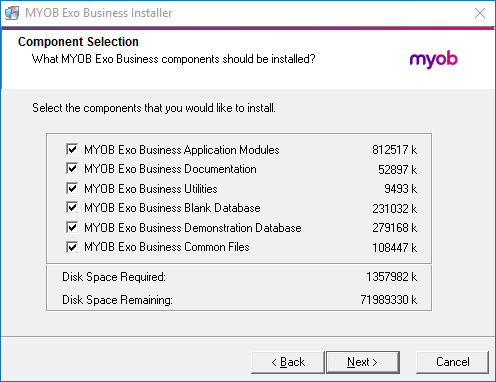
- Select the components to install. Choose from:
- MYOB Exo Business Application Modules
- Documentation files
- Exo Business utilities
- A blank "live" MYOB Exo Business Database
- A pre-configured demonstration database
- Exo Business Common Files
Click Next to continue.
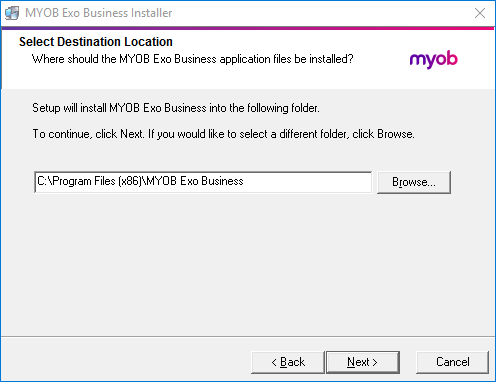
If you chose to install the MYOB Exo Business Application Modules, click Browse to choose the directory where you want to install the program files, then click Next.
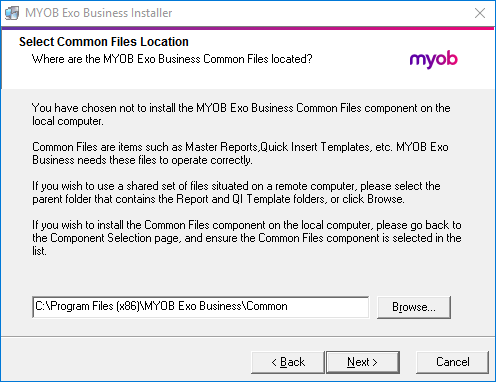
If the MYOB Exo Business Common Files are not installed on this PC, click Browse to choose the directory where the Common Files are located, then click Next.
- If you chose to install the MYOB Exo Business Database components, you must specify where to install the database:
Click Next
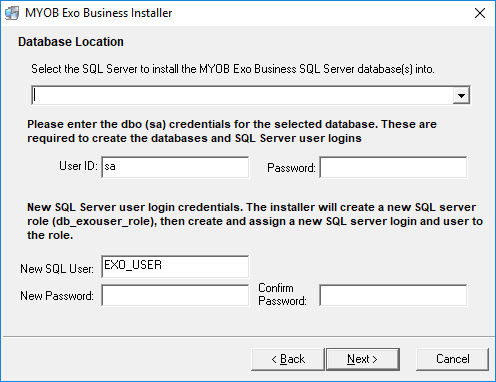
Note: The installer may appear unresponsive while it tries to detect SQL Server instances on the PC (this process may take a minute or more). Do not cancel the installer; simply wait until the detection operation is complete.
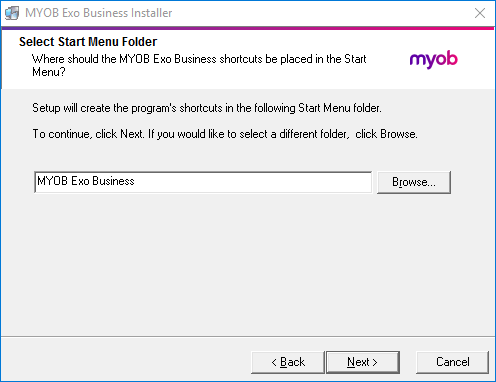
Click Browse to choose where the MYOB Exo Business shortcuts should be located in the Windows Start menu, then click Next.
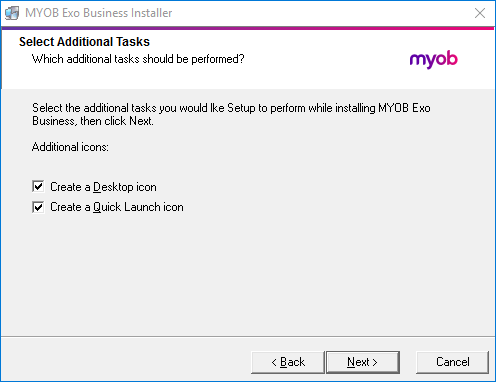
If you want to create a desktop icon or Quick Launch icon for MYOB Exo Business, tick the relevant box(es), then click Next.
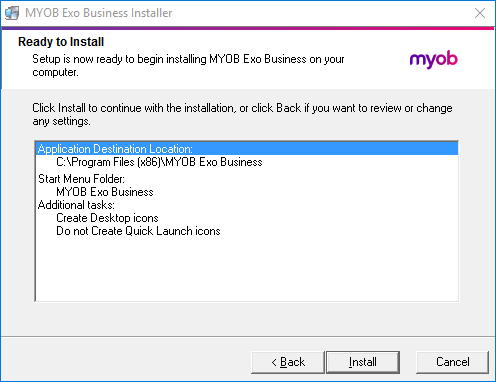
The installation is ready to begin. Review the details and click Install to proceed. If you need to change any details, click Back to return to the previous screen and change your selections.
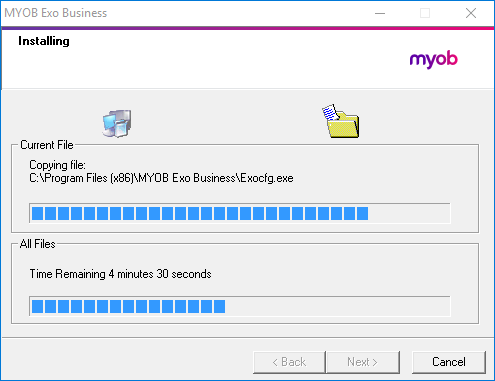
The installation progress is displayed.
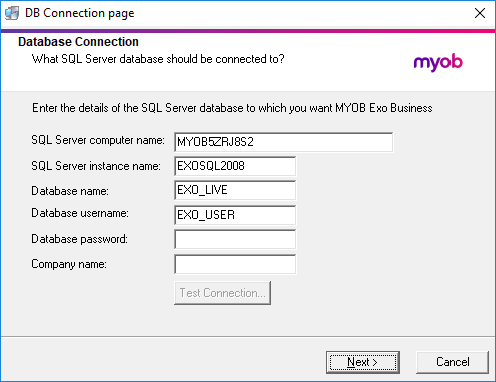
If you chose to install the application modules but not the database components on this PC, you must enter the details of the database once the installation has completed. Click Test Connection to check that the details you have entered work. If the test passes, click Next.
Note: Once a computer successfully connects to the database, a Computer profile is created for it in Exo Business Configurator.
The installation is now complete. Choose what to do next and click Finish.
- Run MYOB Exo Business to explore the demonstration database.
- Run the Configuration Assistant to set up your new MYOB Exo Business database.
- Return to Windows.
